For sale is my restored Vista Cruiser you see here. I bought it in February 2005 and have spent the last ten years restoring it (off and on). This is an original California car; I bought it from the second owner when he put an ad in Hemmings (I've always like station wagons, especially Vista Cruisers; I had been itching for a restoration project at the time and that Hemmings ad just reached out and grabbed me by the throat. It was in my garage inside of four weeks). I had it trucked out from California to Alabama in February 2005. The car was running at the time, and all the trim and windows were in good shape, but it needed a total restoration. Although there was no serious rust, every surface of the car needed attention -- interior, paint, and engine.
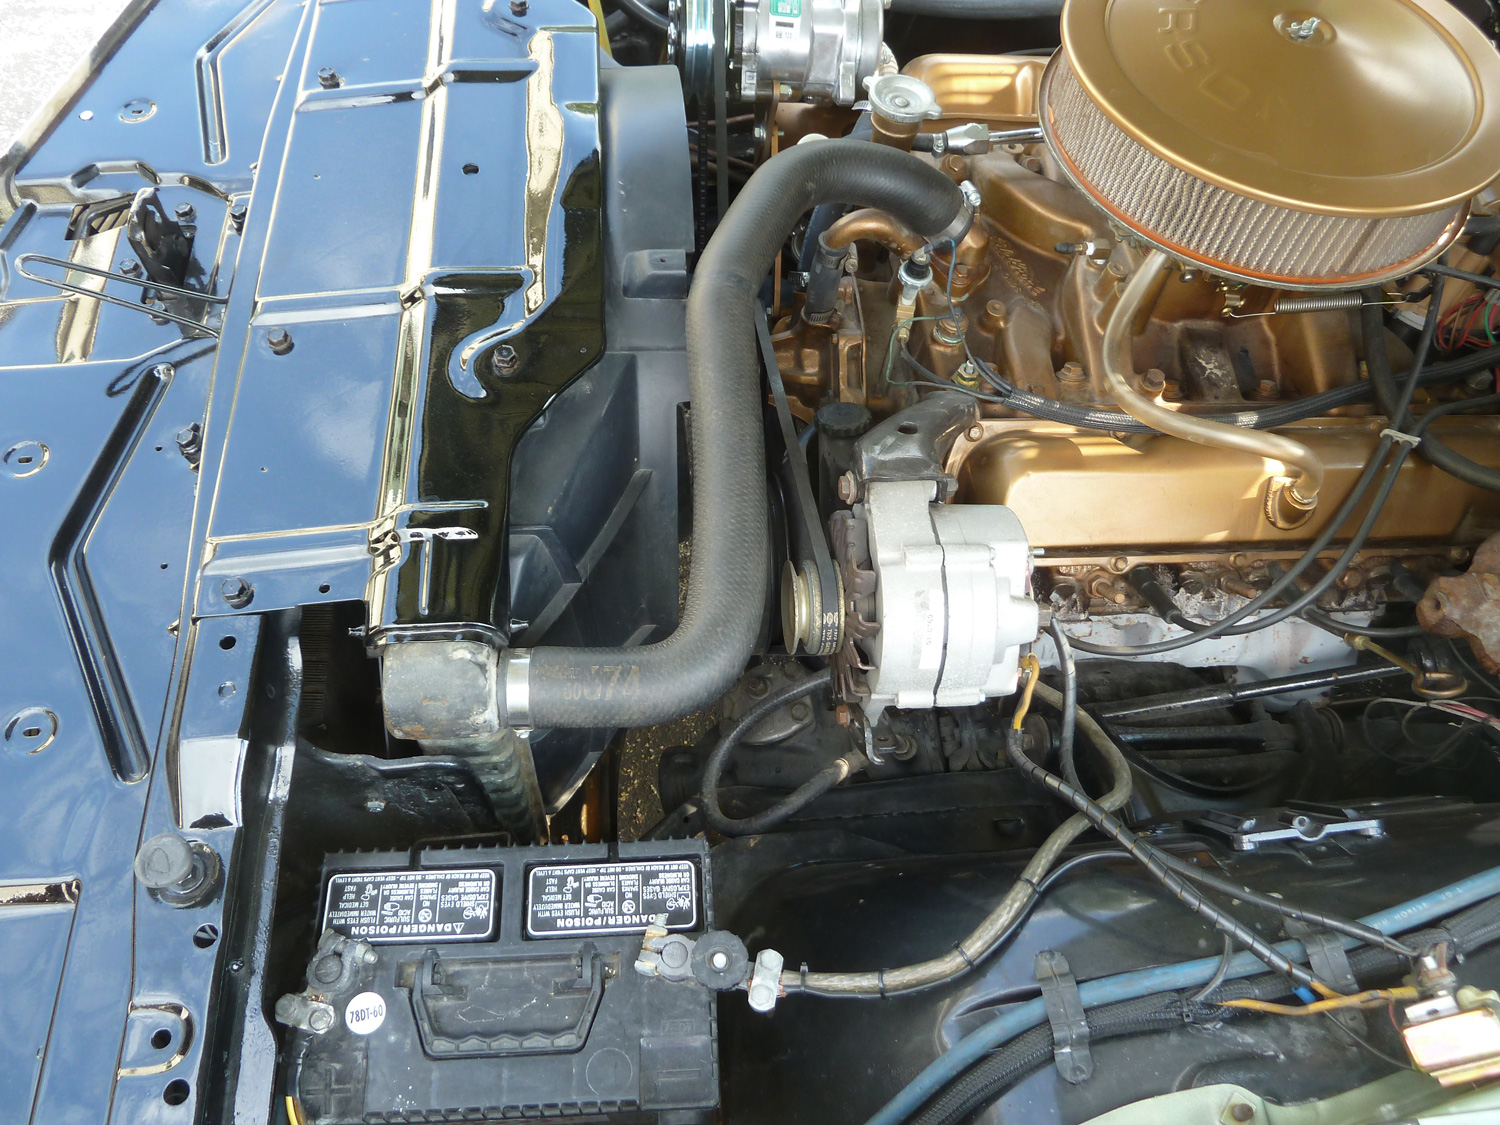
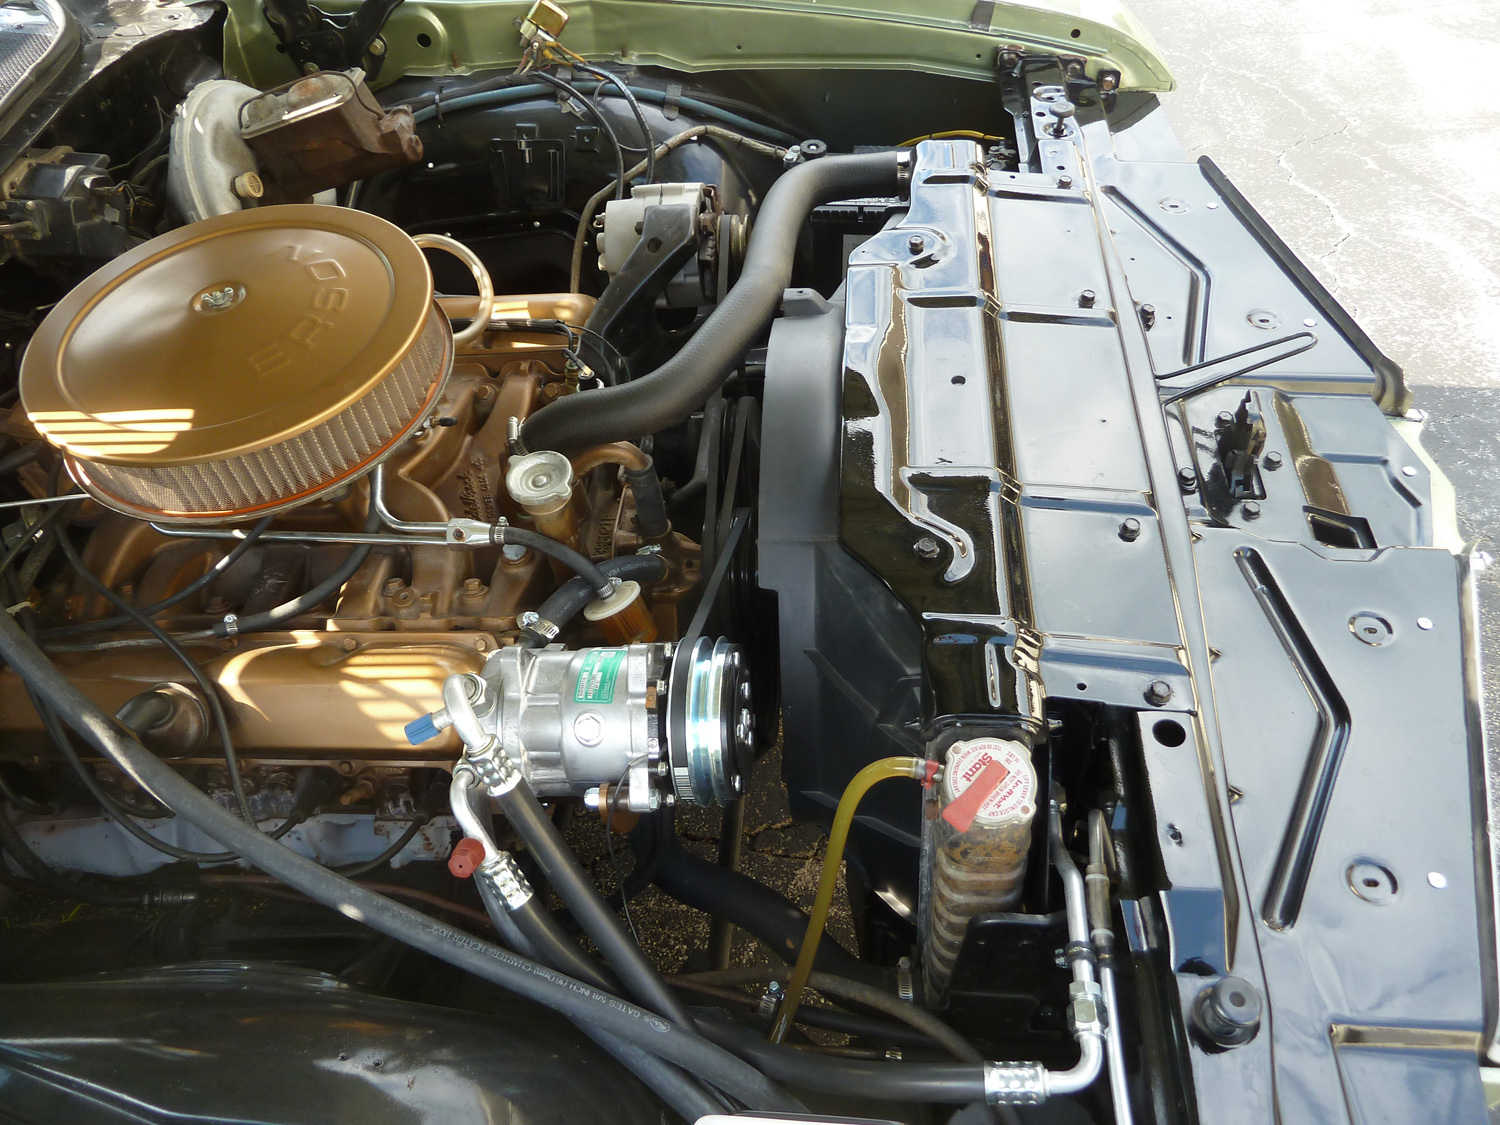
I took my time doing the restoration because I could only work on it about twice a week after work for a few hours. There was a pretty long spell when I was too busy to do any work at all. I had the motor rebuilt professionally by a local hot-rodder mechanic in about 2006. The engine was already bored .060 over, so this is probably its third rebuild. He honed the cylinders since he couldn't go over .060 over. All the machine work was done by a local shop with a great reputation (all receipts included). It has a new camshaft and all the valves were ground. We installed an Edelbrock Torker 455 manifold and a Holley four-barrel carburetor with a manual choke. Pull the choke and it starts up every time. I also installed an HEI distributor by Accel, a new water pump, and oil pump. The engine runs great but on the hot side due to its big bore (I think... I had the radiator rodded out and cleaned up and installed a new fan clutch. It still runs about 220 in the summer, but it doesn't boil over. Perhaps this could be remedied by a couple of electric fans.)
This web page is going to have a LOT of high-res photos of the car. I've been in your shoes a couple times; first with this car back in 2005 and with my motorcycle in 2009. During those "long distance purchases" I wished I'd had better photos from the seller, something I could zoom in on and see the thing in detail. I live by the Golden Rule -- I am treating you as I would like to have been treated! Enjoy the photos of the good, bad, and ugly. I will tell you 100% the truth about the car because that's what I'd hope for, too.
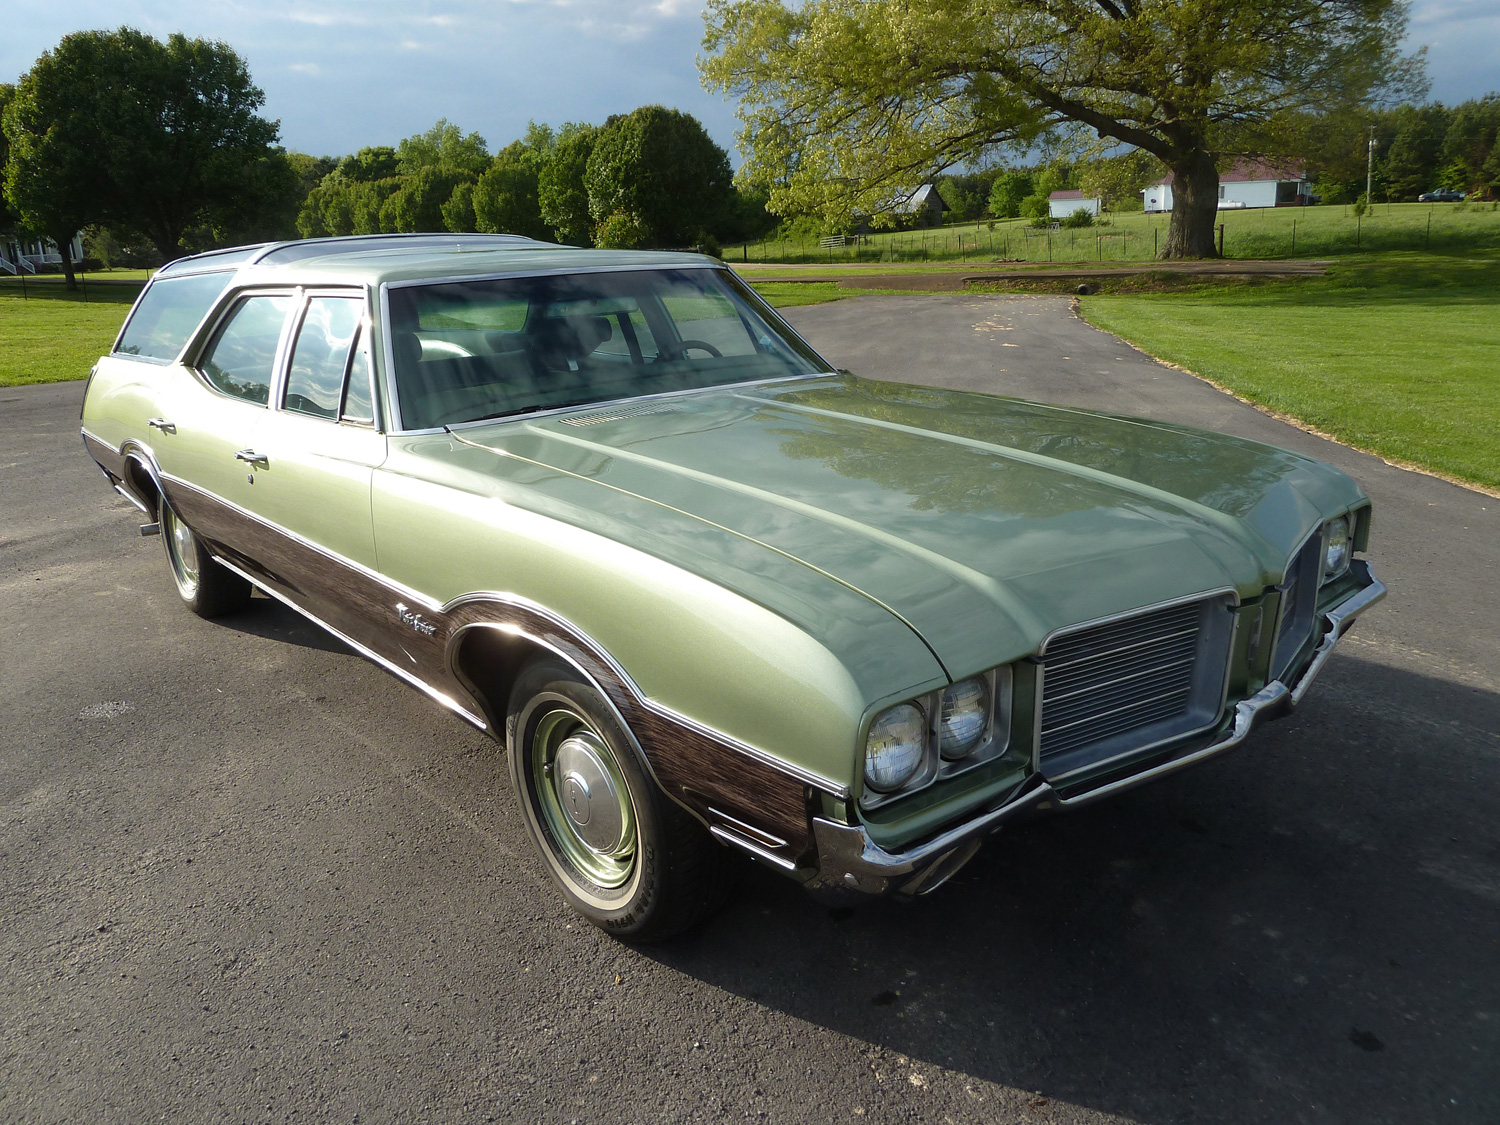
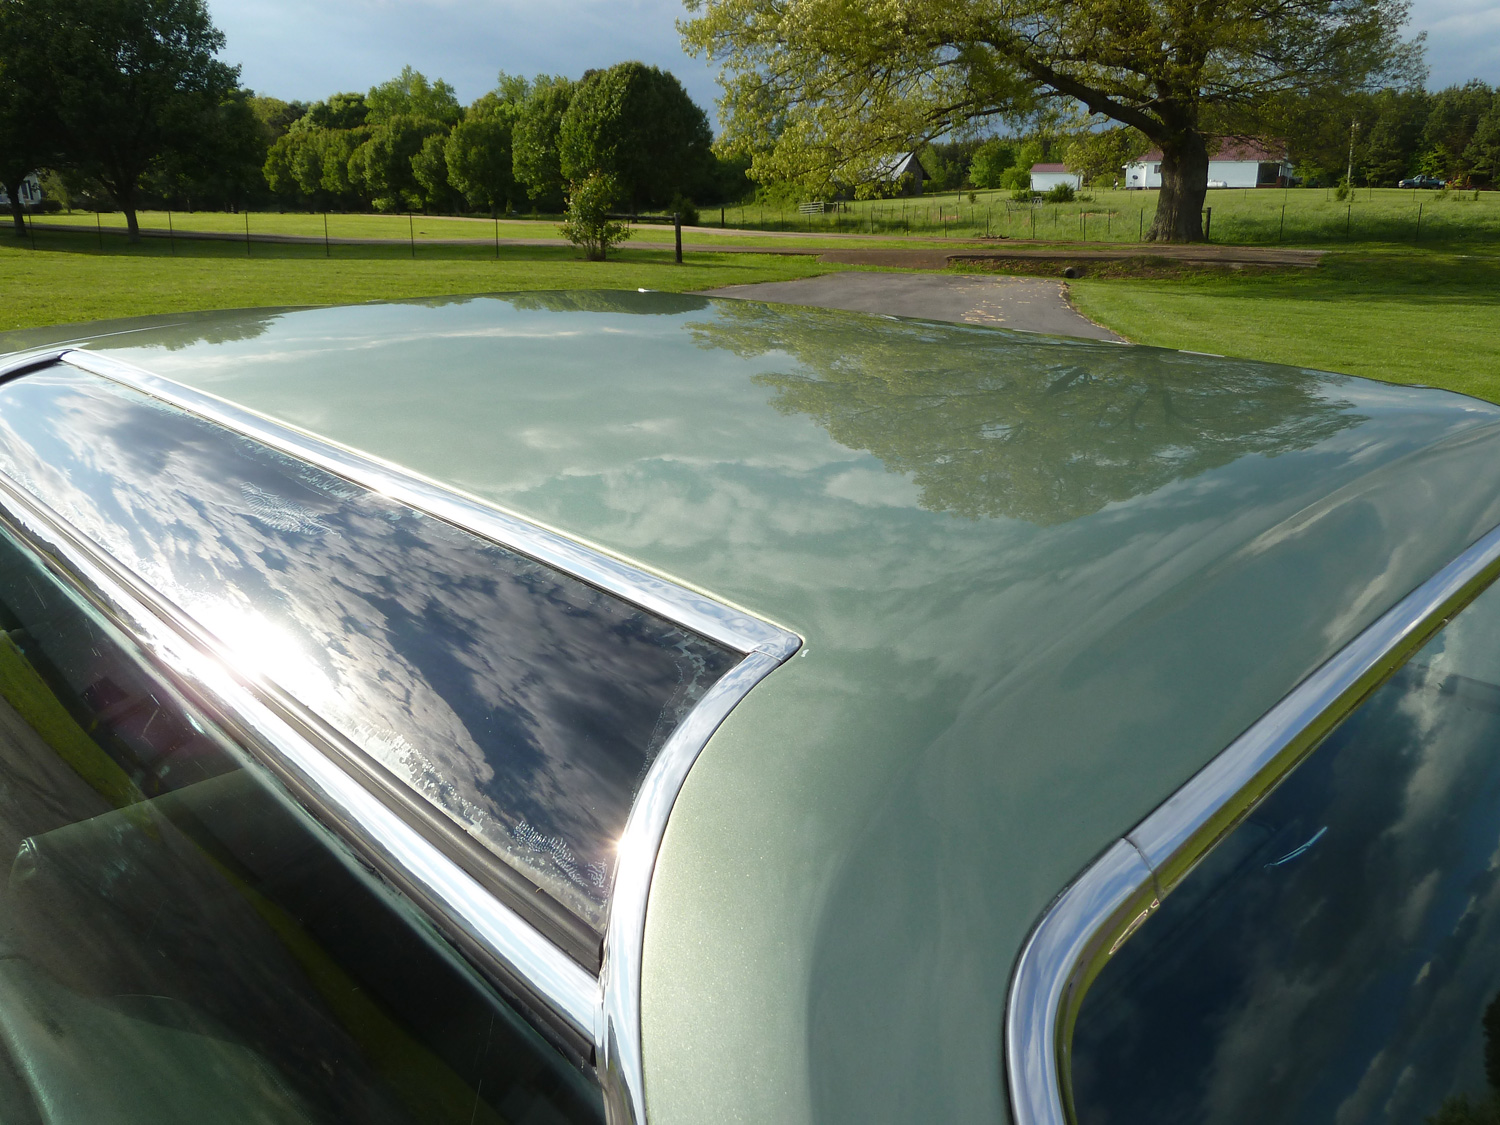
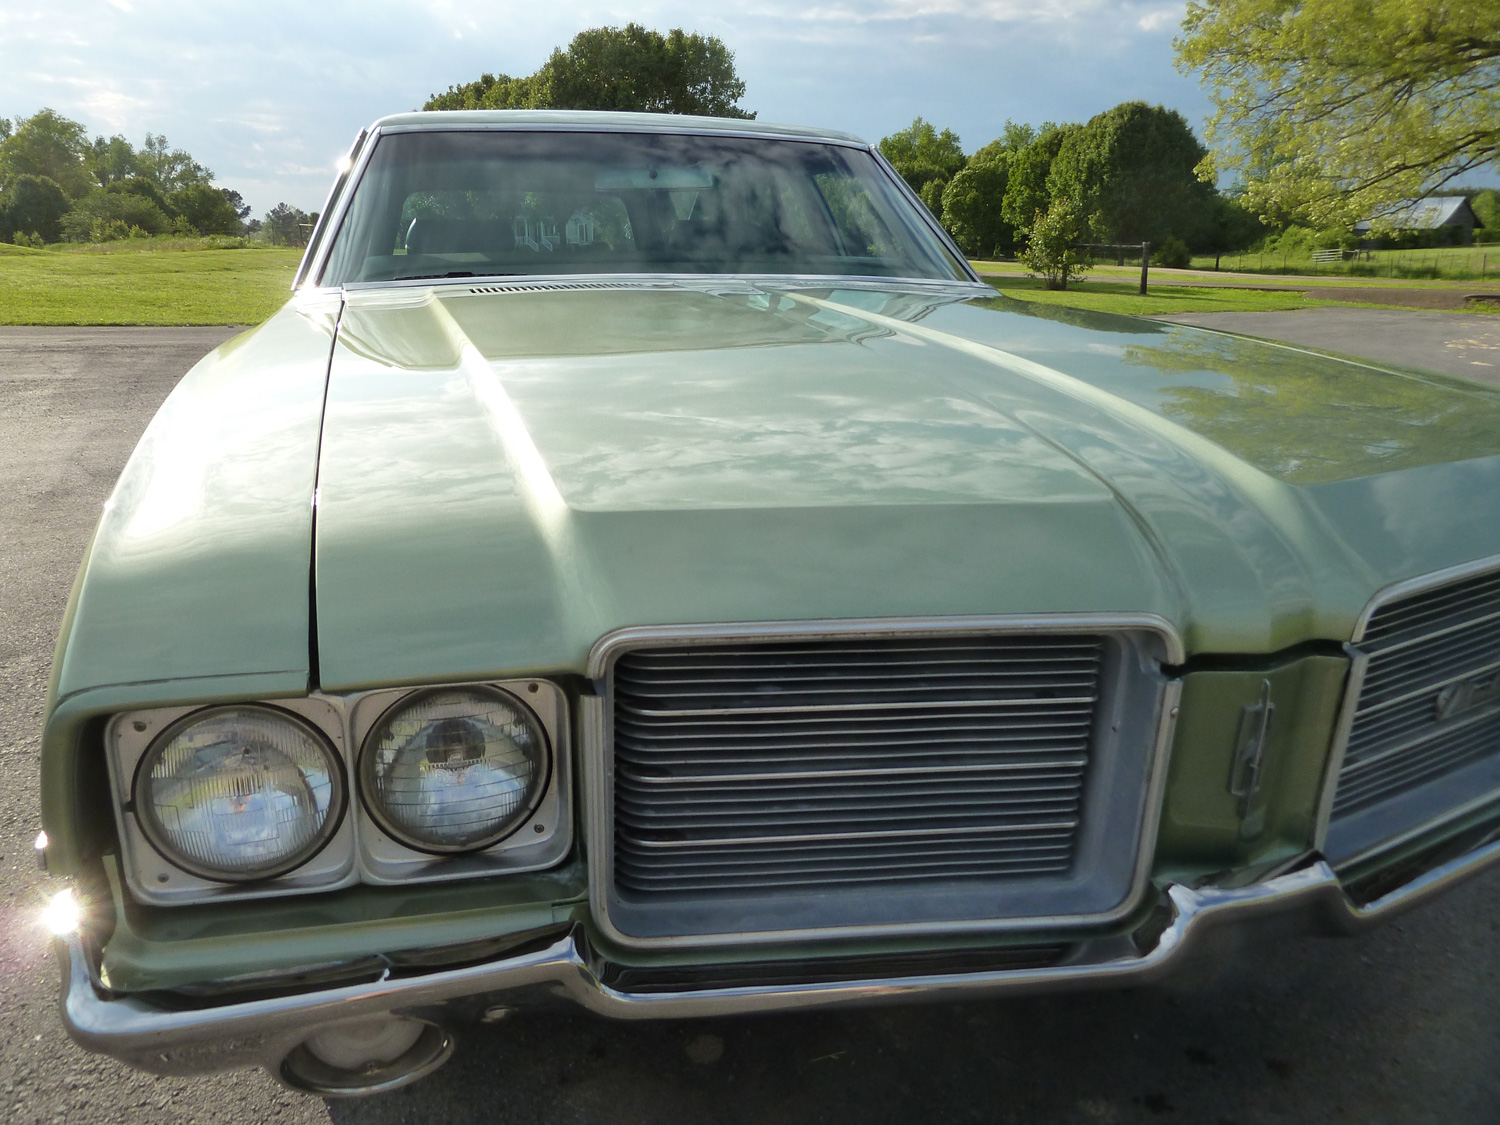
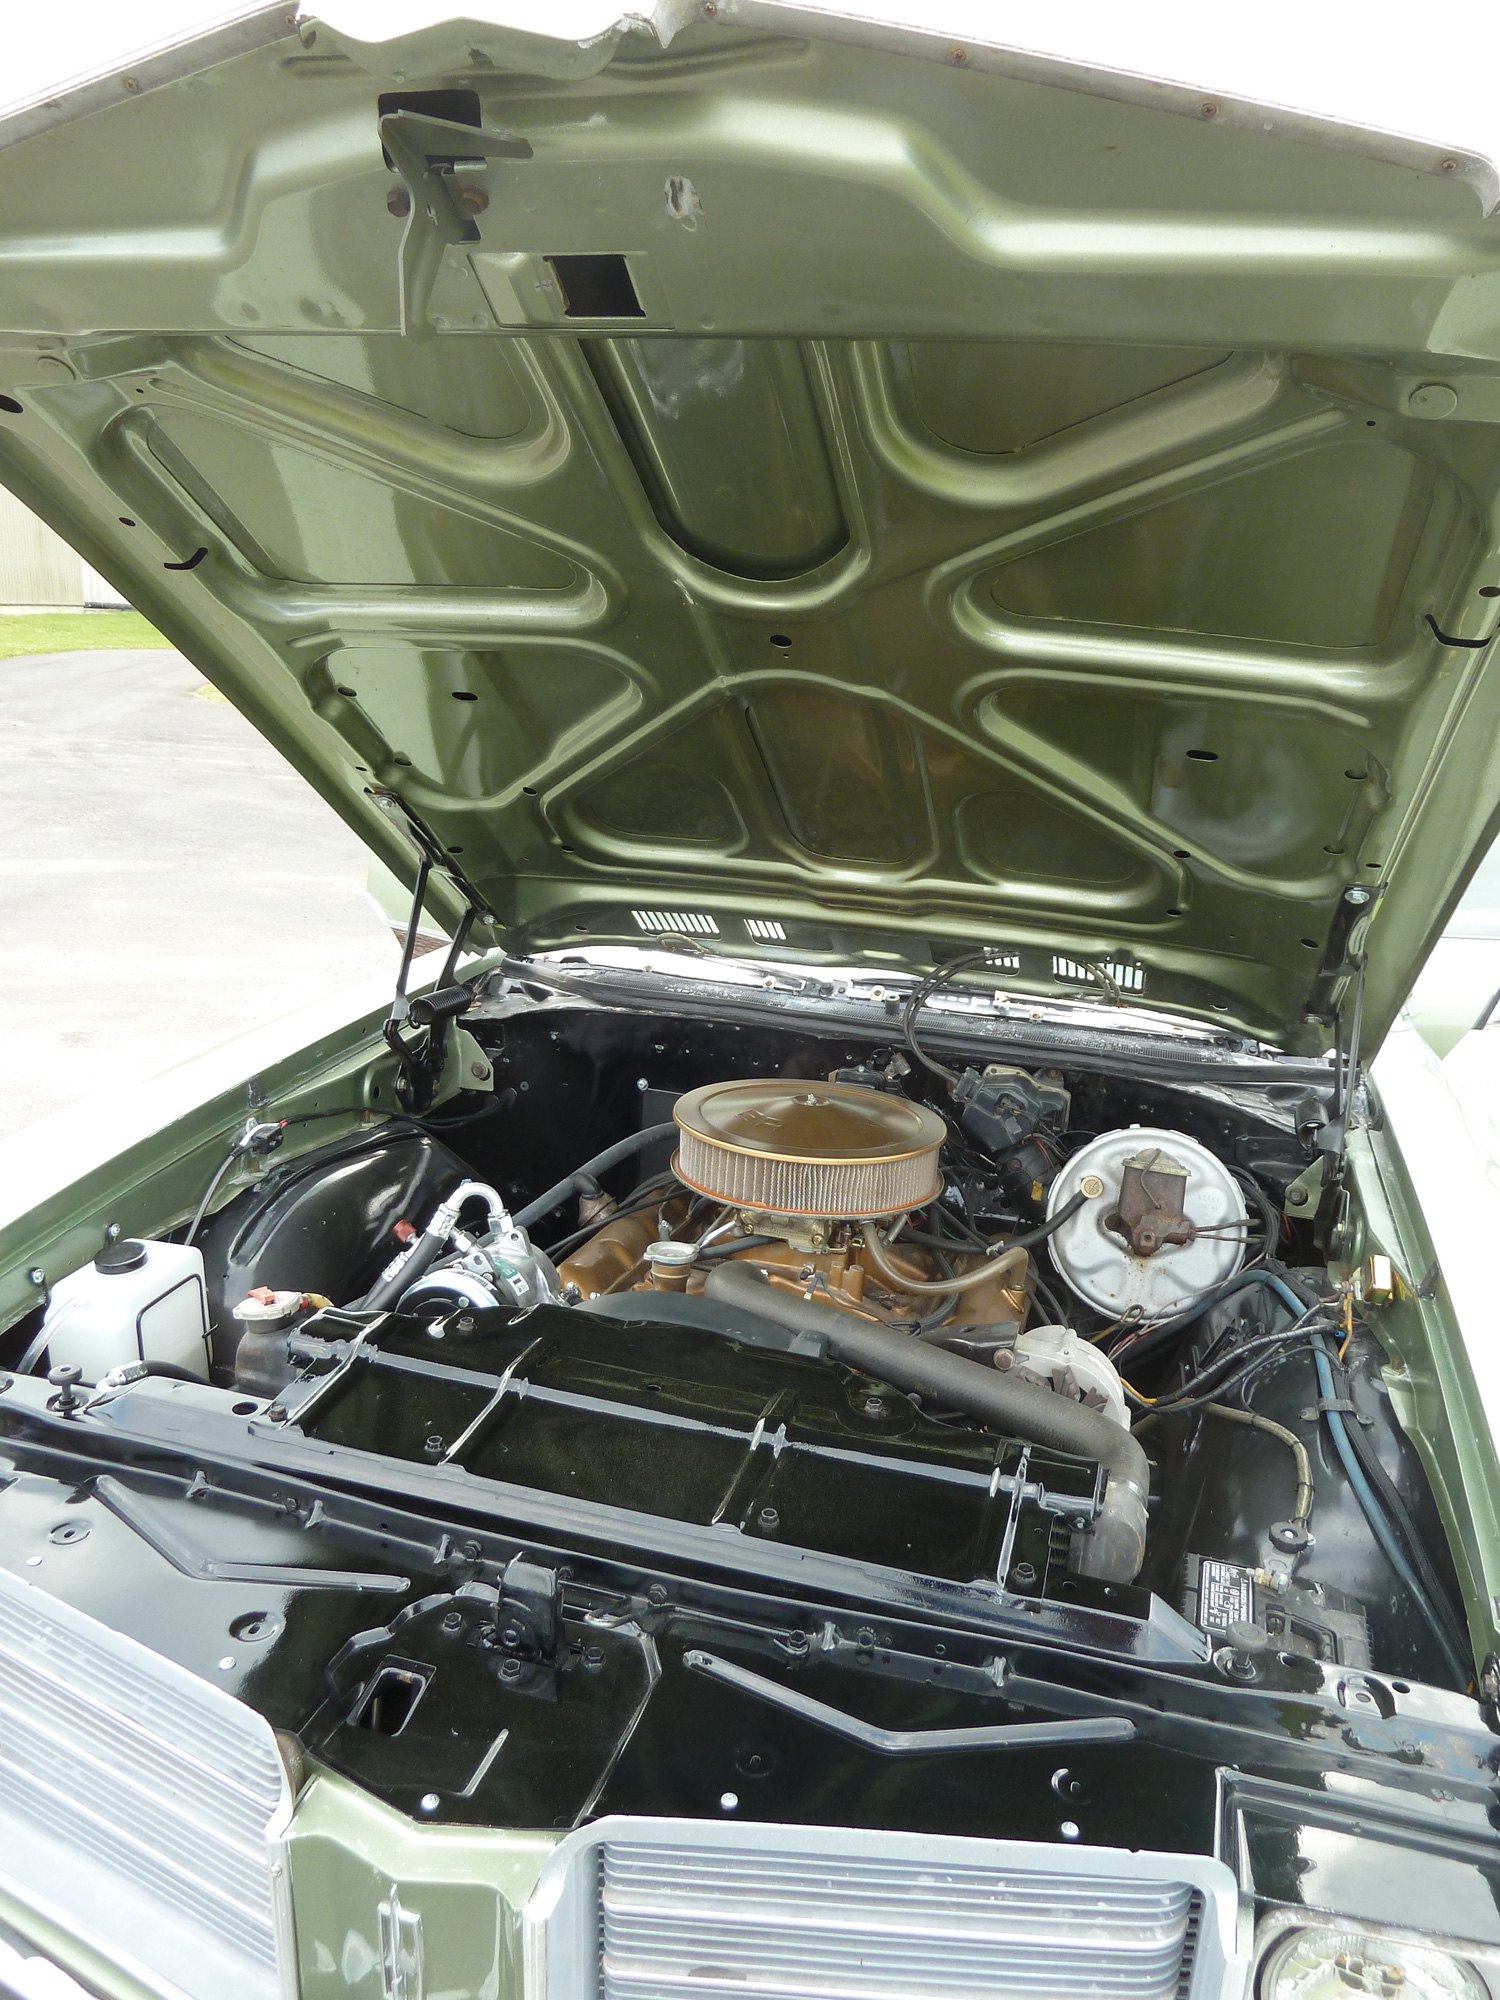
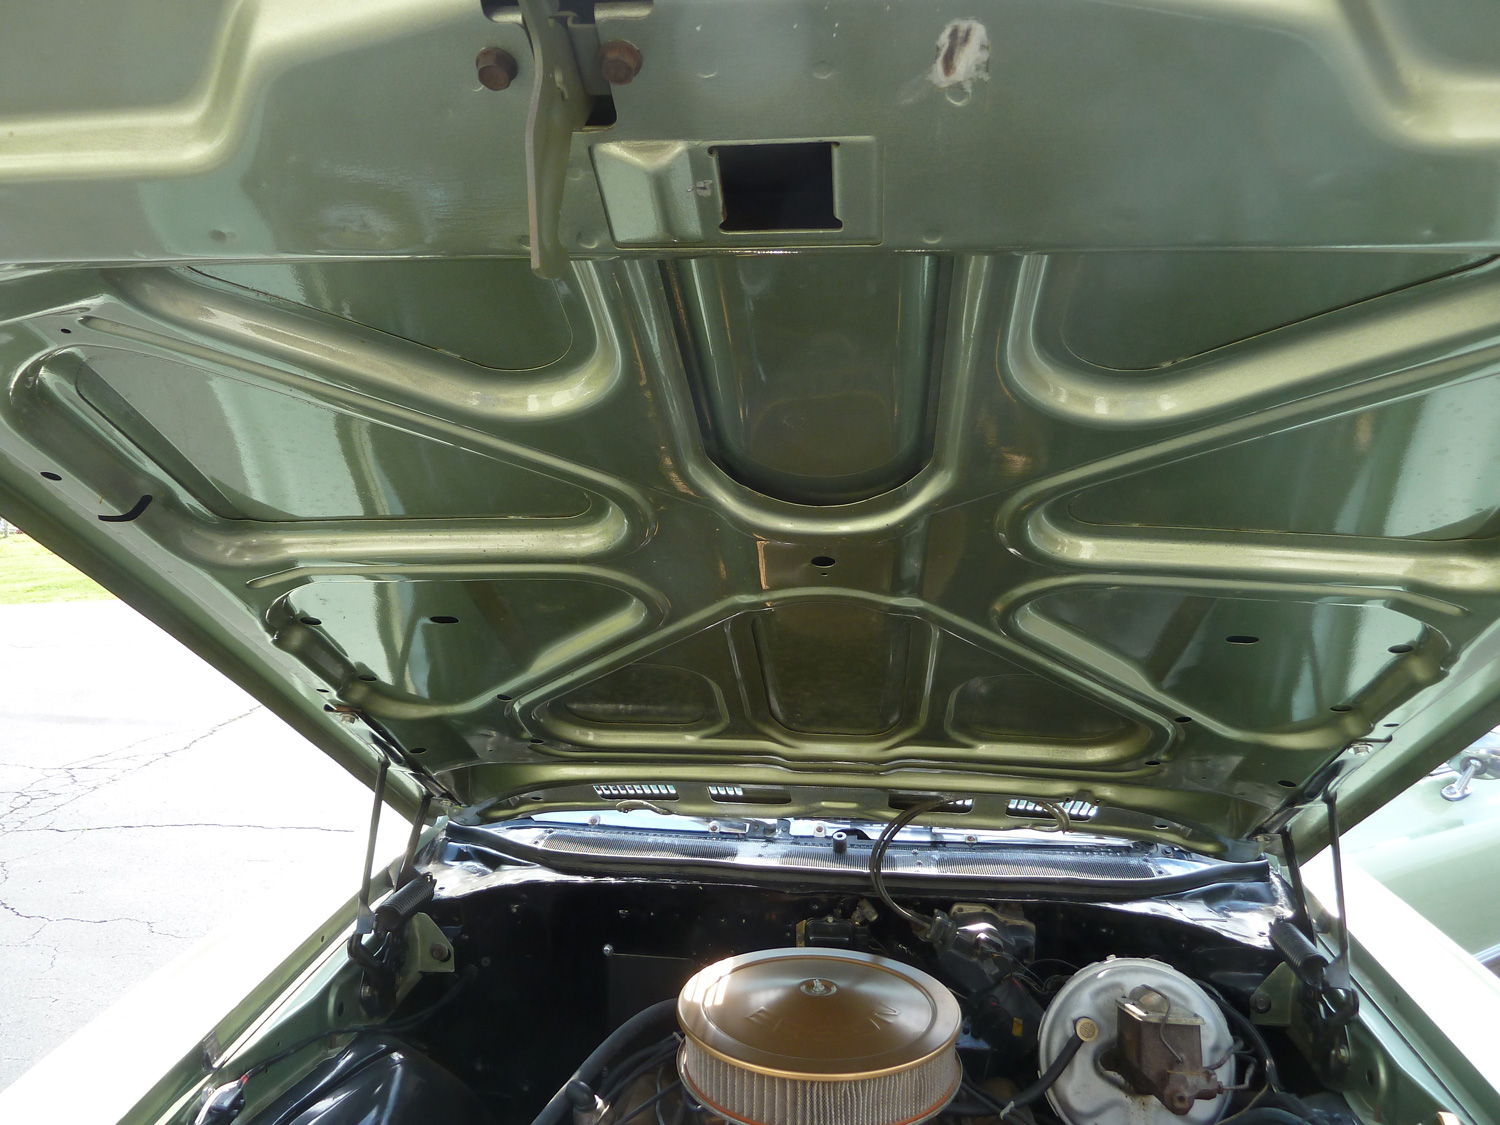
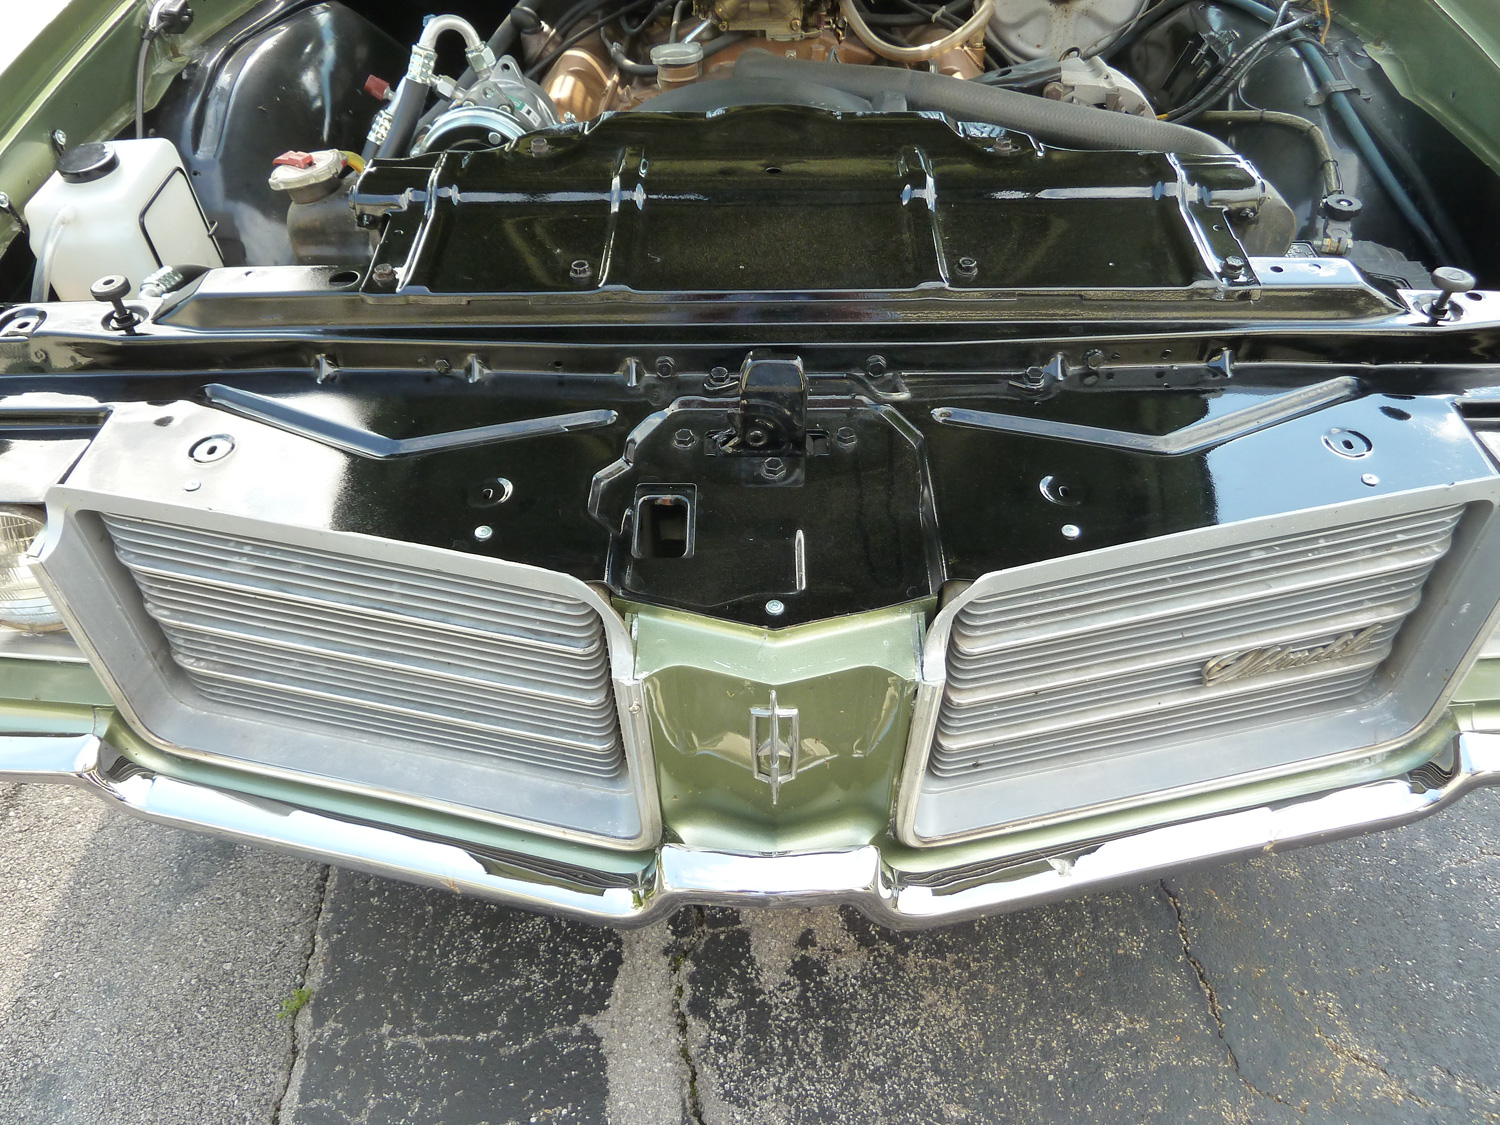
While the engine was out of the car, I sandblasted, epoxy primed, and painted under the hood (firewall and frame rails) with glossy black single-stage urethane paint. There's a nice photo down there somewhere that shows it in this stage. Before I go too far, let me show you a nice photo I took on a pretty spring day in Rainsville, Alabama, where the Vista has been stored indoors ever since I bought it.
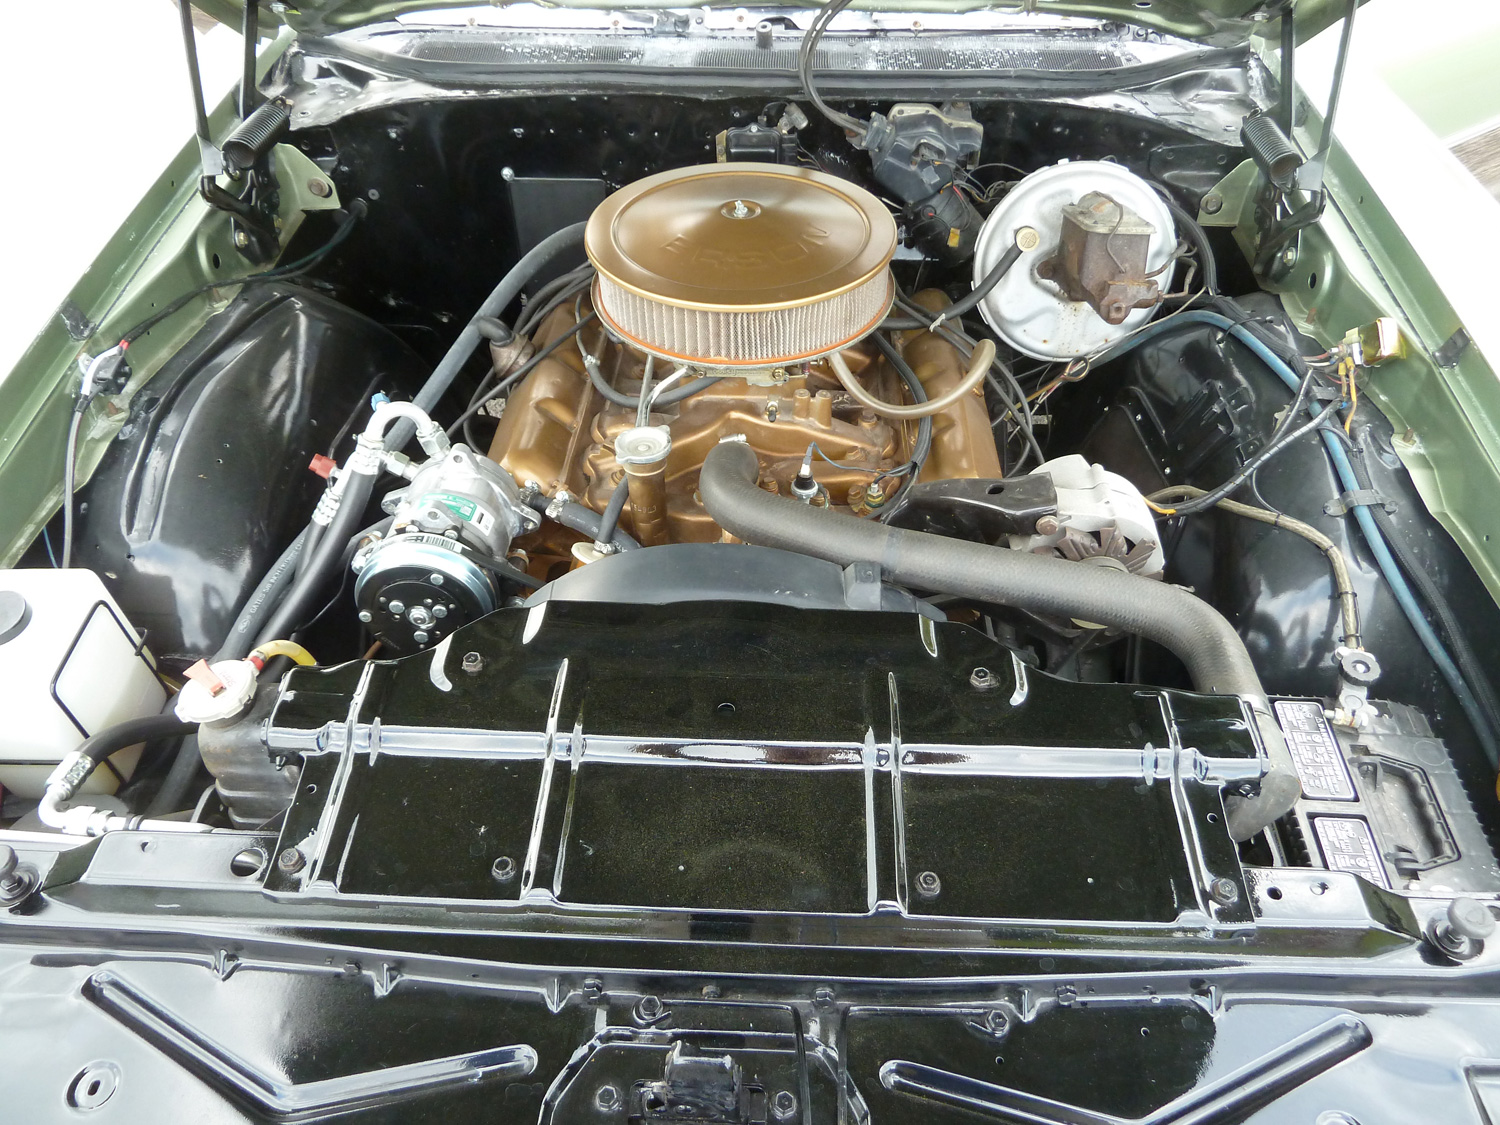
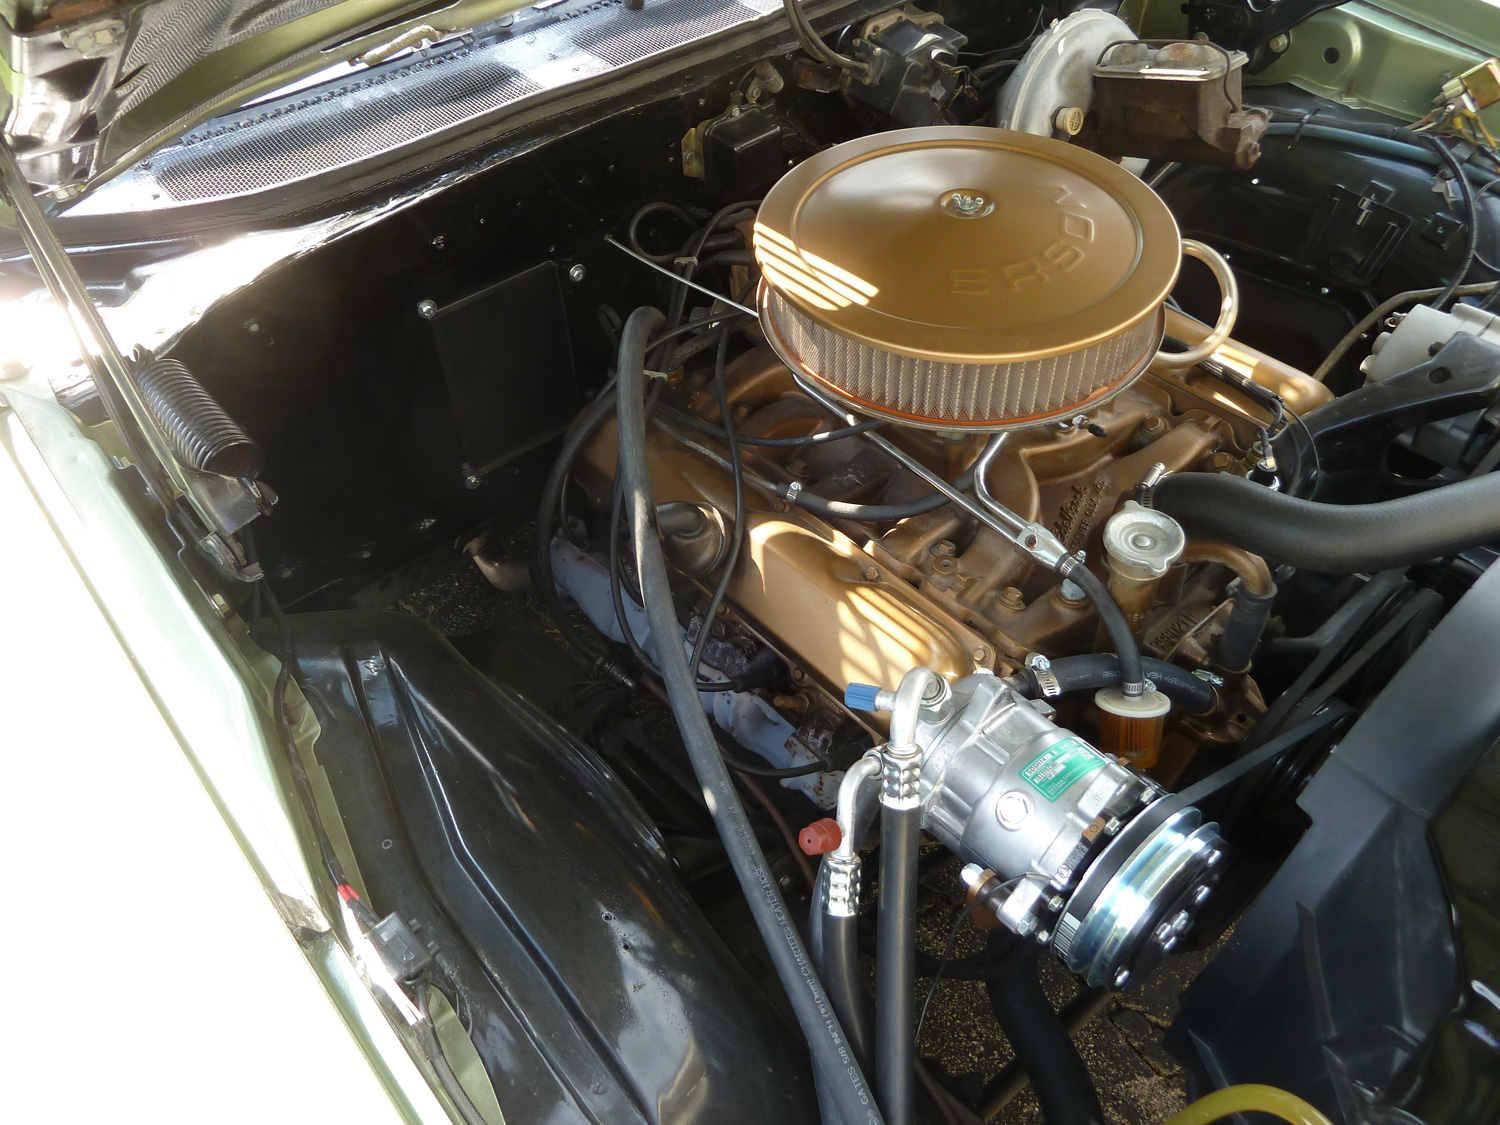
While I had the engine out and the fenders and hood off, I did bodywork on the fenders and hood and painted the under- and back-sides of these panels as well. When I got the engine back from the machine shop, I couldn't resist painting it Olds Gold because it looked so good with the green color. I know it's not the correct color for the 455, but I hope you understand why I just couldn't stand to put a baby blue blob in that pretty space. I made my decision and I'll take my lumps! Regarding the green exterior color, it's actually a Ford "kiwi green" from a 2008-era Ford Escort. It's a pretty shade with a bit more sparkle than the original. Ditto taking my lumps!
Once I got the engine, fenders, and hood back in, it was time to get down to some serious body work! Like I said the car was straight and rot-free, but there were some rust spots in the spare wheel well and at the bottom of the tailgate. I welded new metal in both areas, but there's already evidence of some rust coming back (see the "Rust Never Sleeps" photo section at the bottom!). This Vista is not going to win any concours events, but it is a great fun driver. I just showed it at Corky Coker's Chattanooga Cruise-In in March and I got a ton of great comments about the car. One woman wouldn't stop raving--she proclaimed it as her favorite car at the event! Anyway, there are some blemishes on the car and I've taken photos of them all so you're fully informed.
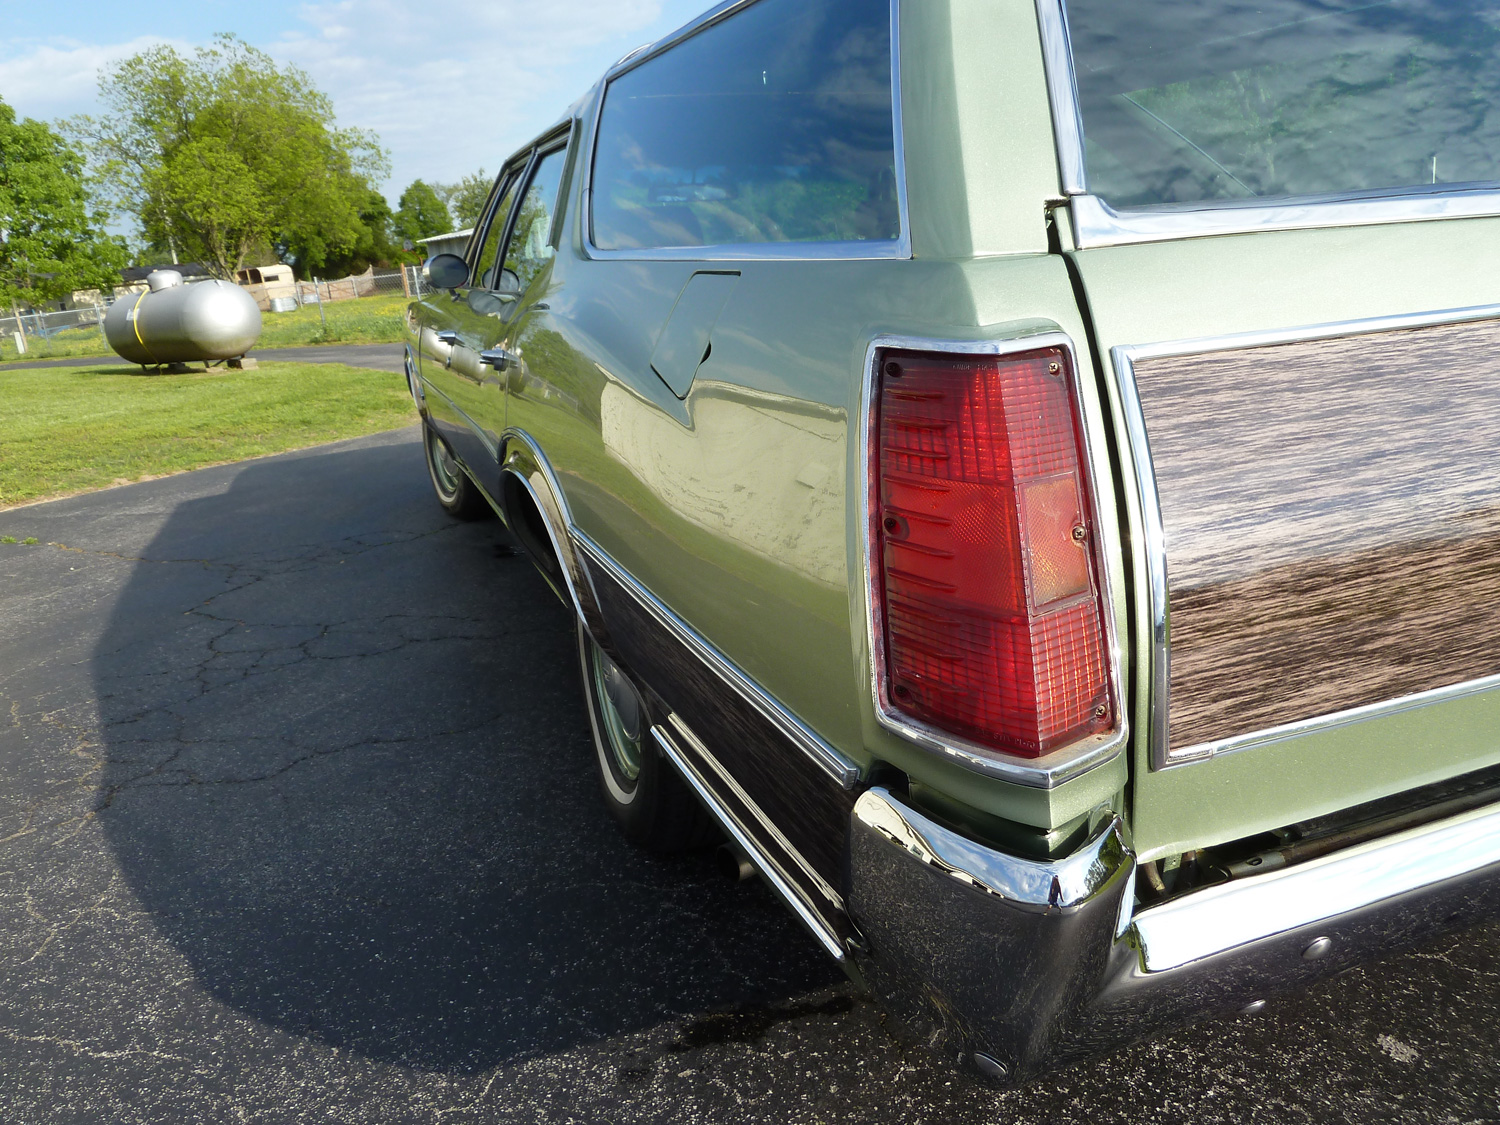
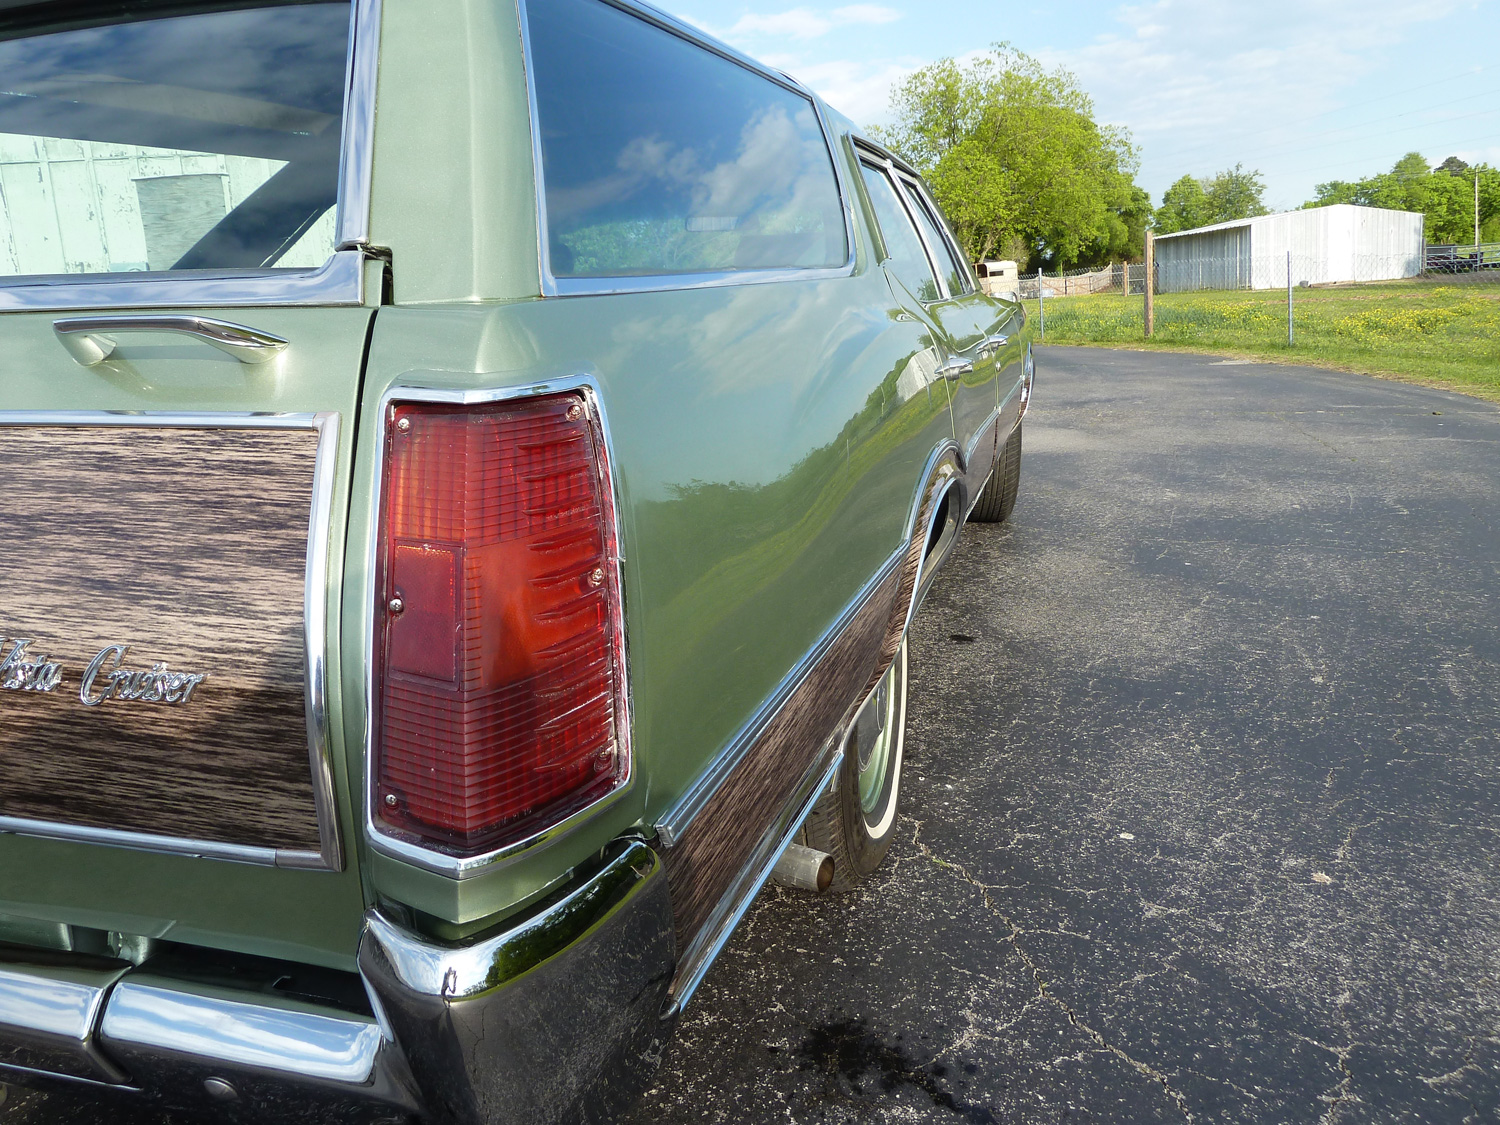
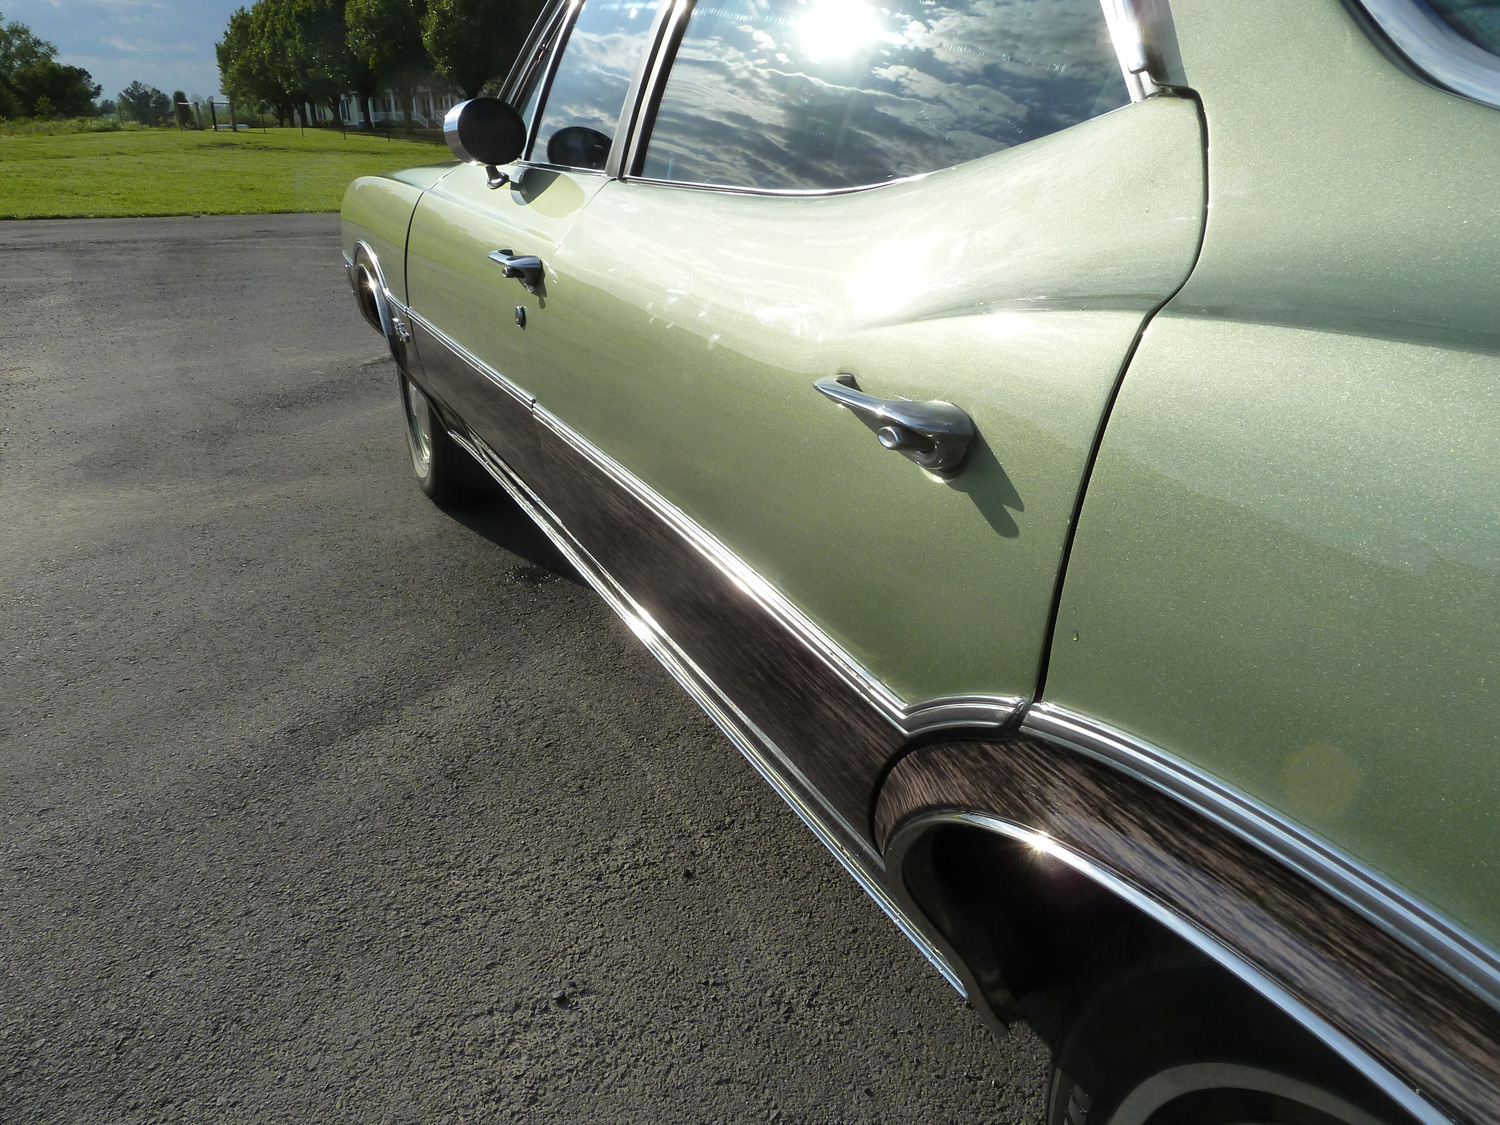
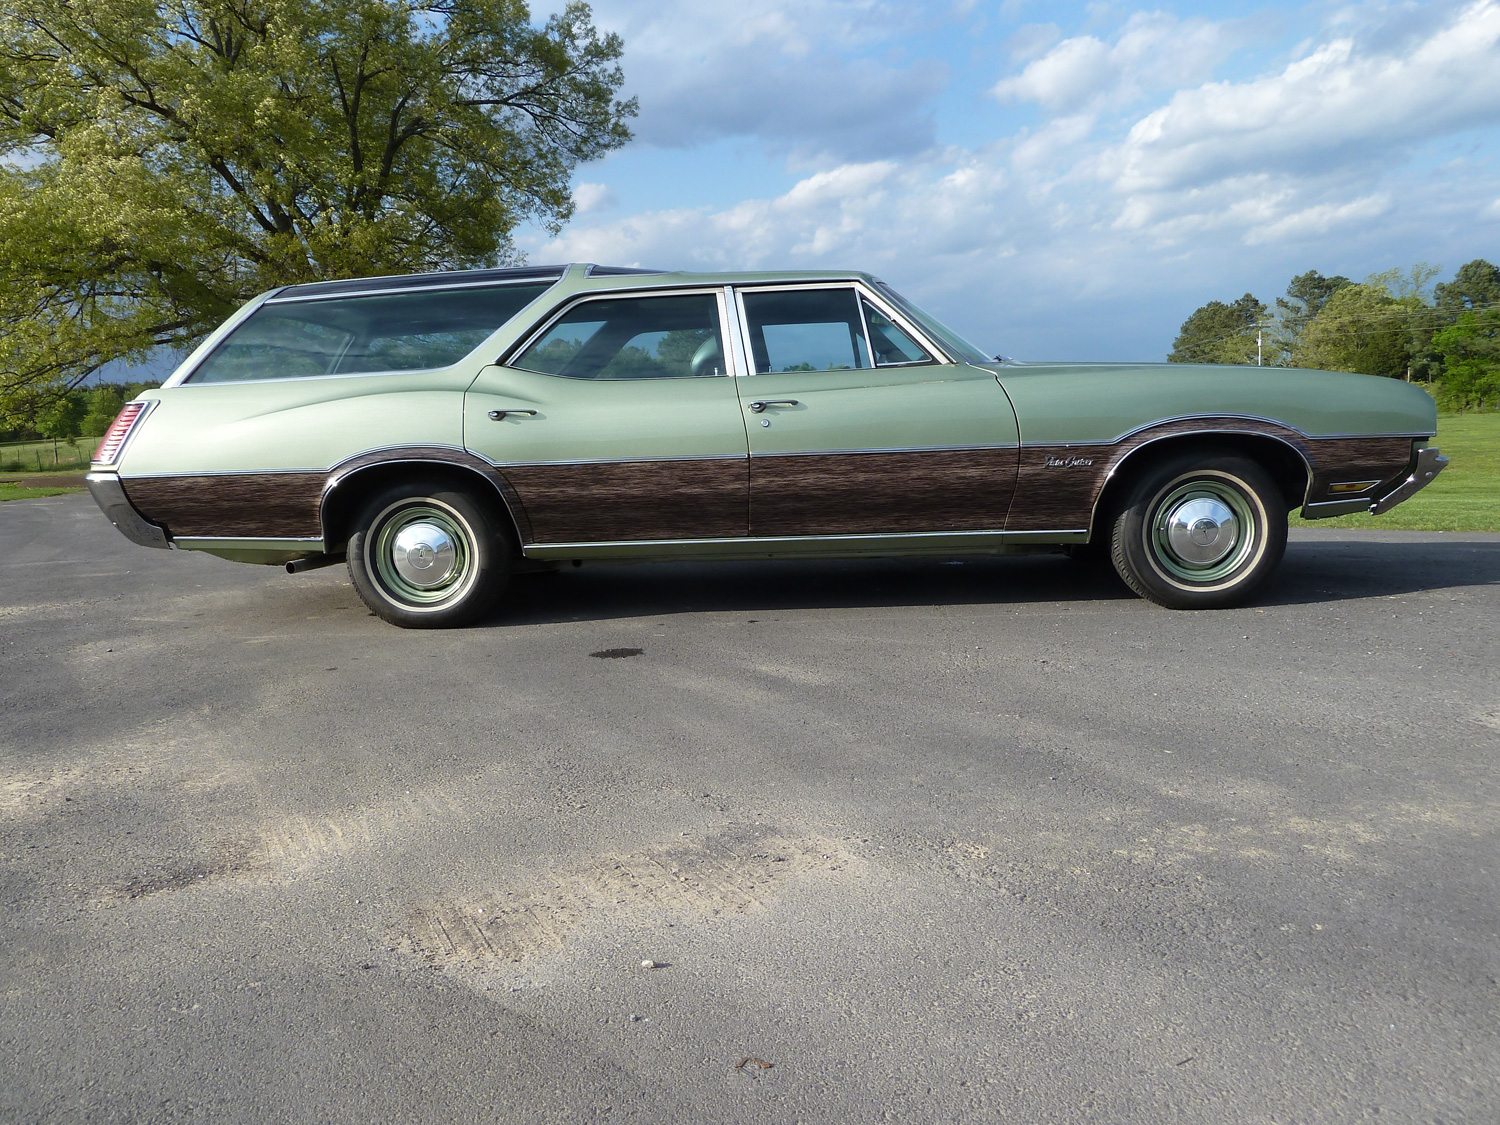
Before I go on, let's take a look at a side view photo. The story continues below.
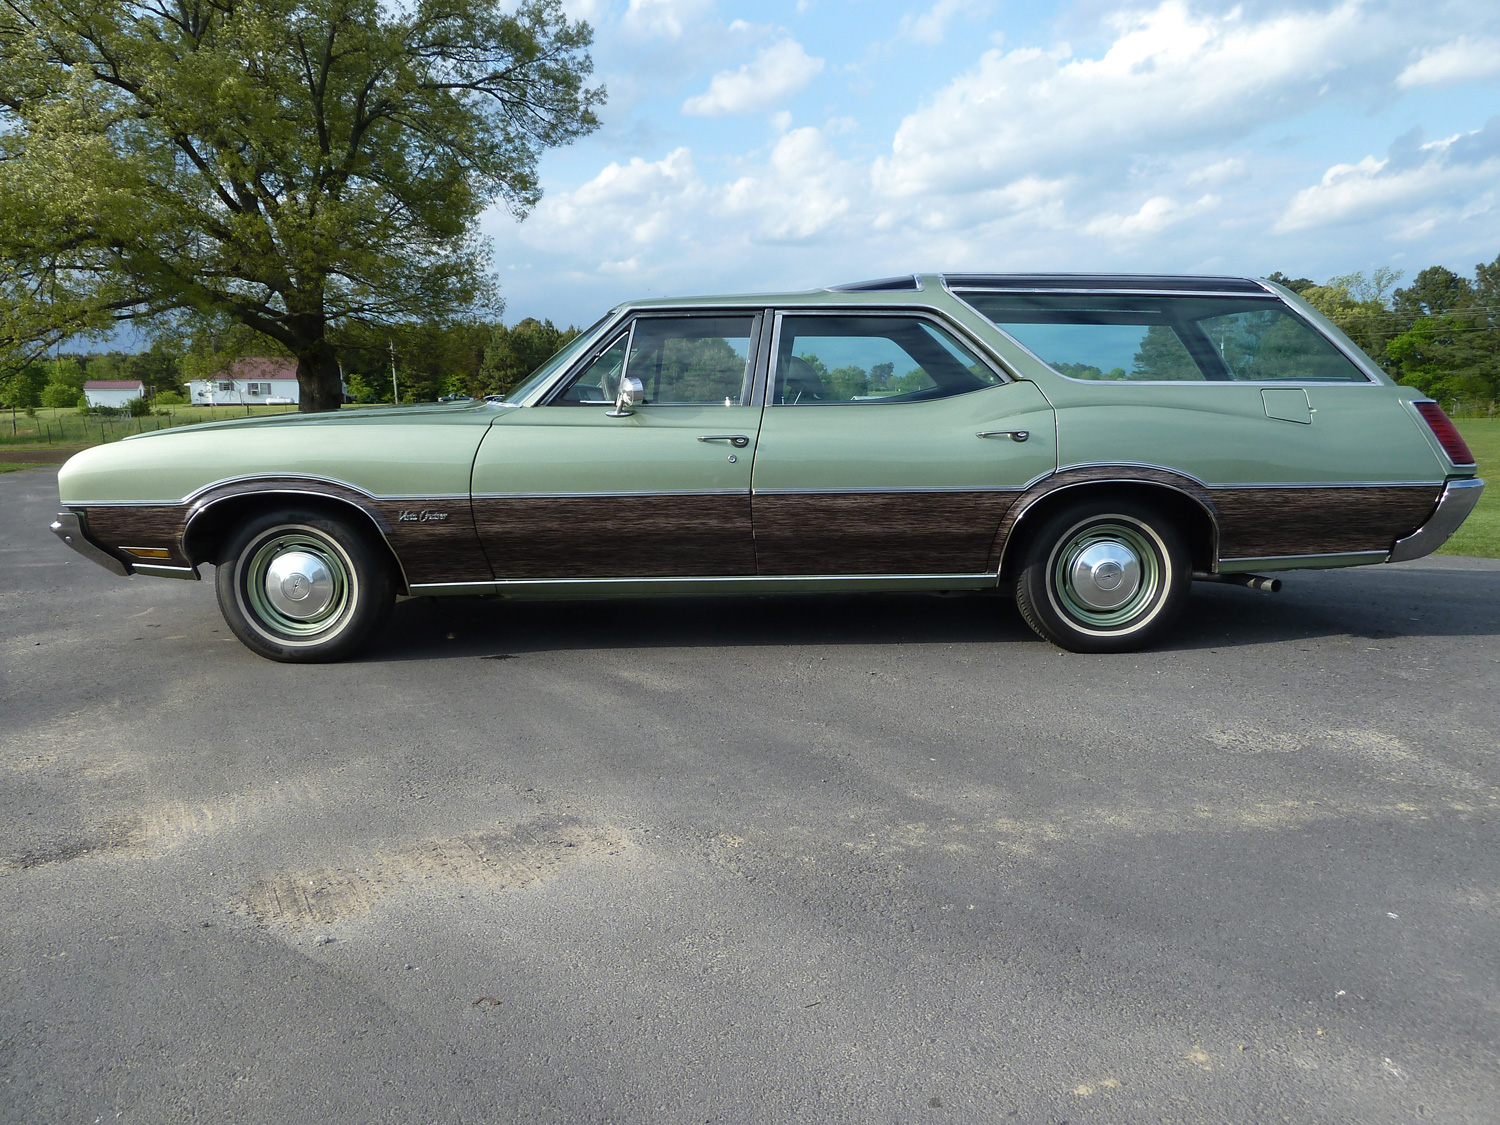
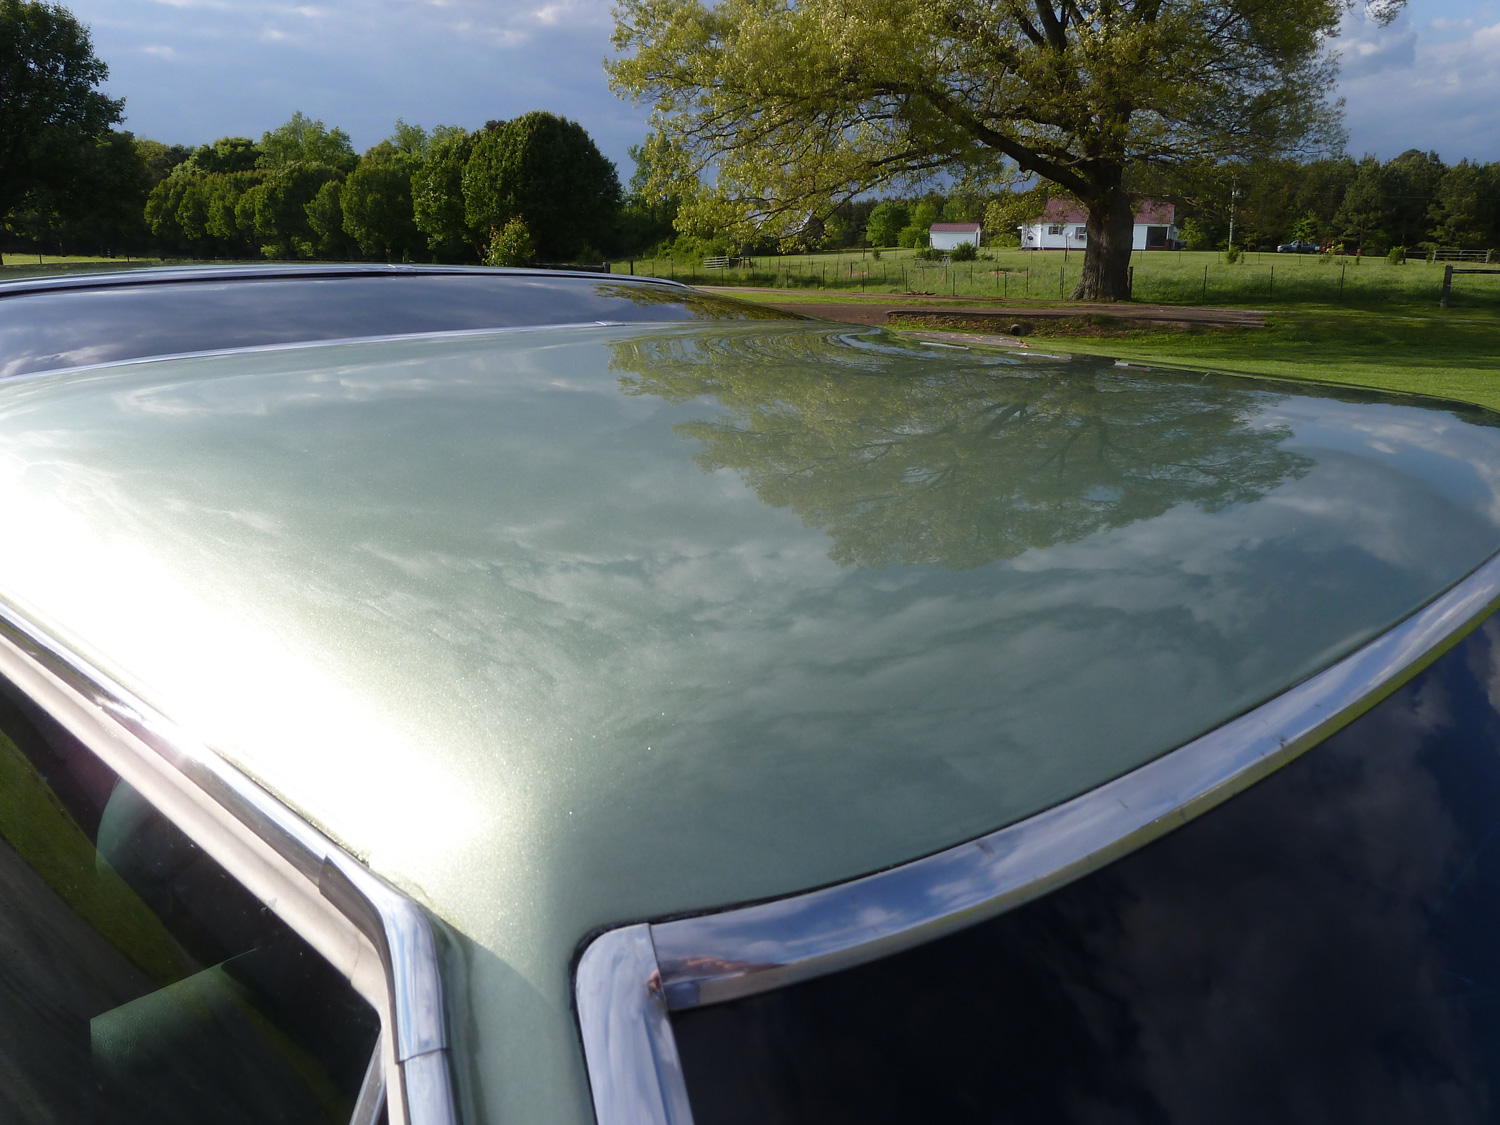
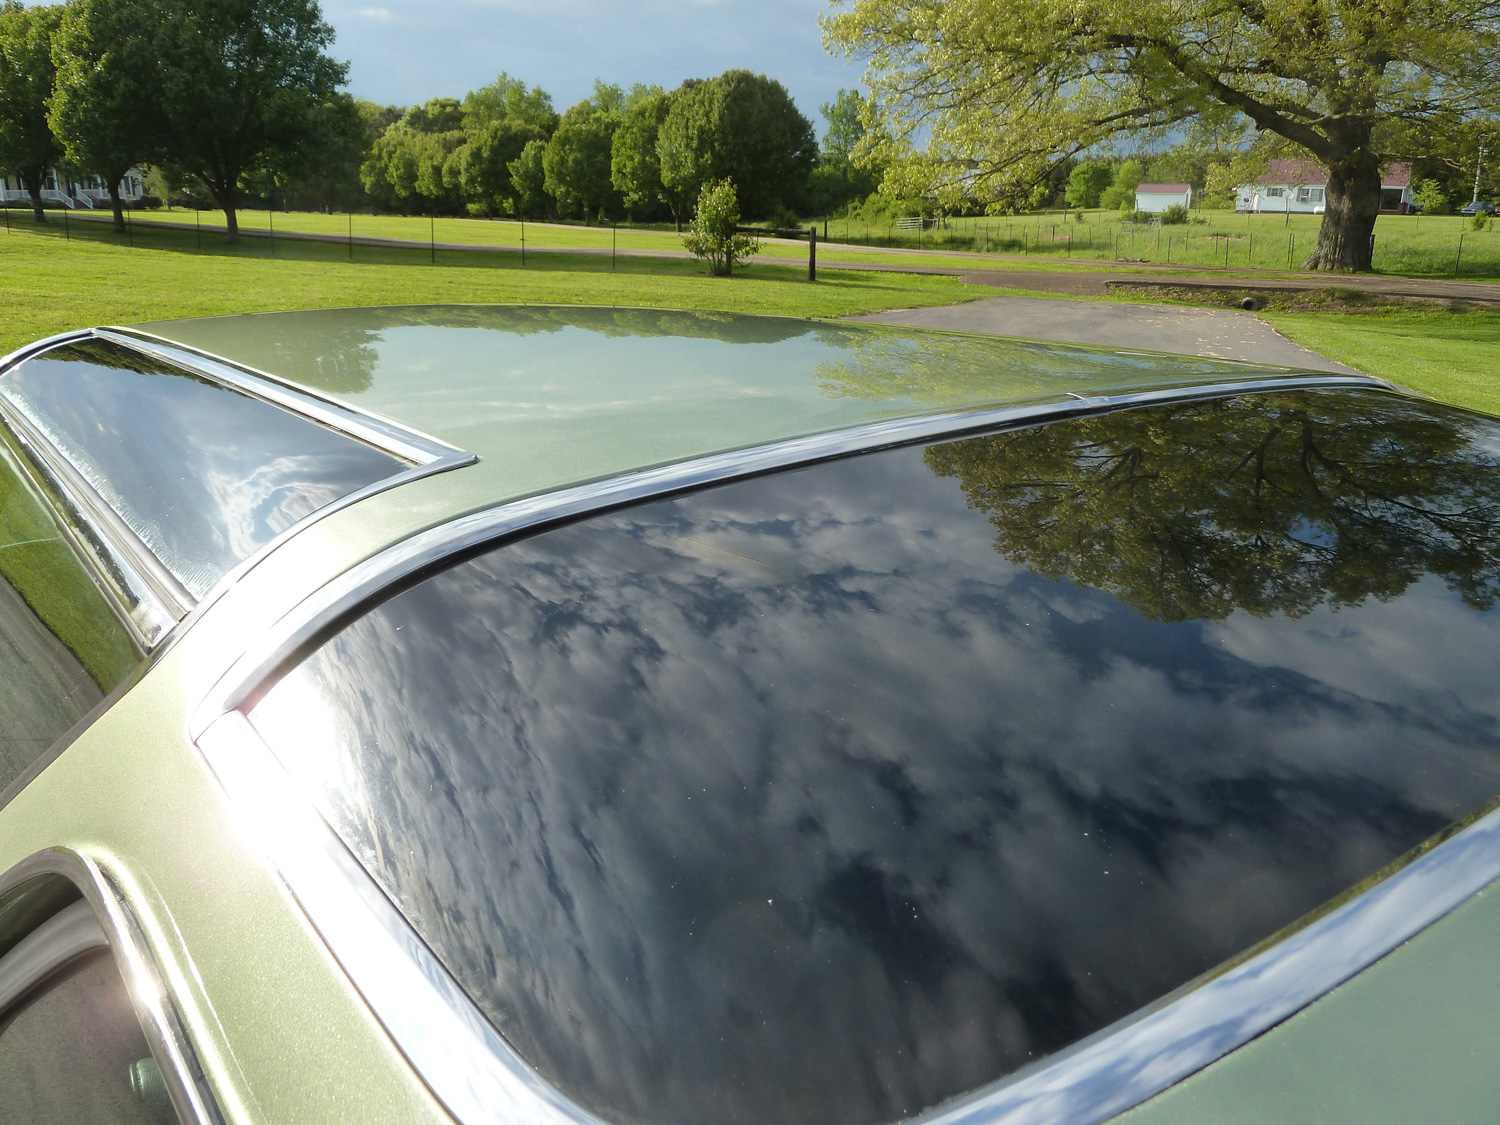
The body work was the biggest task of all. I hand-sanded every square millimeter of the car's sheetmetal during the process, getting down to bare metal in most cases but always down to the factory finish. I used polyester filler to fill the low spots, then more hand sanding with a long file board to get everything as flat as I possibly could. I even discovered that the factory lead filler at the top of the C and D pillars was really poorly finished. I agonized a bit, wondering if it was acceptable to smooth out these areas that were wavy from the factory. I finally decided to go for the smooth look. I hope the photos below tell you that I was right.
After I got it as smooth as I could, I painted the entire car with urethane two-part primer surfacer. (I forgot to mention that I pulled all the glass out of the car before I primed it so I could prepare the window channels the right way). I then sprayed some guide coat on and broke out the long board again and hand sanded the whole car with 180 grit. I had to fix some wavy areas that I'd missed the first time around. Then more primer, more sanding, etc. In the end I wet sanded the whole car with 400 grit before spraying the color on. The whole body work process from beginning to end took over a year (again, two nights a week max).
After all that work, I didn't dare try spraying the color on in my garage. I took it to George Eid at Iron Horse Bodyworks here in Rainsville, Alabama in 2011 (R.I.P. George). I did all the prep work and masking; he drove it into his spray booth and laid down the PPG Kiwi Green urethane basecoat and PPG clear for me. In the end, there was a bit more orange peel that I liked, but George was getting up in years so I had to cut him a break. I knew I was going to have to break out the sanding blocks again anyway.
Enough words for now, time for another photo...
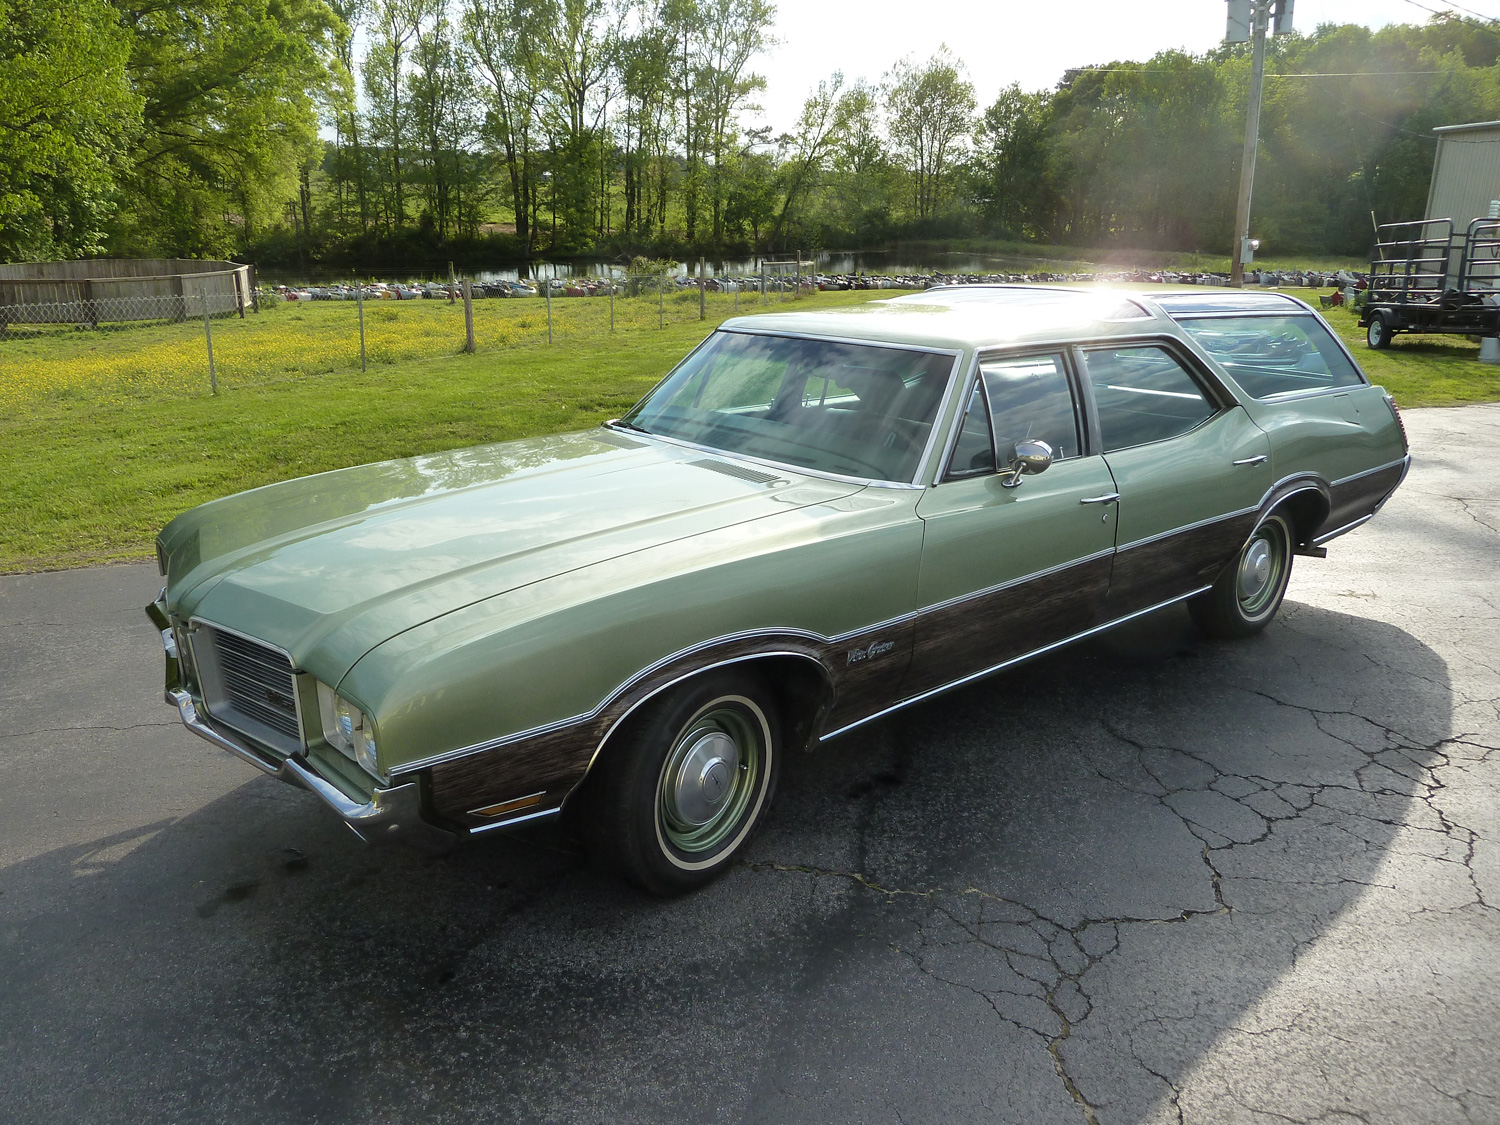
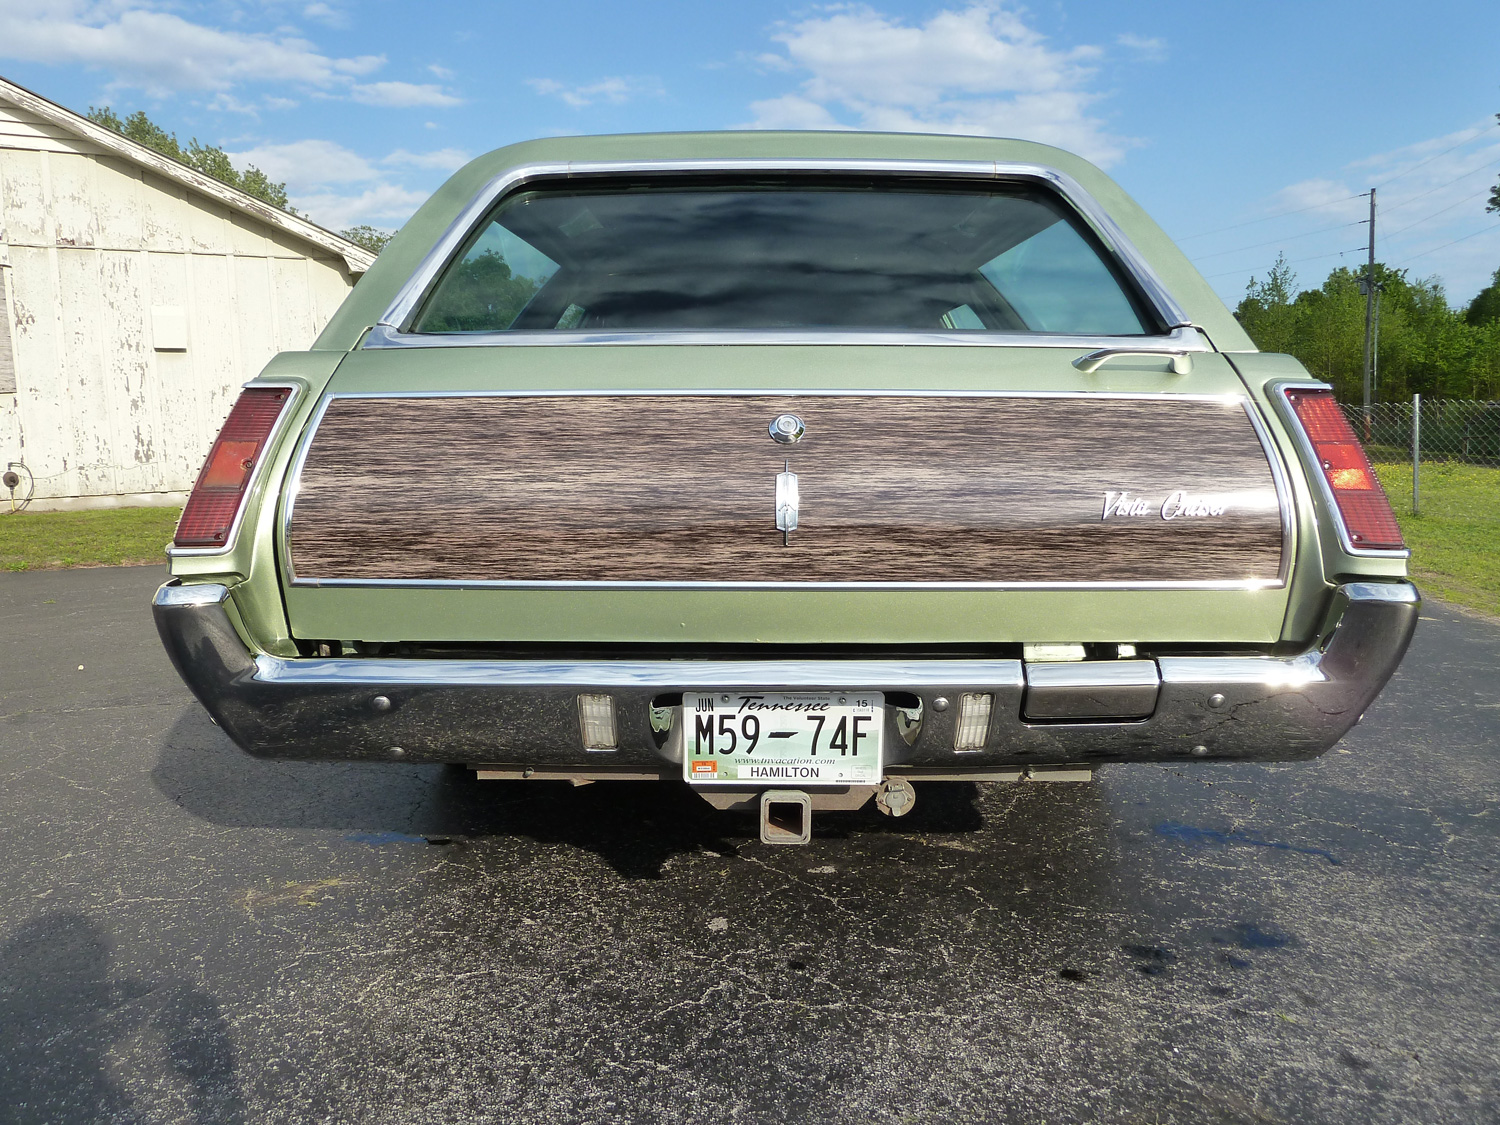
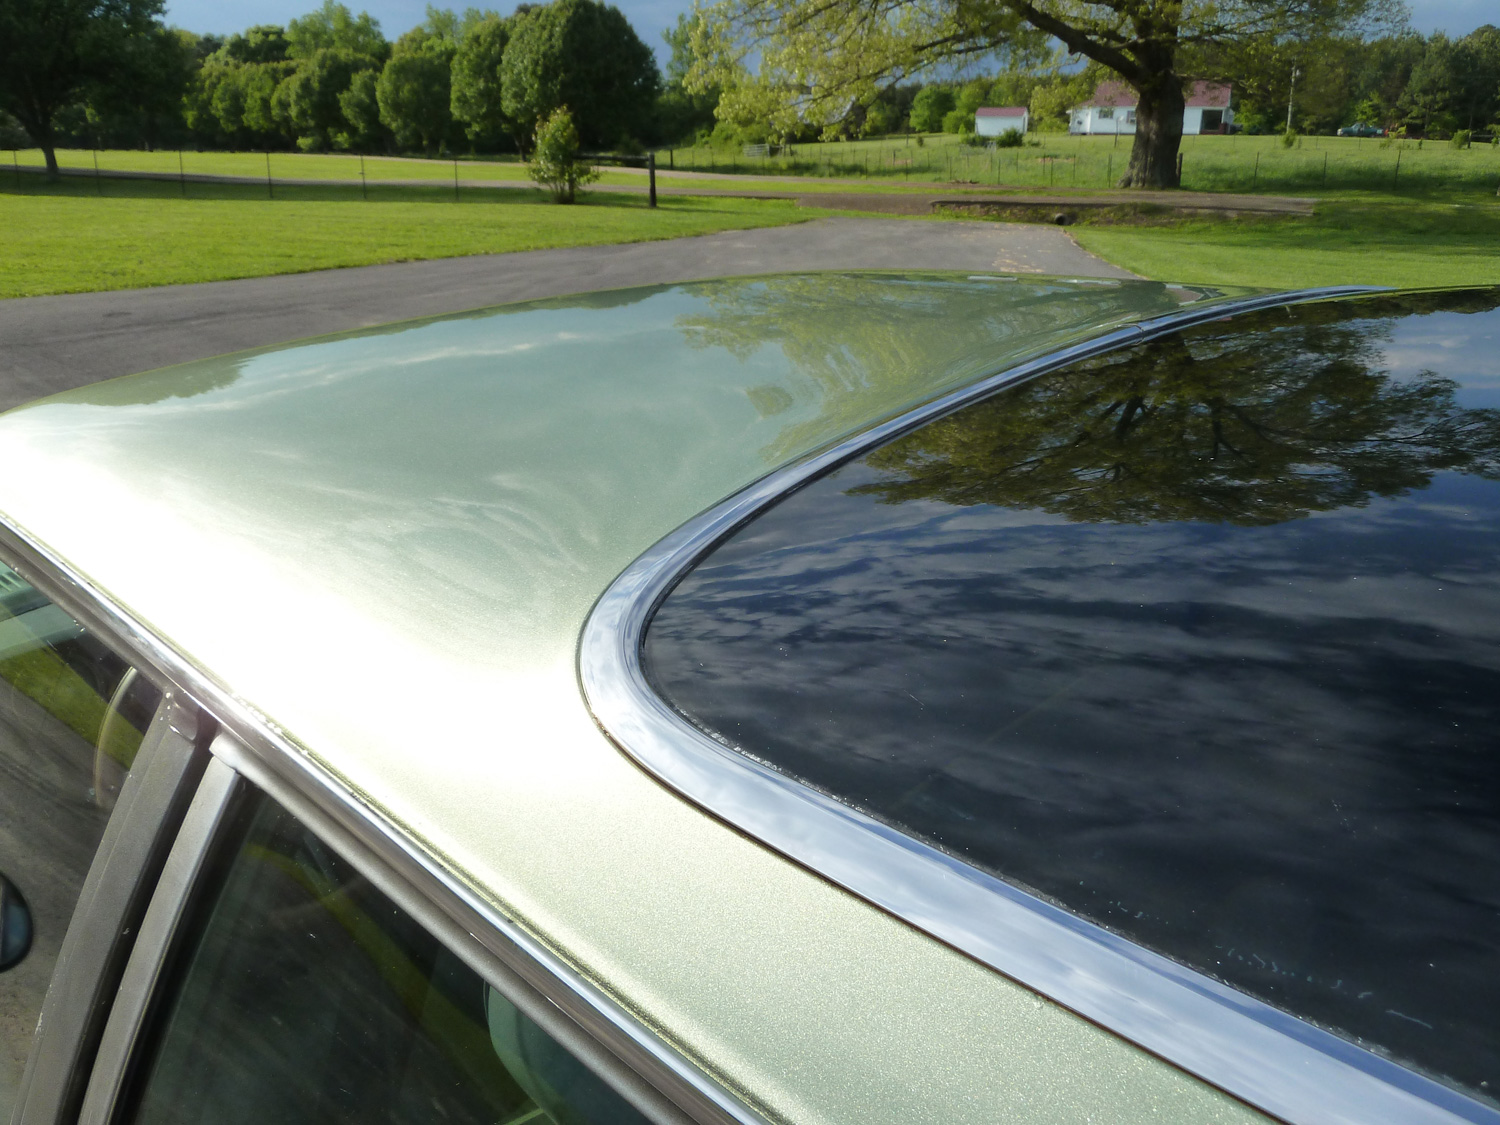
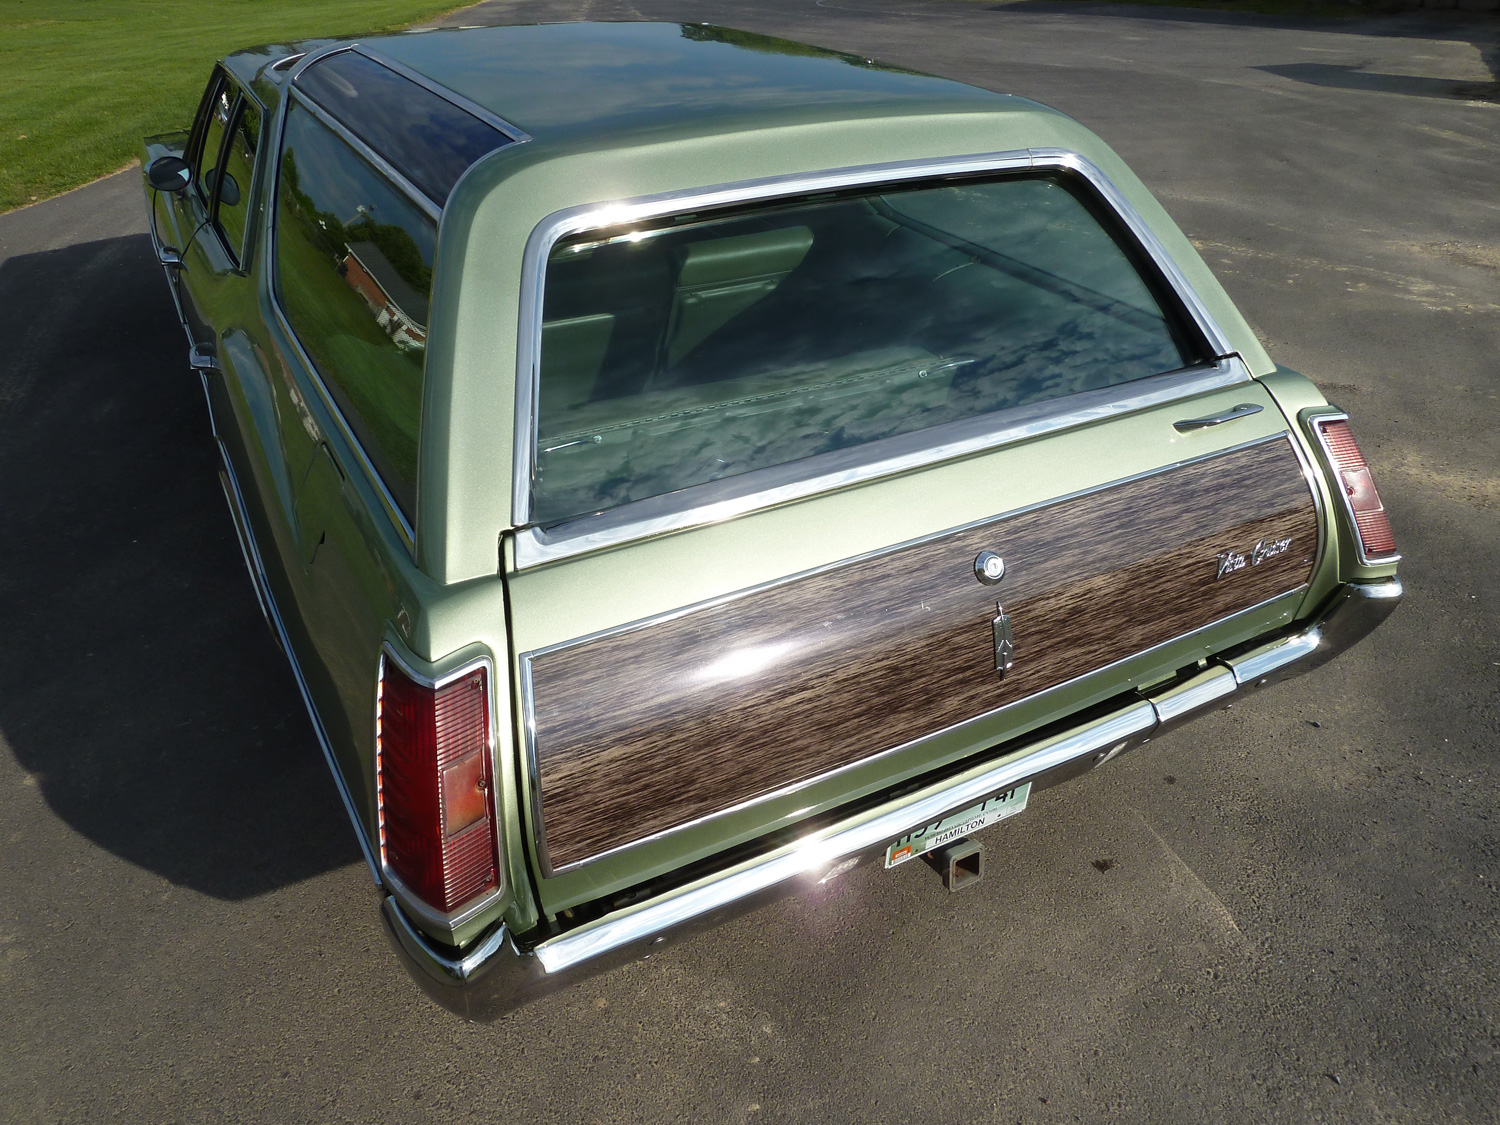
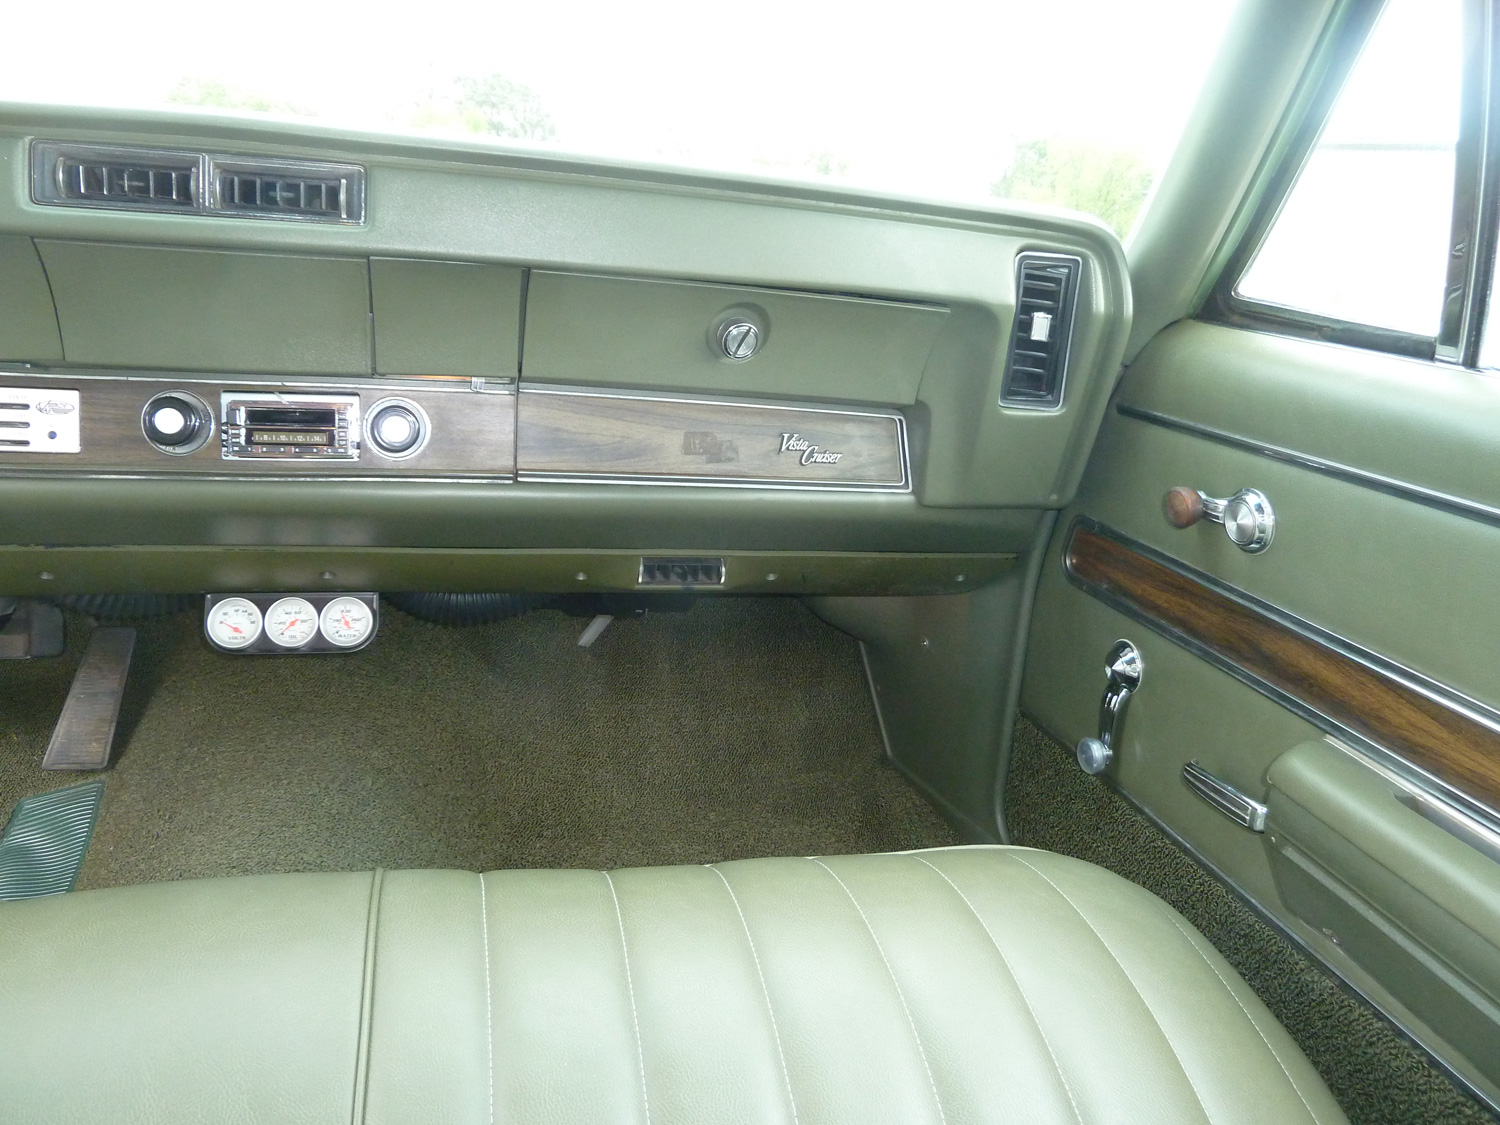
The Ford kiwi green paint looks very similar to the original shade yet with more sparkle. The PPG urethane basecoat/clearcoat finish was professionally applied in a downdraft paint booth by George Eid of Iron Horse Auto Body in Rainsville, AL in 2011. The woodgrain was professionally applied by a local vehicle wrap expert, whereupon I reinstalled the trim and glass. I wet sanded and polished the paint myself.
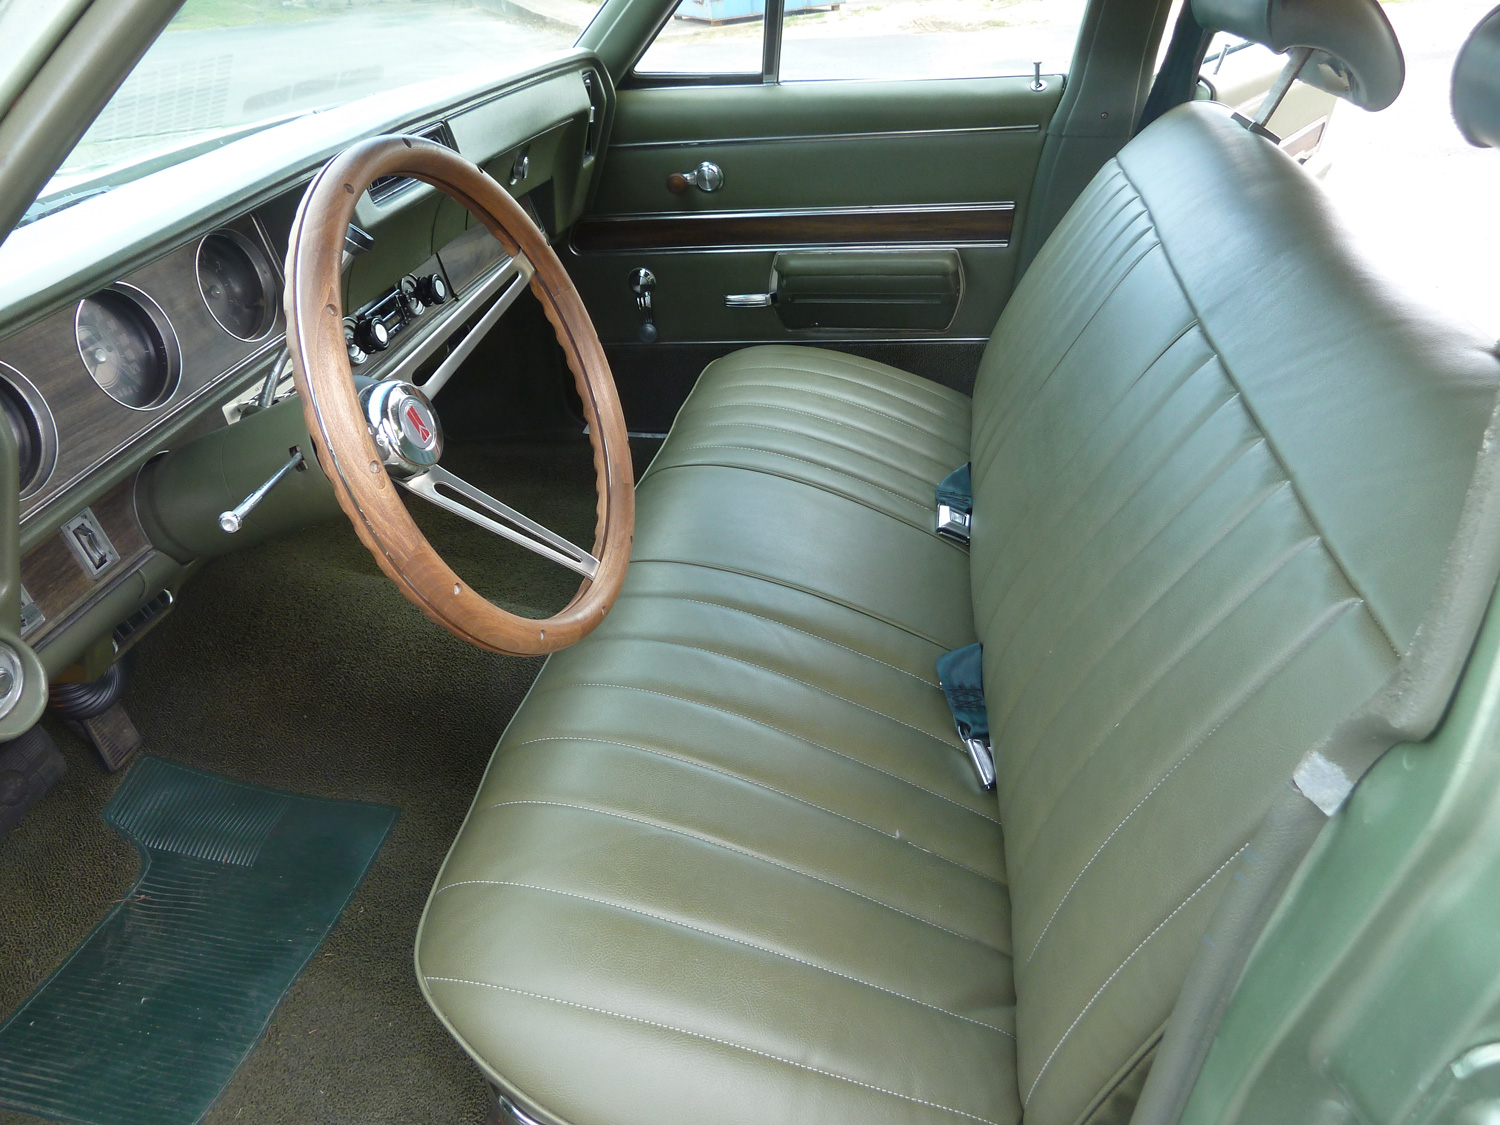
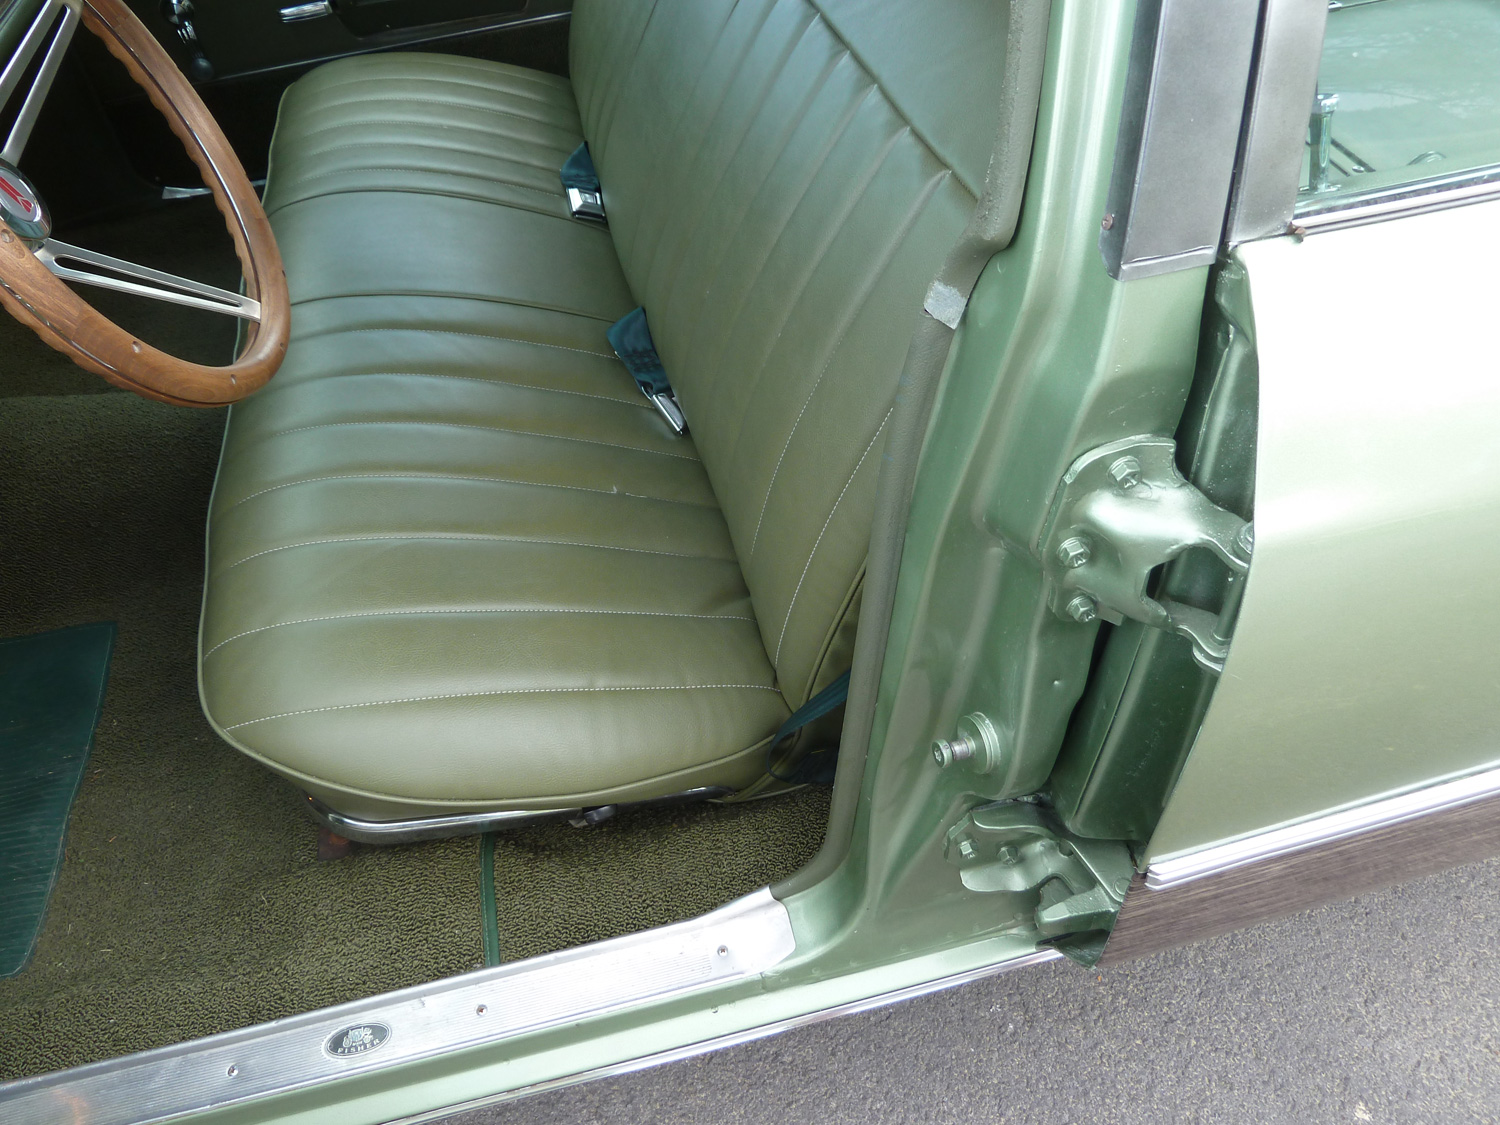
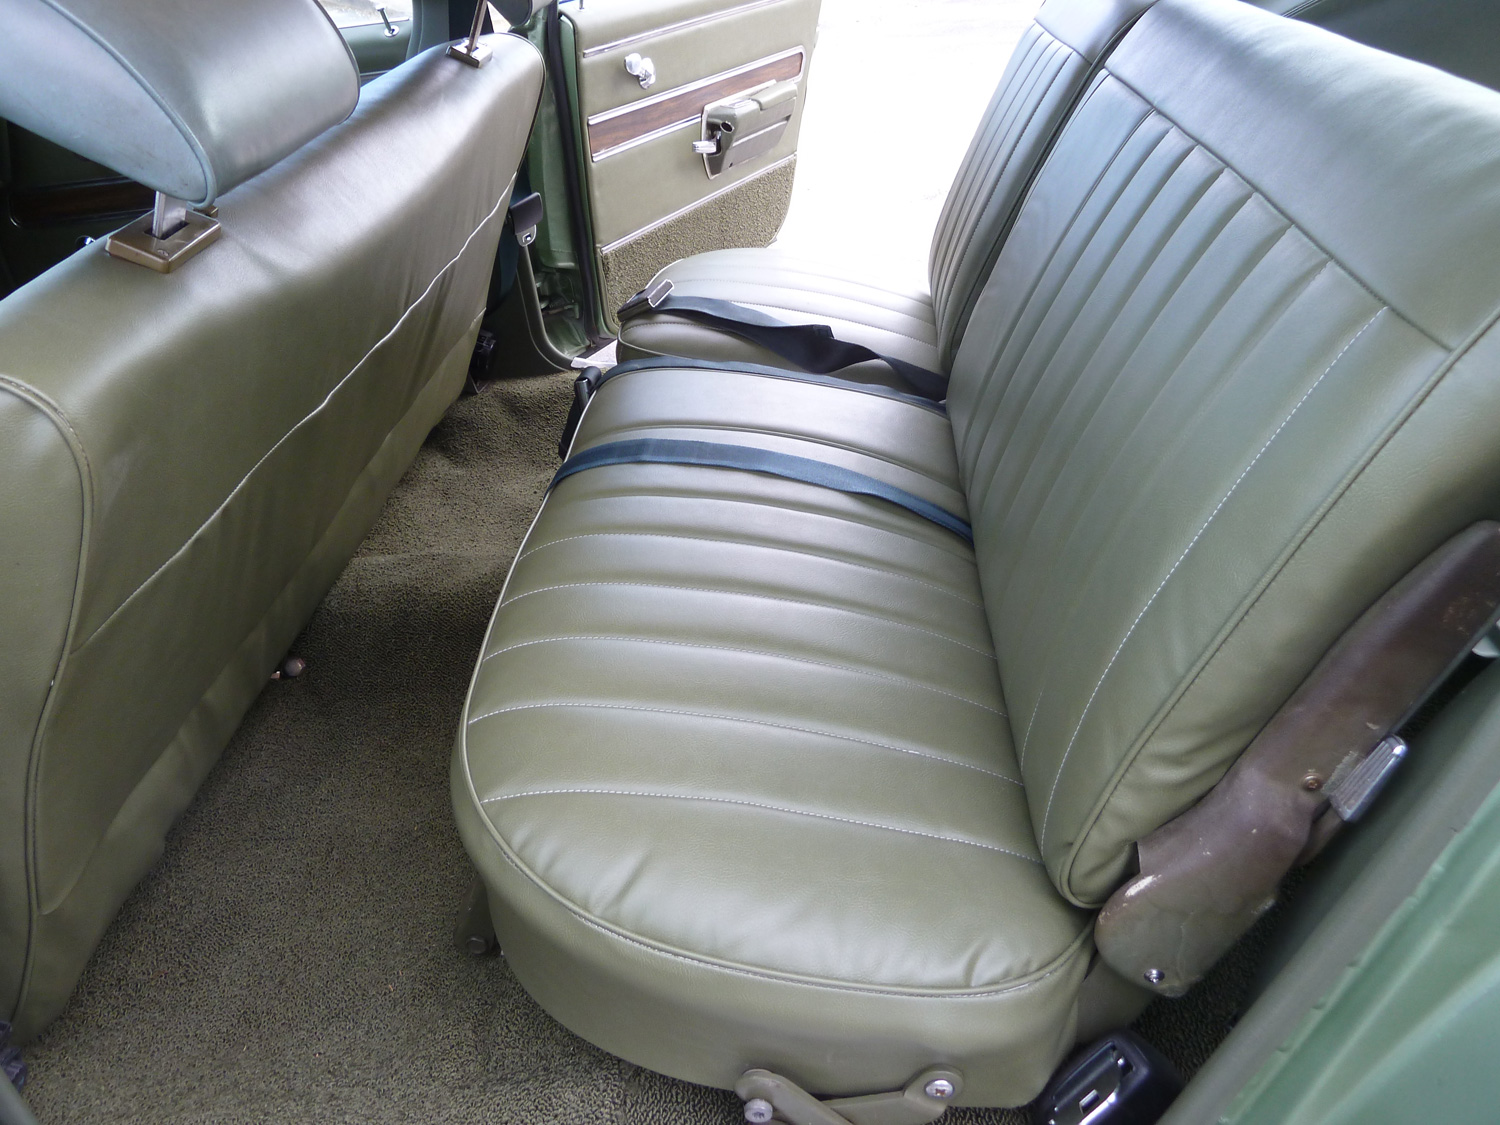
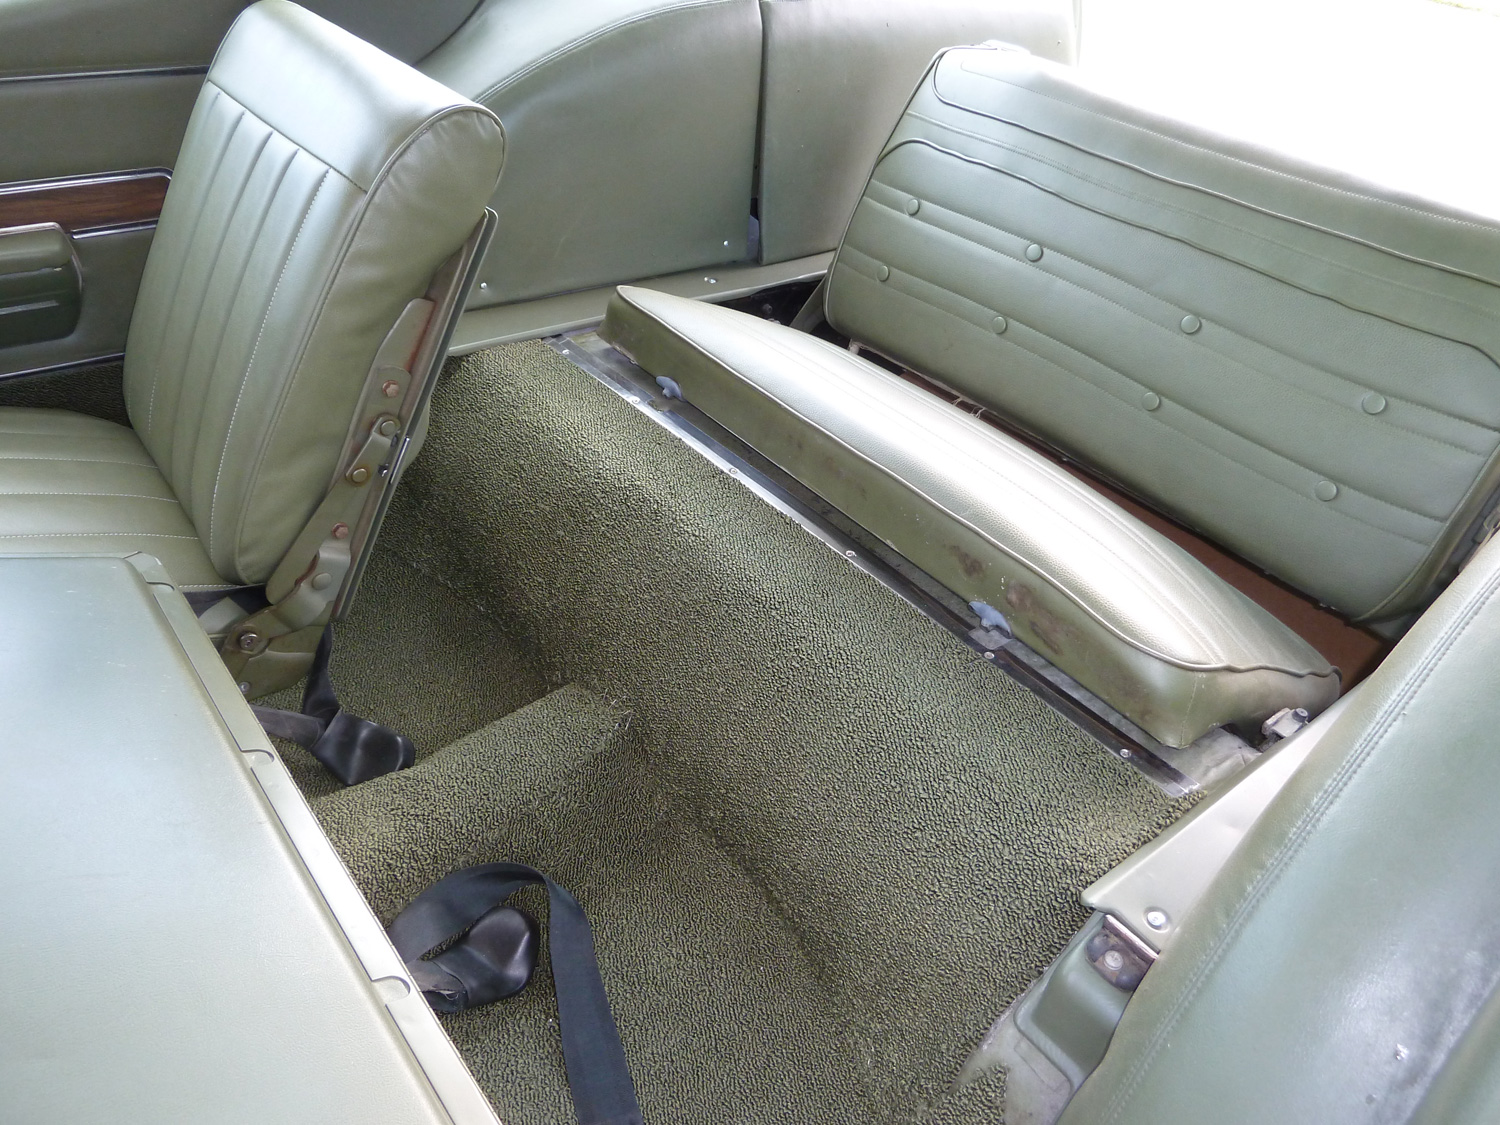
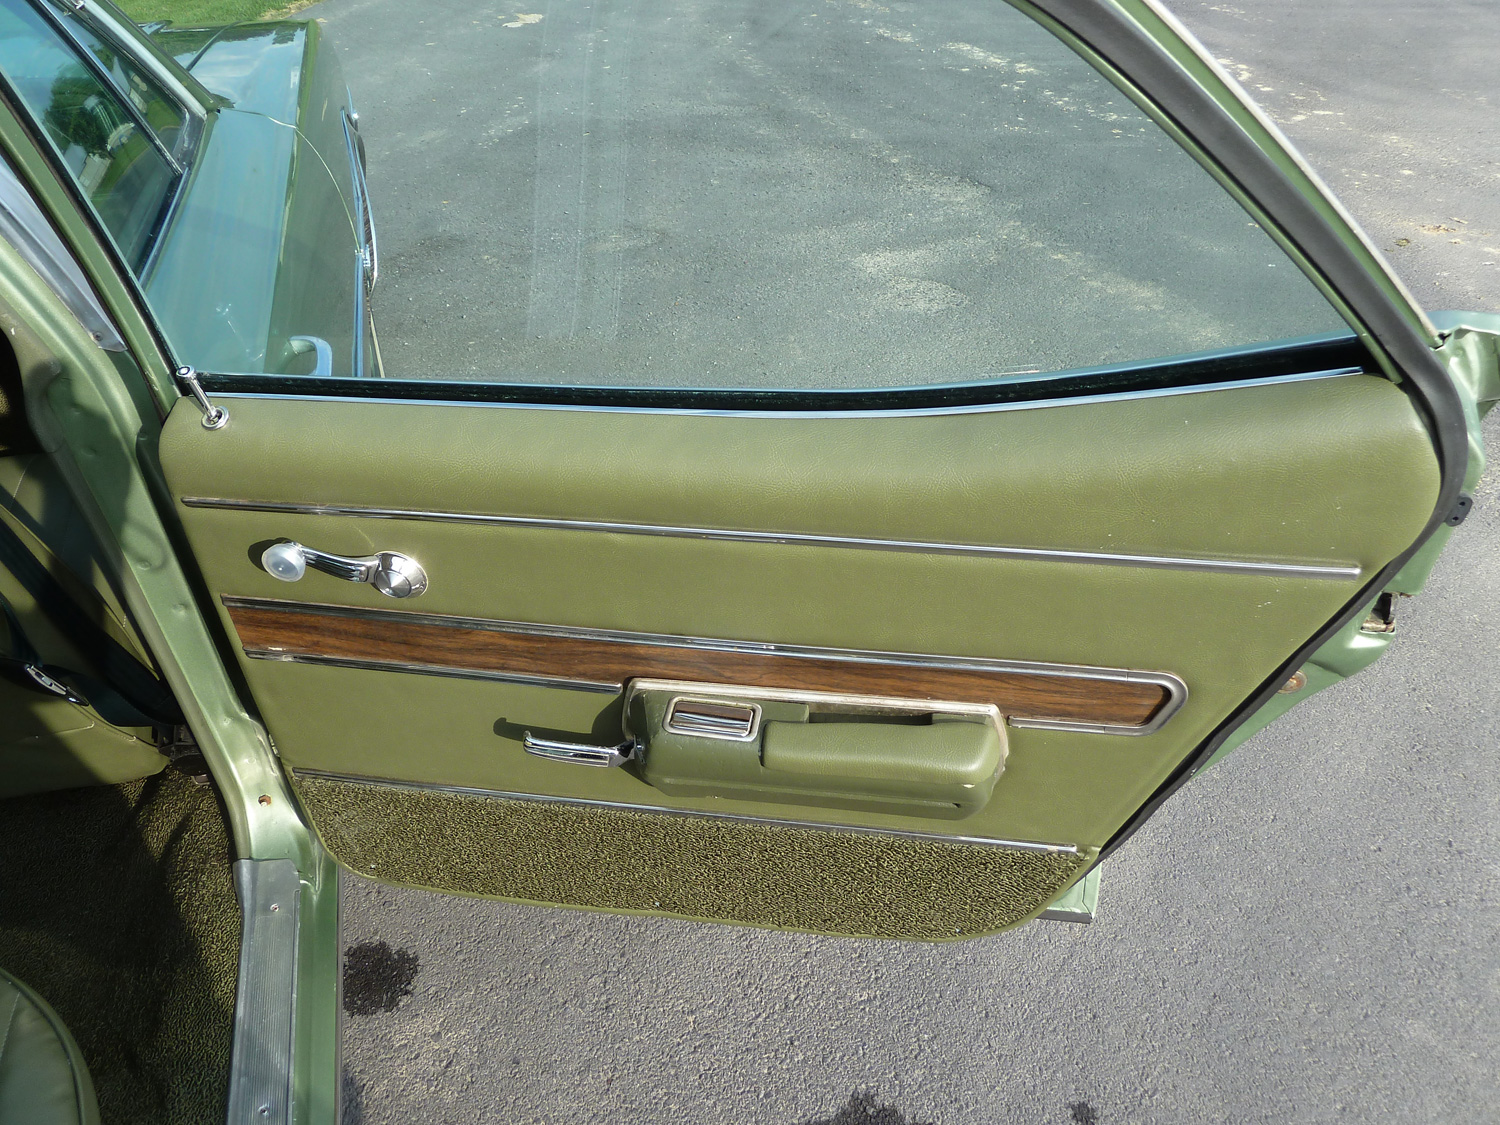
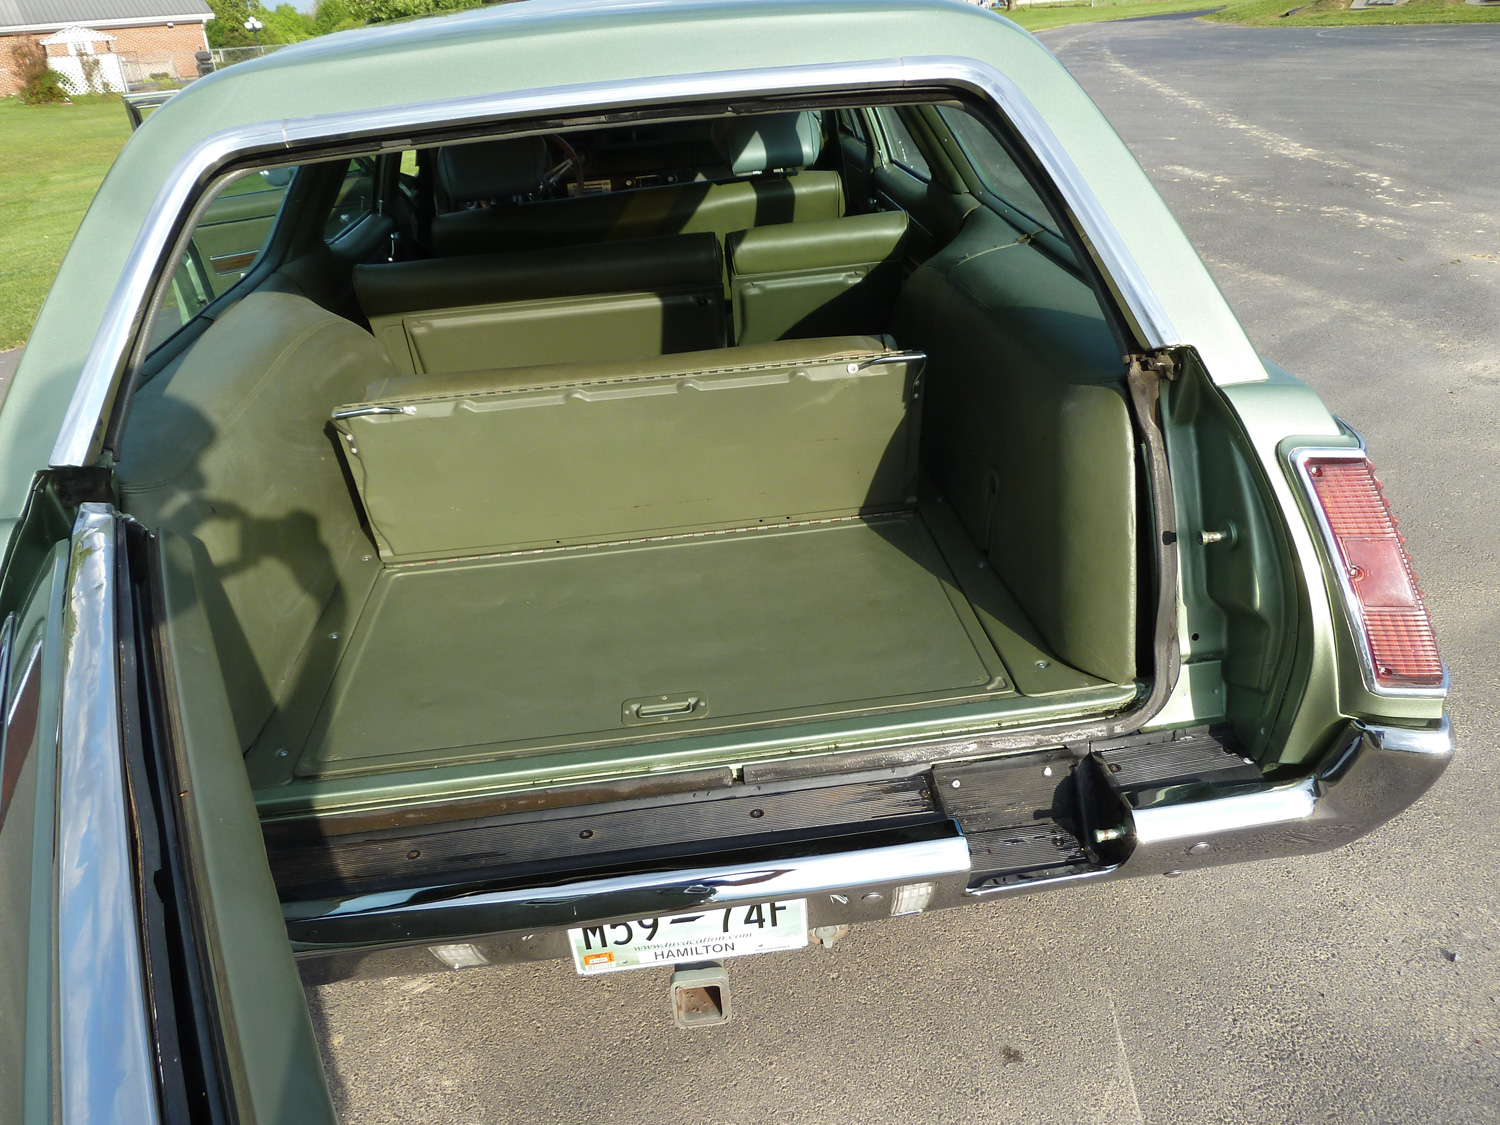
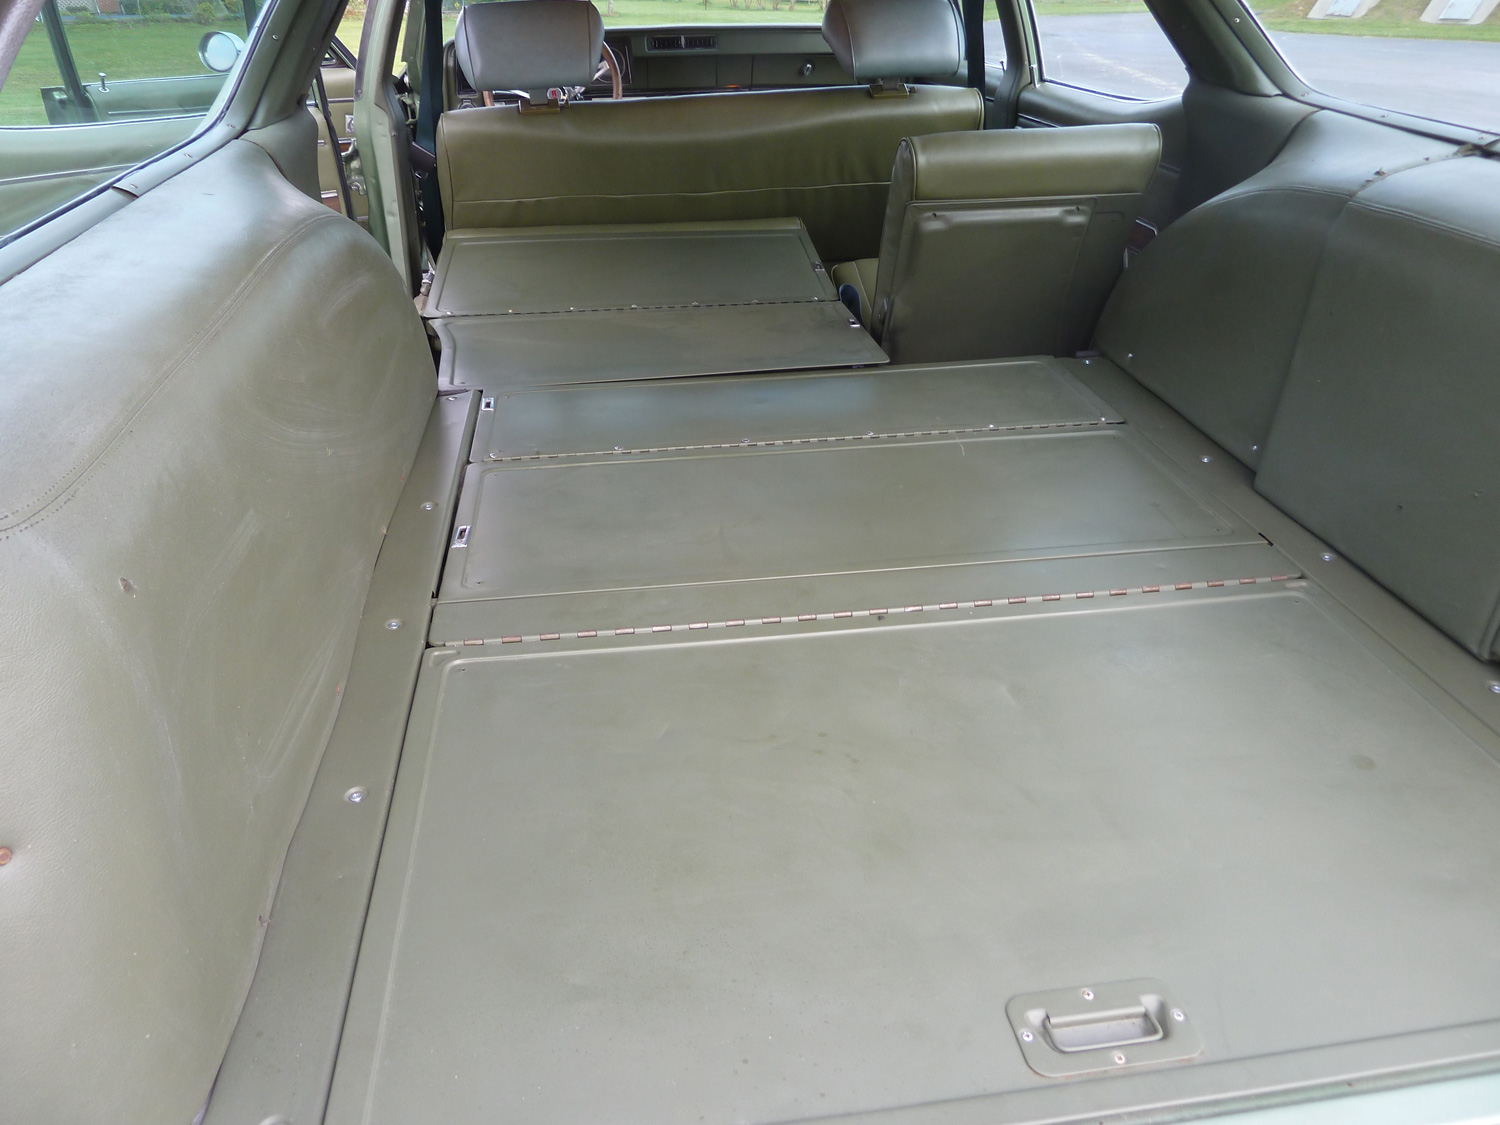
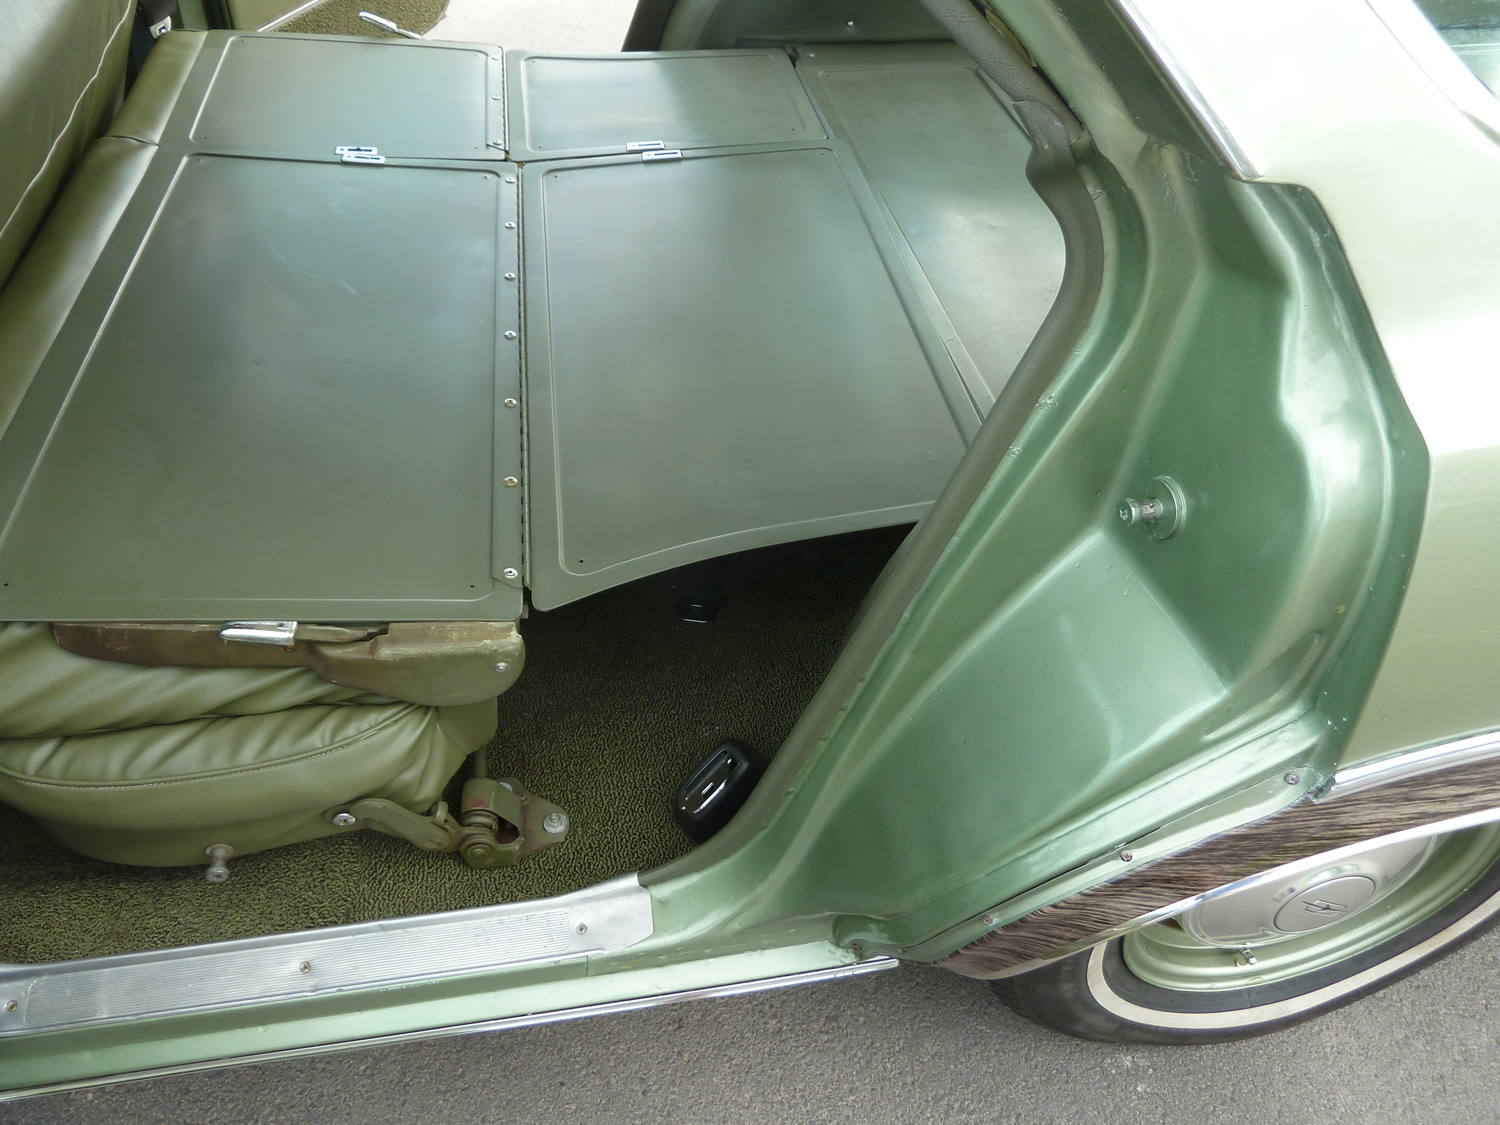
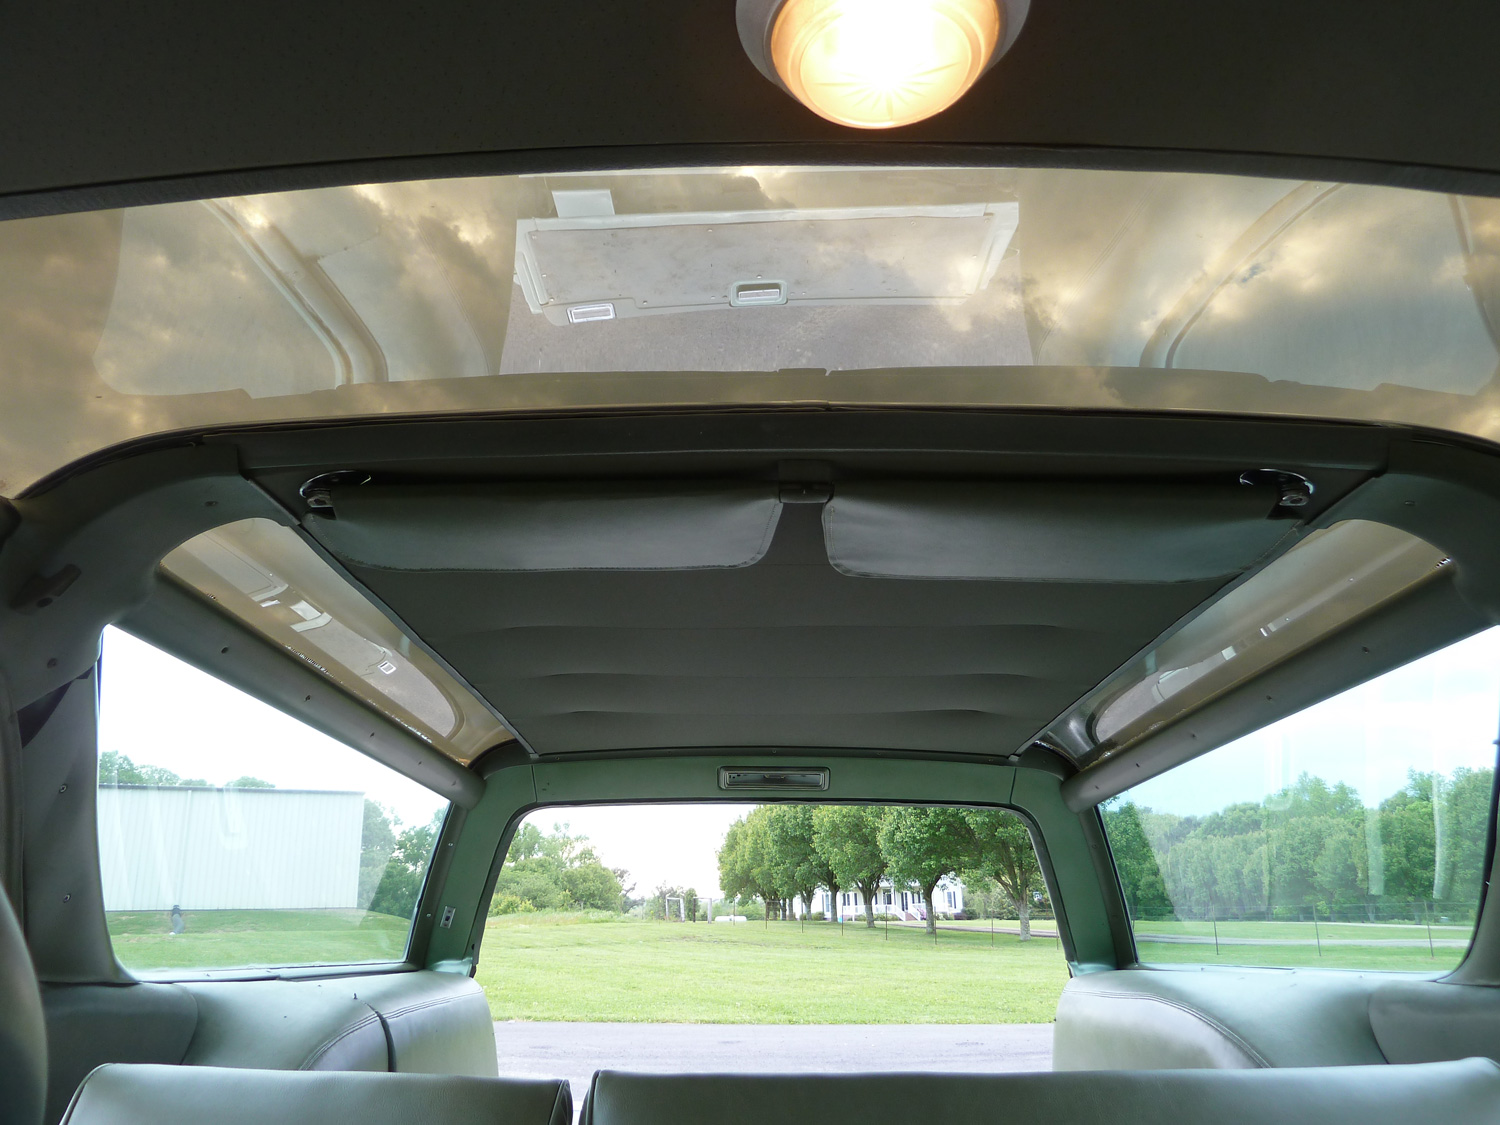
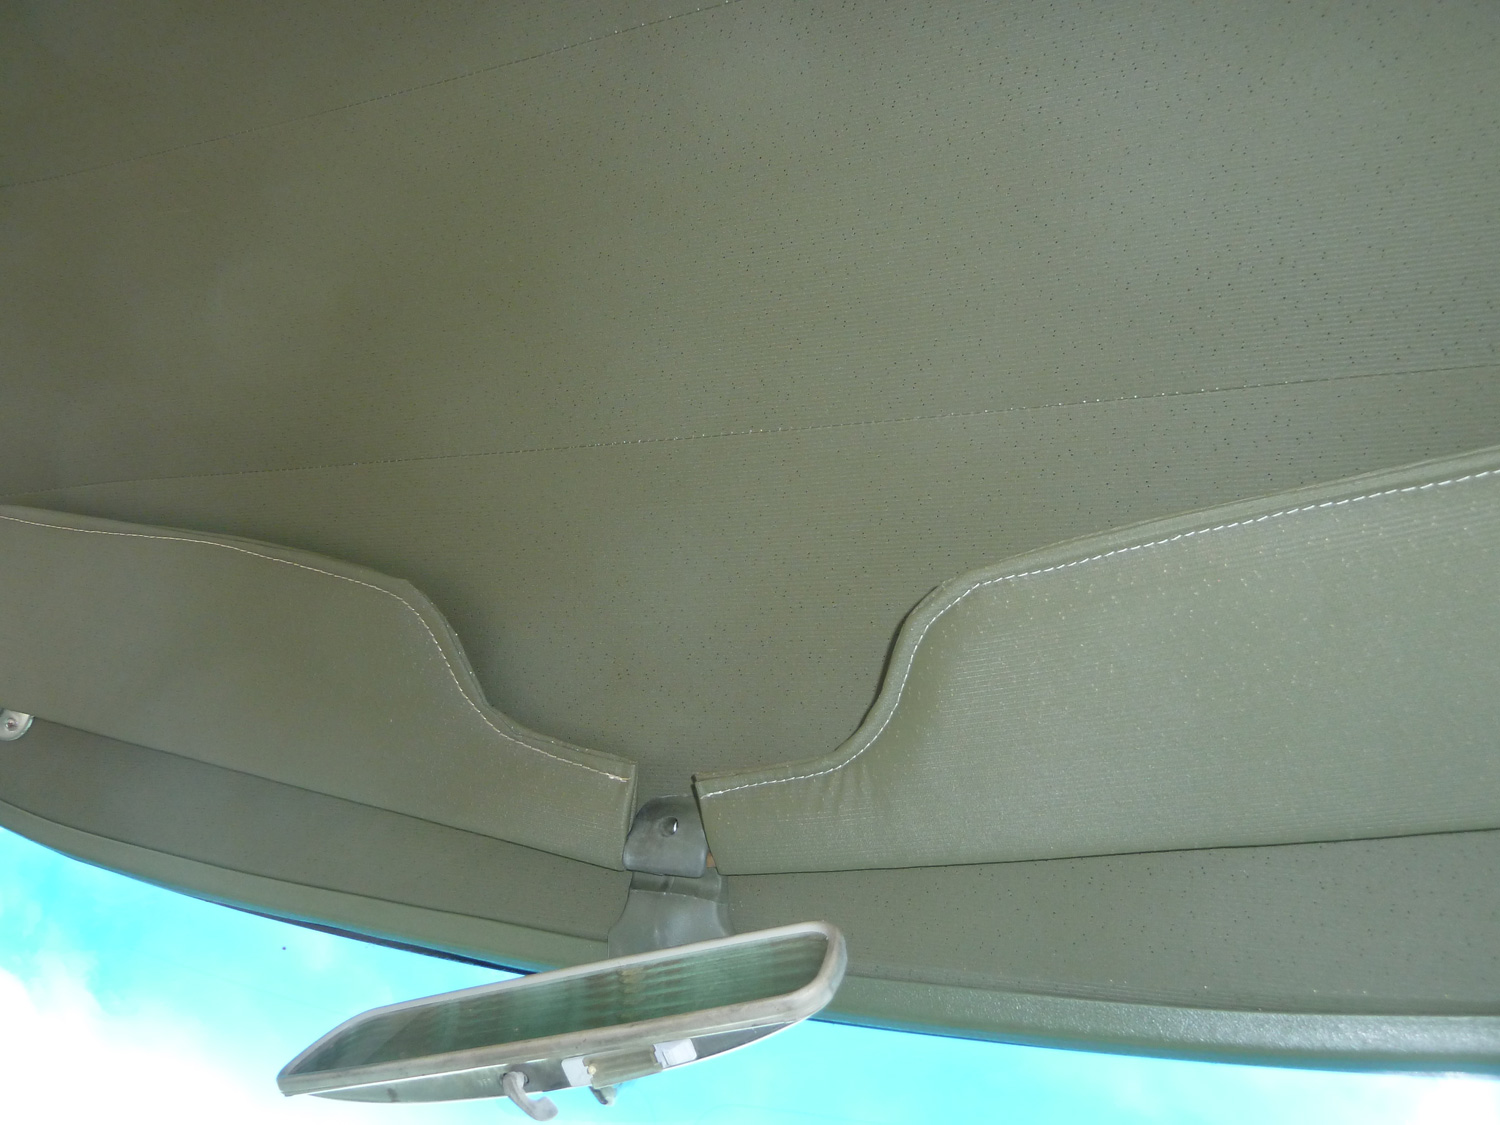
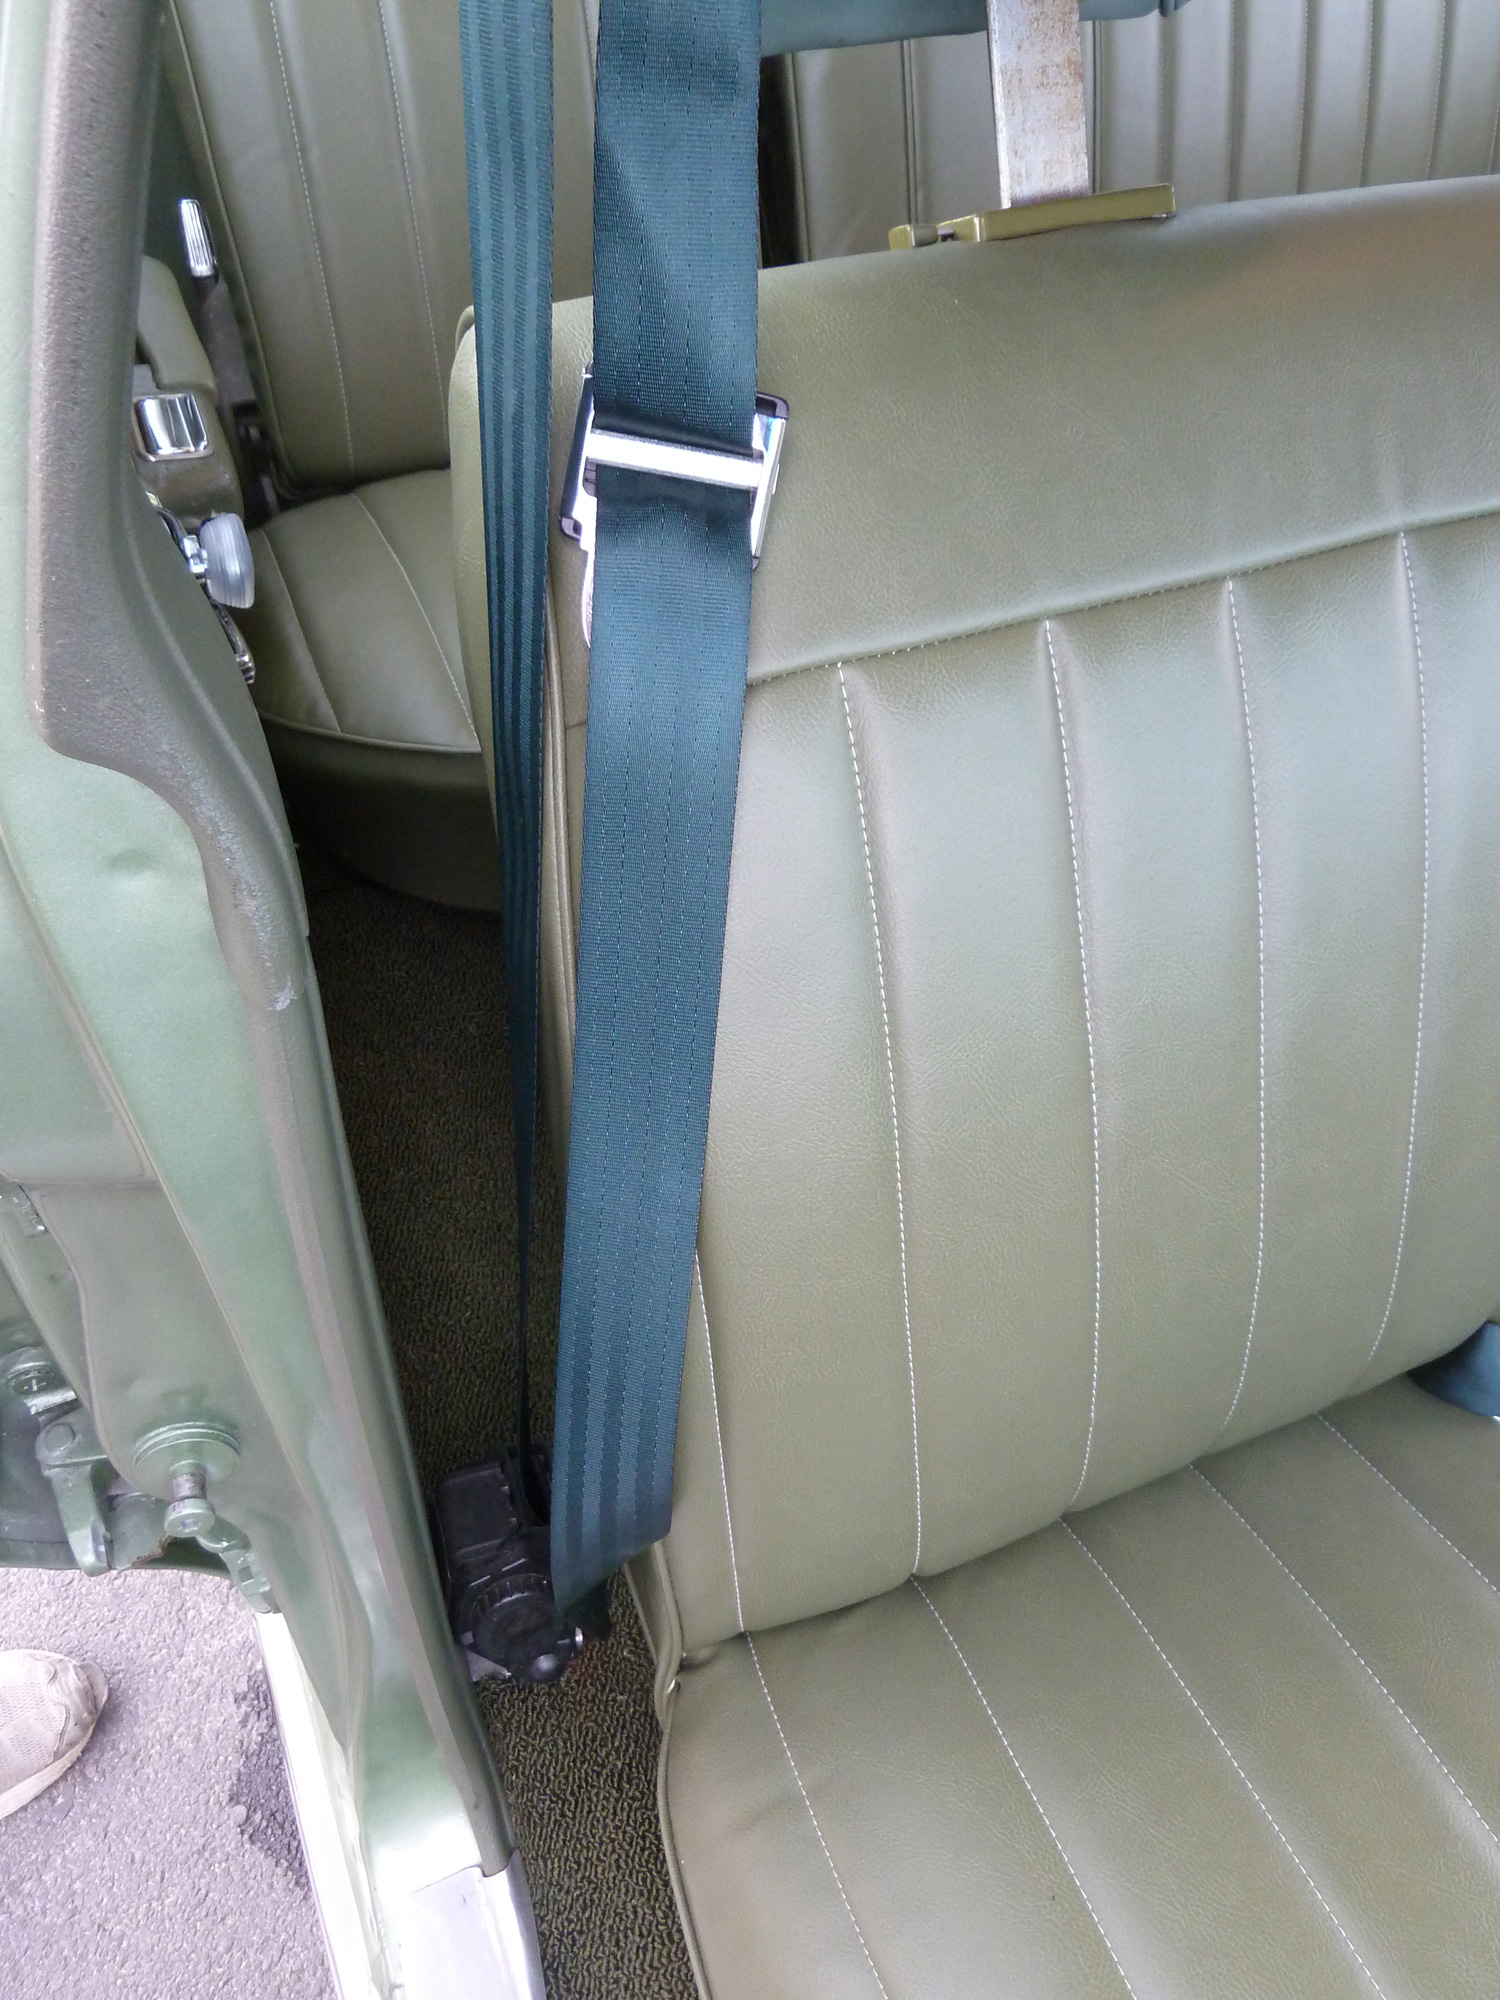
After the car was sprayed and before I wet sanded it, I had the whole interior reupholstered with original style carpet, vinyl, and headliner by a locally-well known auto trim expert. Since he does a lot of work for local used car lots, it took him nearly a year to finish the interior. All surfaces were redone except for the third-row seat, which is original. I also installed rectractable shoulder belts with anchors welded into the roof at the B pillar (I just feel naked without a shoulder belt nowadays). The back seat folds down just as it should and the third row operates perfectly. The only thing lacking are the vinyl panels that cover the sheet metal in the cargo area; this remains an opportunity for someone to perfect the vehicle in the future. Also, I just sprayed the rear wheel housings with the factory-correct dark green color; they were not reupholstered. As a result, there are some blemishes in this 44-year old vinyl.
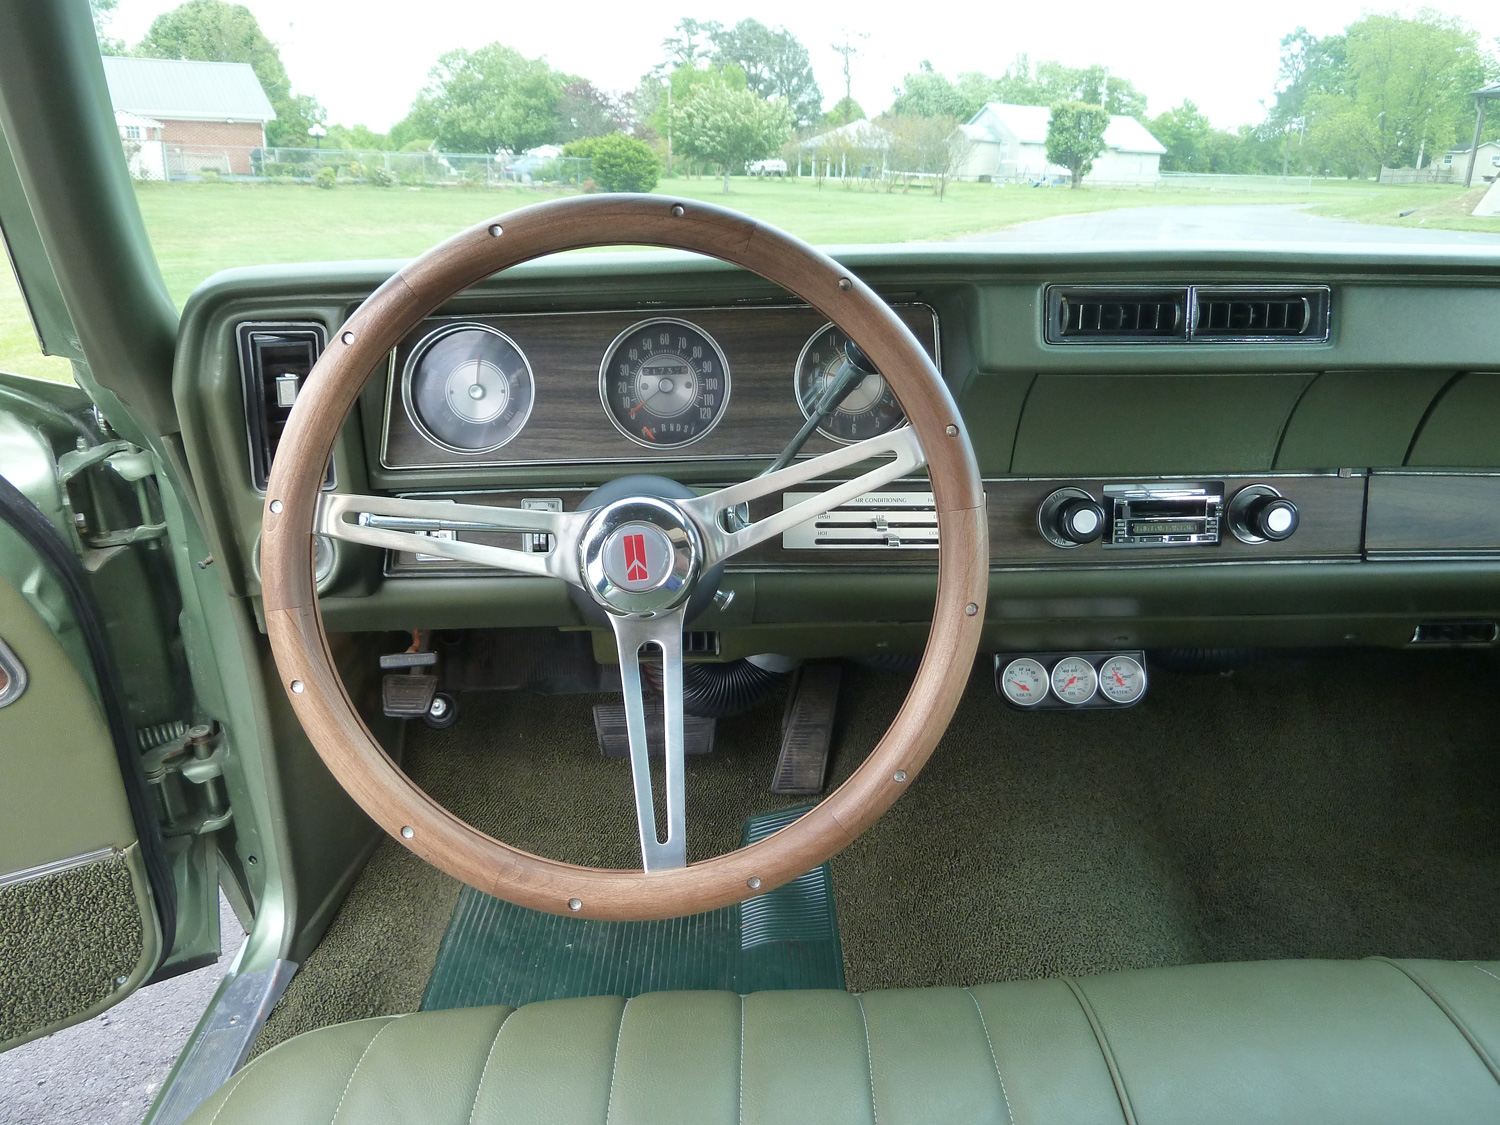
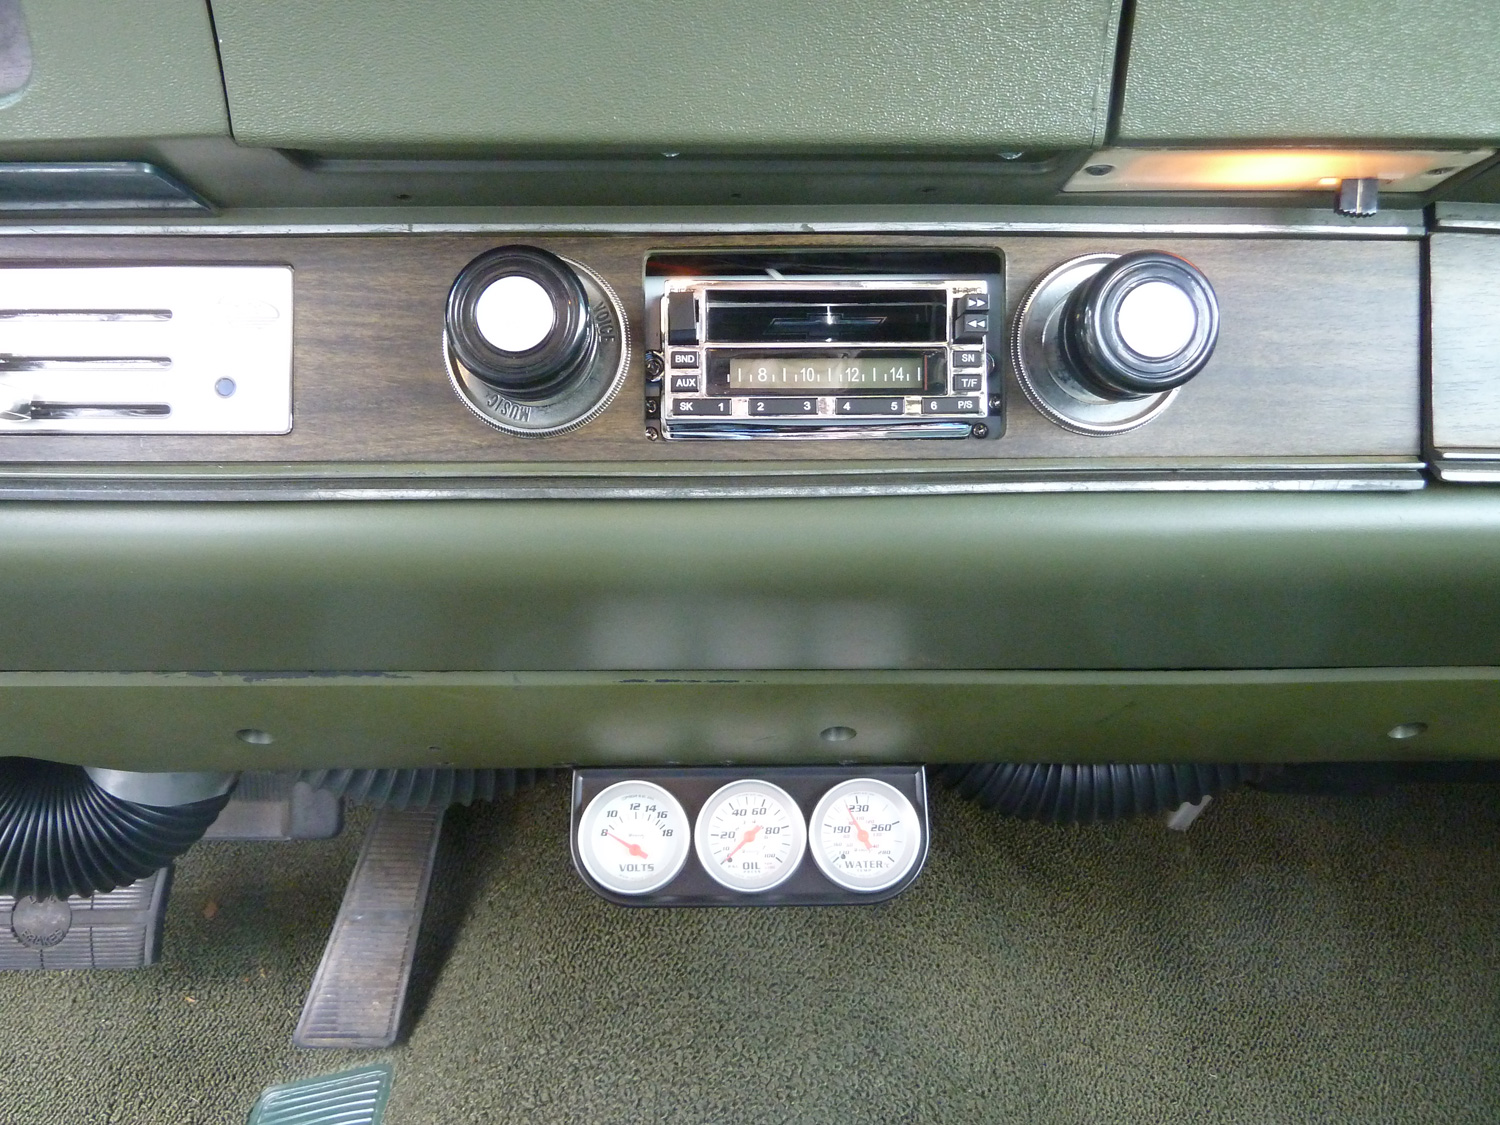
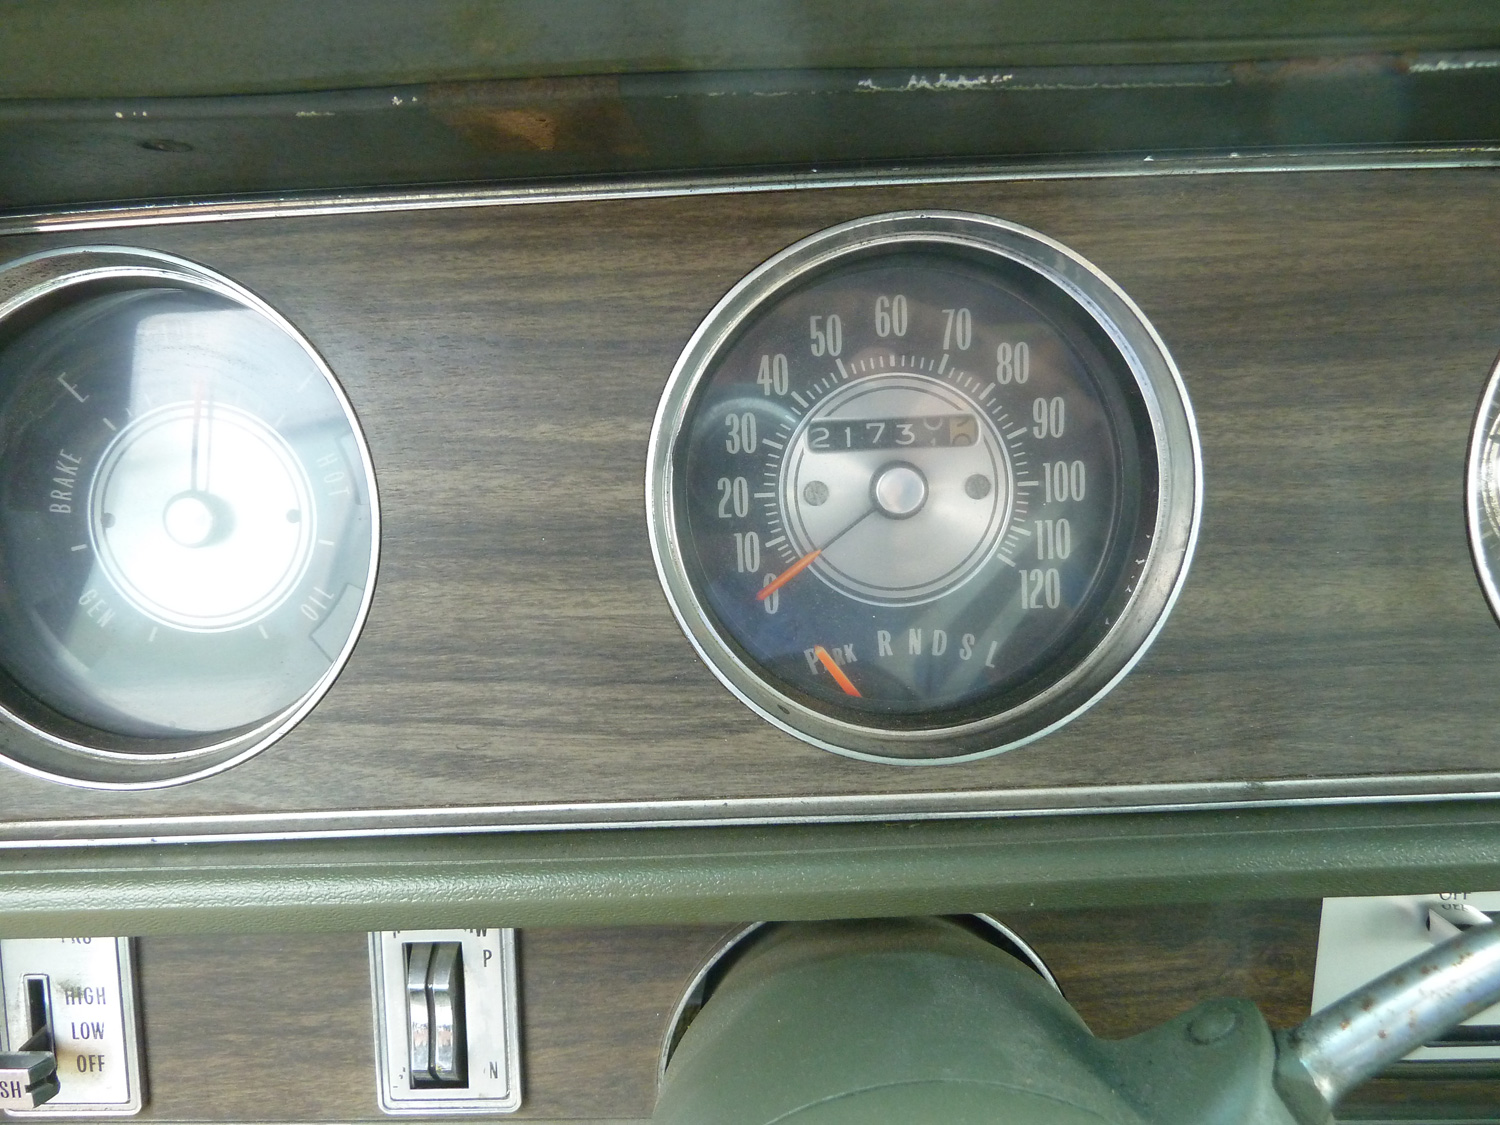
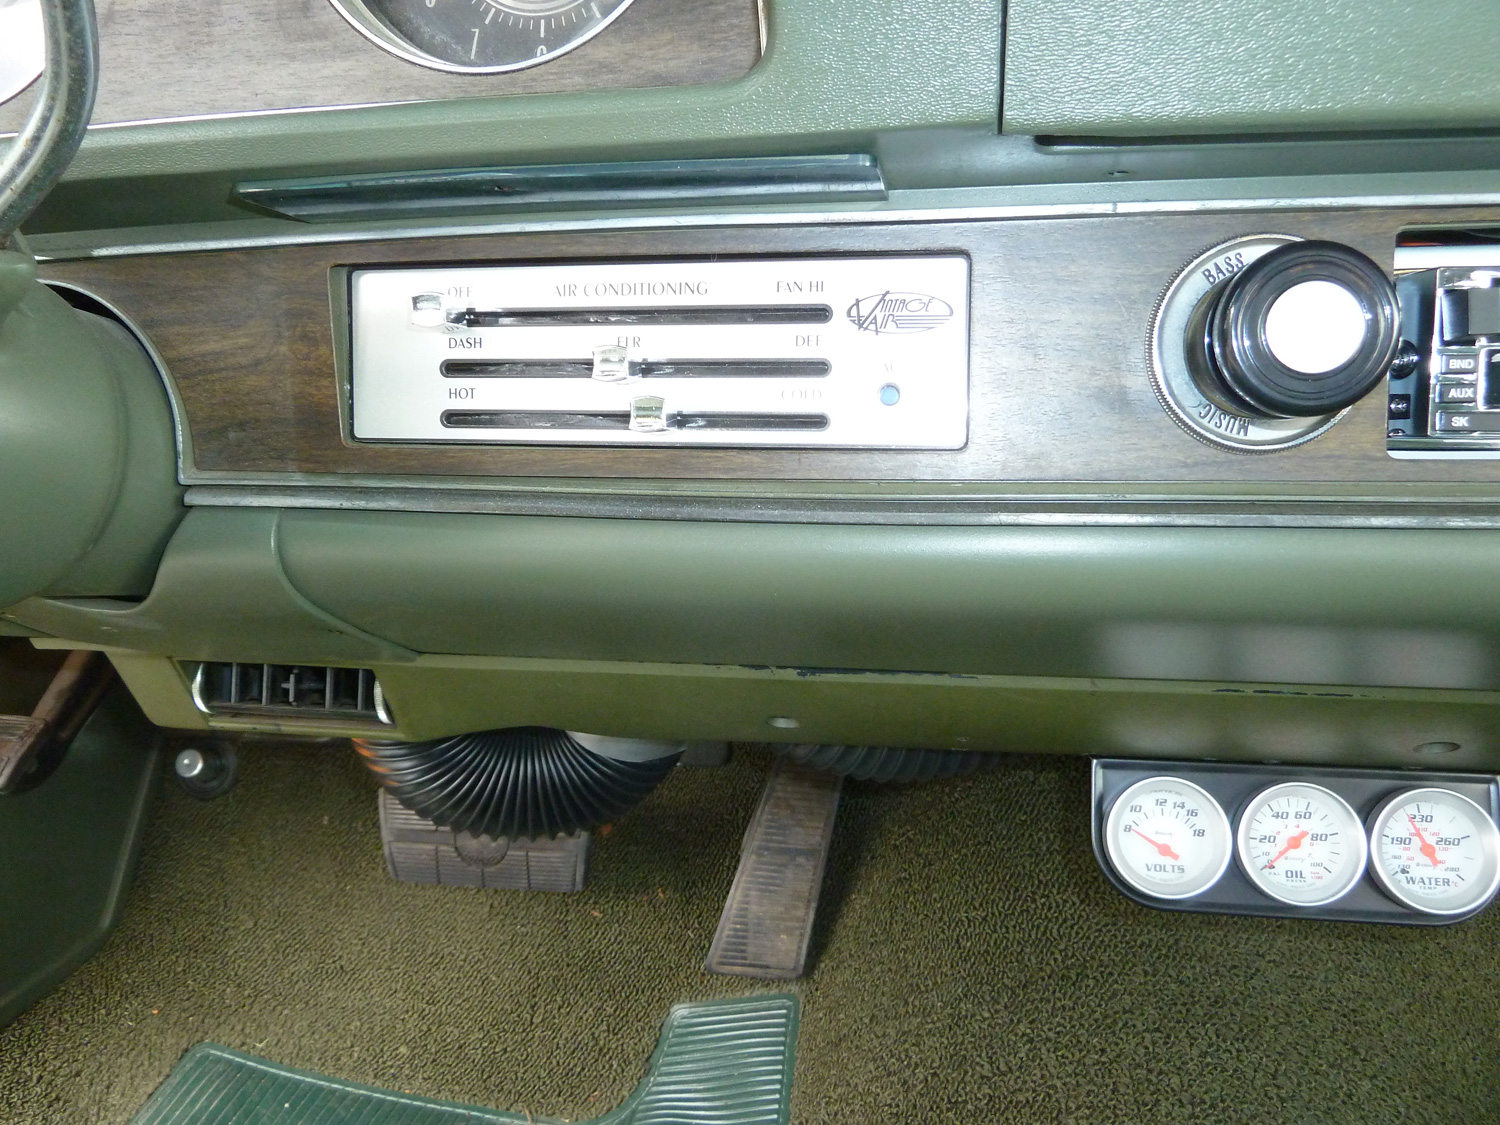
The Vista is going to be a real attention-getter for the person who doesn't mind driving something different to the car show. Everybody of the baby boom and 70's generation seems to have a Vista Cruiser memory somewhere; this car is a real conversation starter. The car is a reliable driver, but it runs hot despite the radiator being rodded-out and having a new fan clutch installed. The temperature indicated on the accessory gauge under the dash will get up to 220 in the summer, but even at this level it doesn't boil over when the engine is turned off. I have a coolant recovery tank installed and it stays at the right level. I wonder if the temperature gauge is even reading properly.
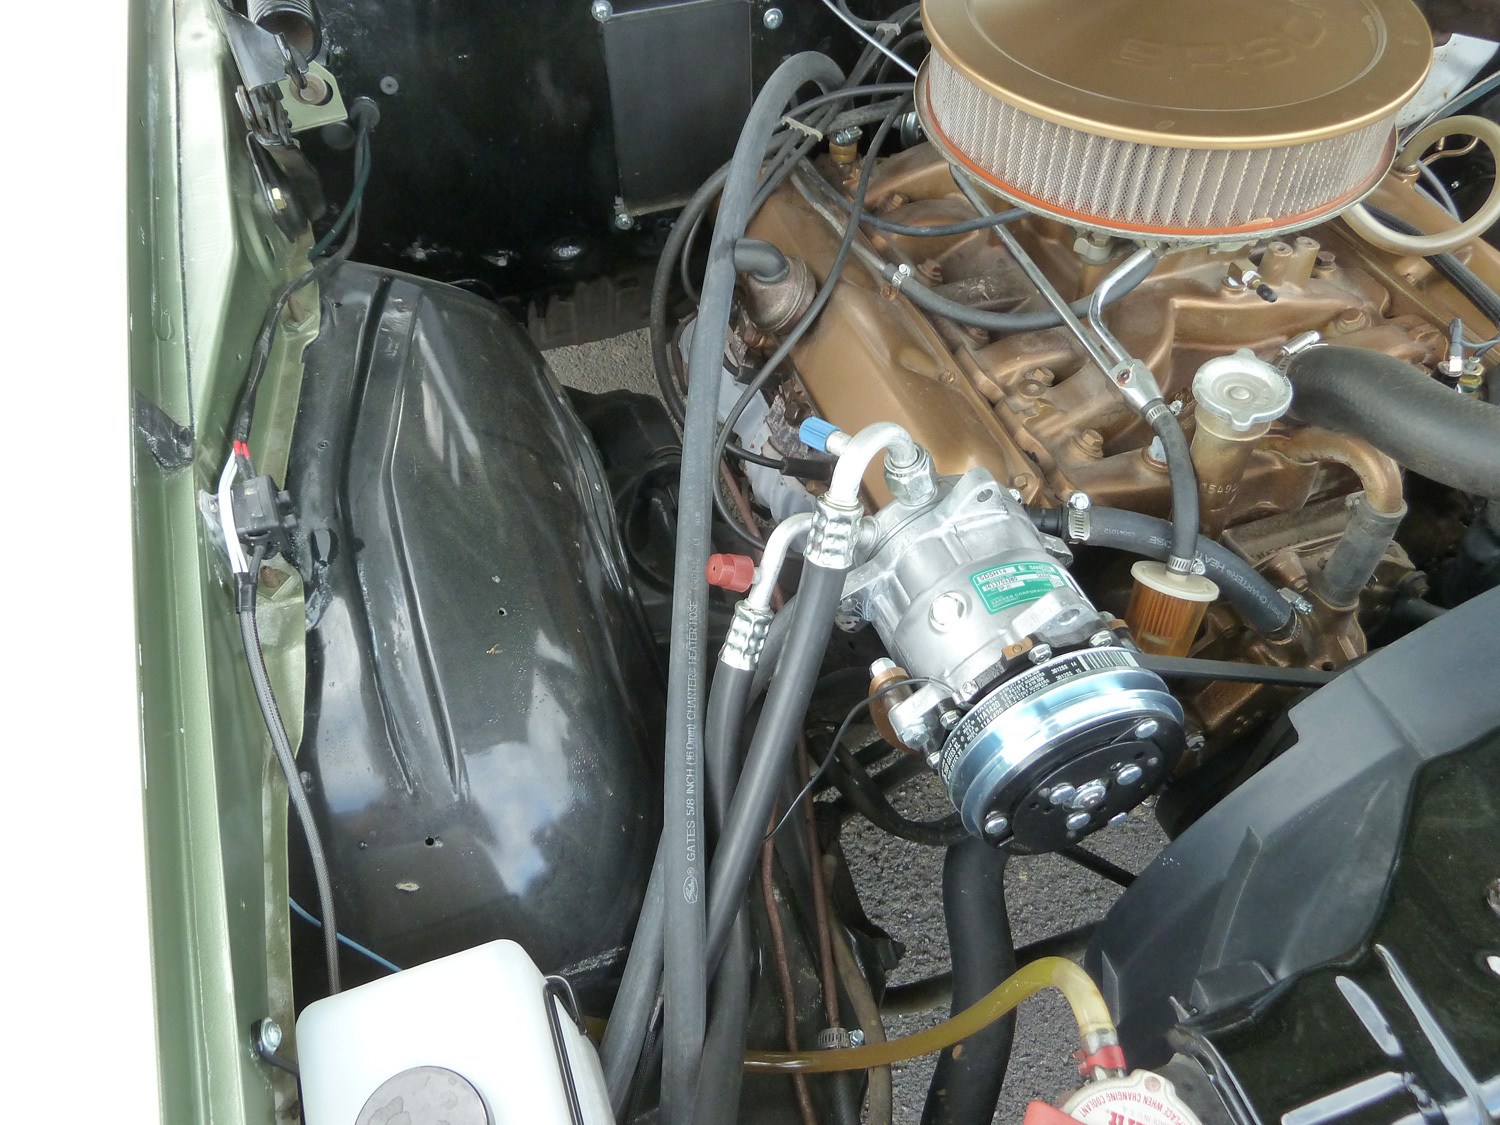
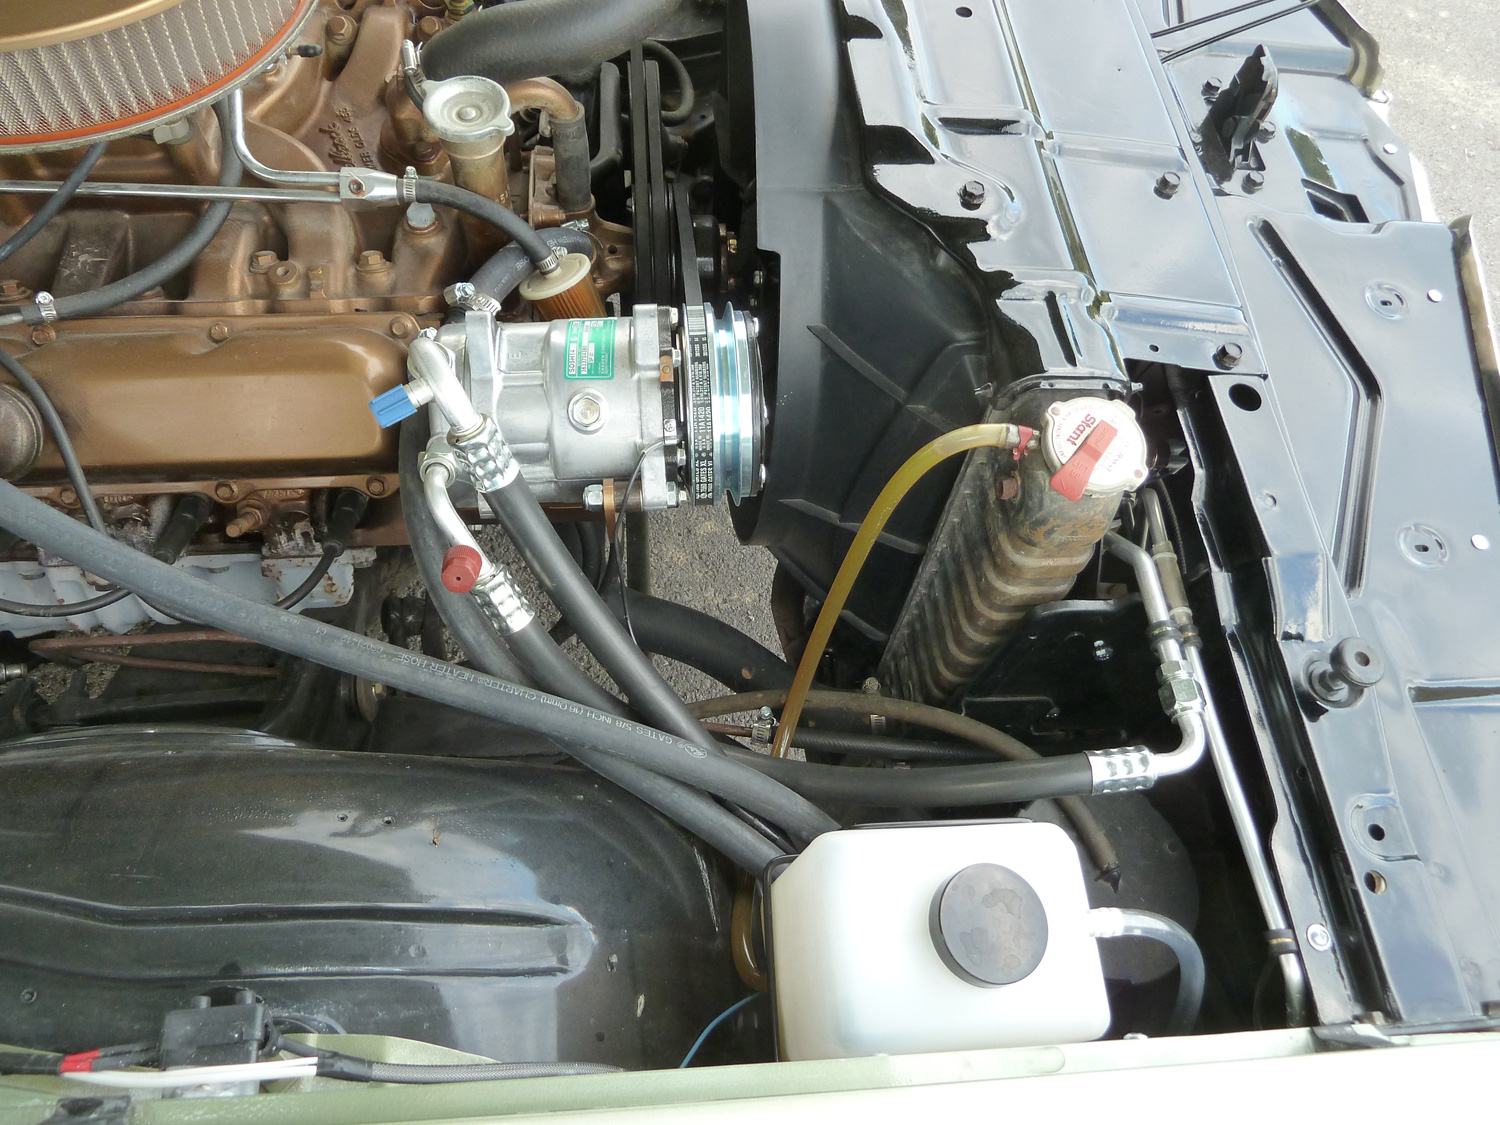
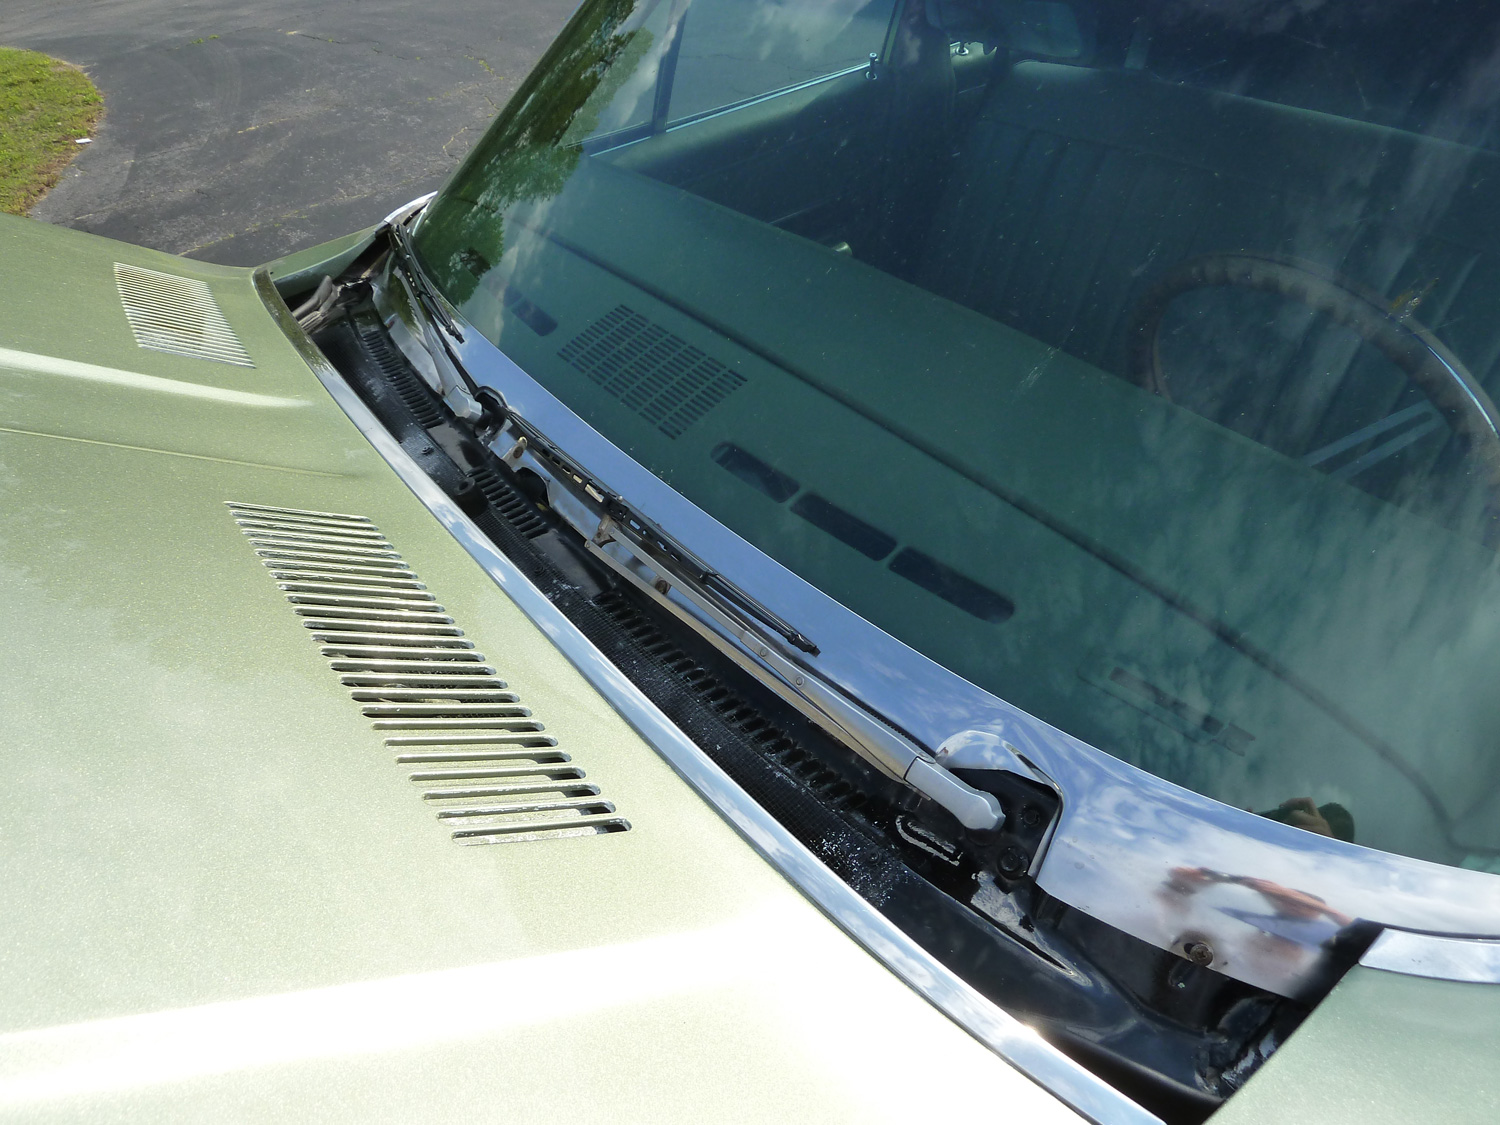
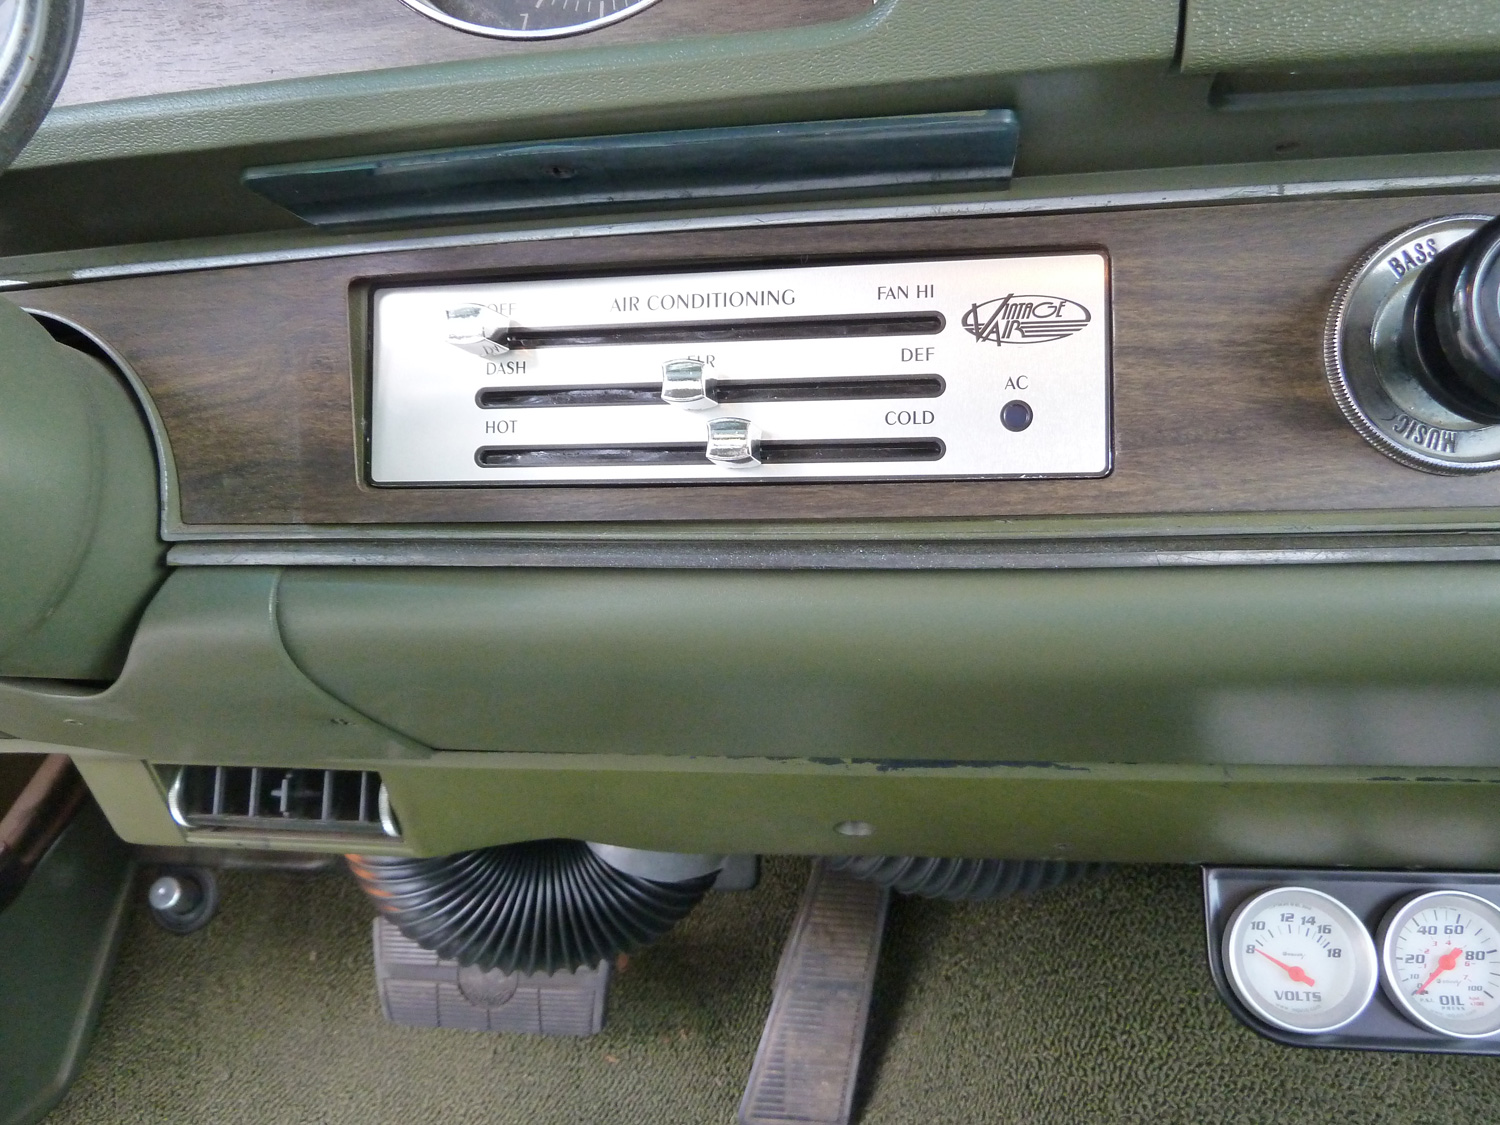
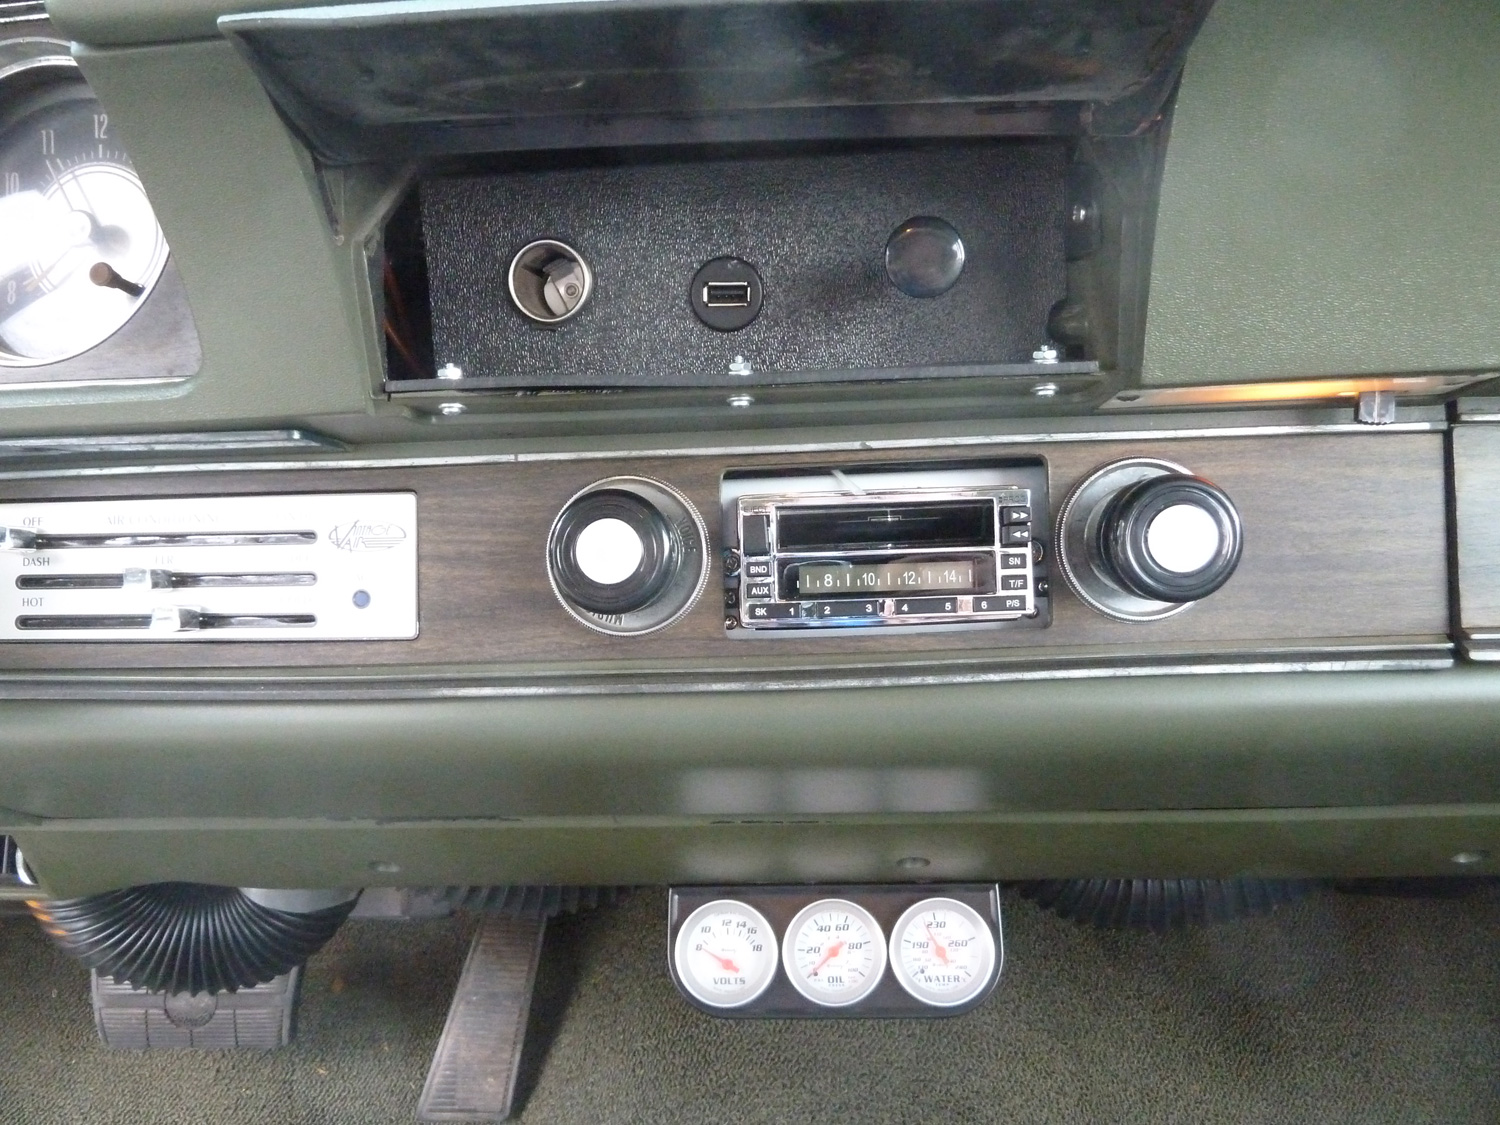
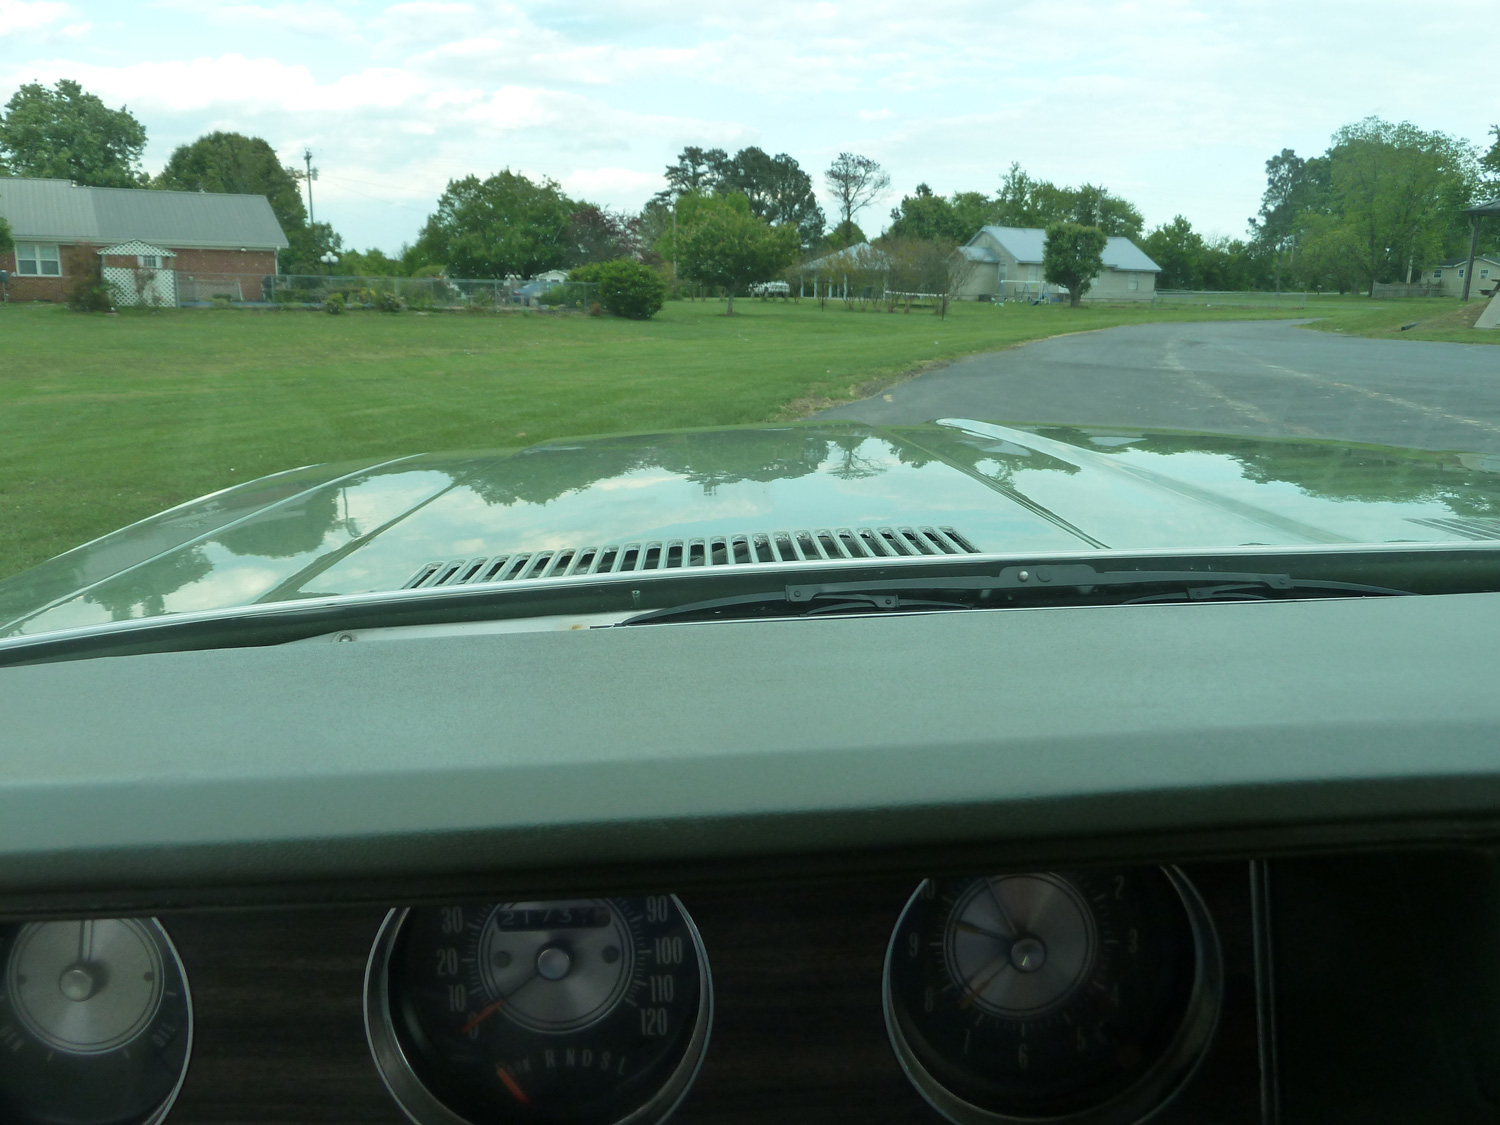
To help survive the humid Southeastern summers, I installed a Vintage Air air conditioning and heating system. This really cleans up the firewall, allowing you to see the 455 in Olds Gold in its full glory! The A/C, heat, and defrost all works well. On the dash, the wipers work fine as does the speedo and odo. However, the clock is not working, nor is the inside switch for the back glass (I had an electrical drain and I isolated it to the back glass relay. I pulled the relay and that solved the problem. However, the switch didn't work before I pulled the relay either. Alas, another opportunity for you to perfect this vehicle if you choose to accept the task!)
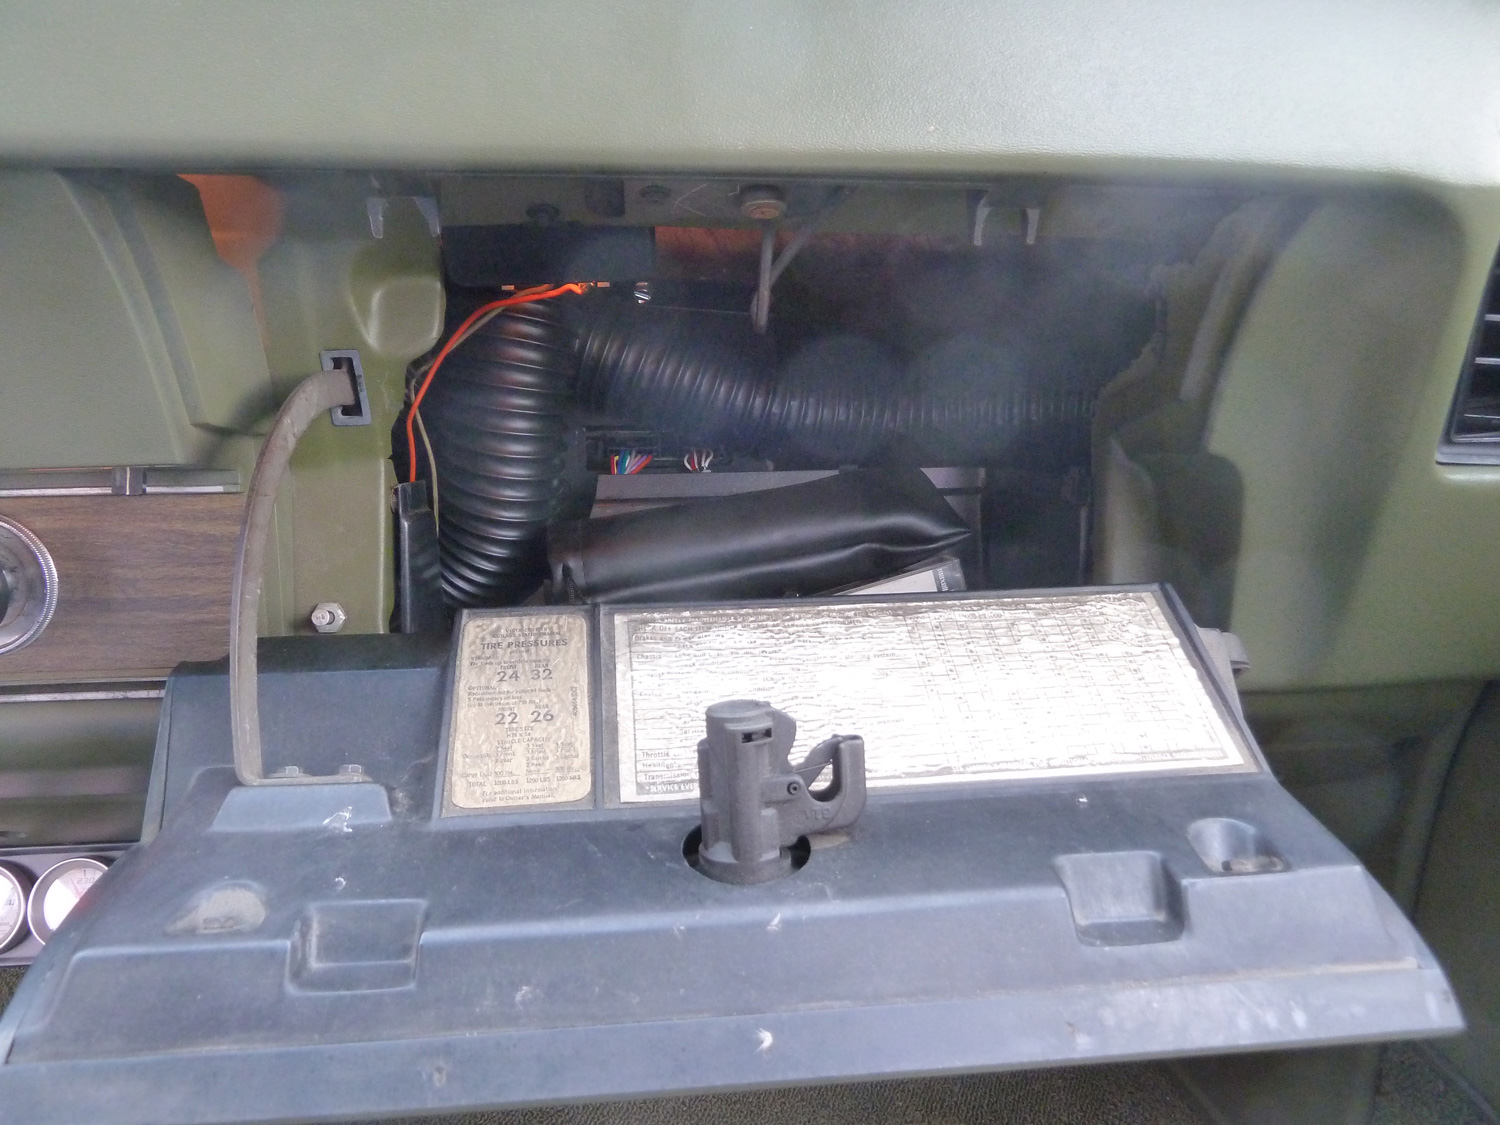
Back to the interior, the previous owner had installed an aftermarket K-Mart stereo in the ashtray area, so I pulled it out and just installed a plastic blank where I installed the carburetor choke knob, a cigarette lighter receptacle (is it still okay to call them that?), and even a USB 5-volt port. I put in an "old looking" stereo that has a radio (terrible reception since I didn't hook up an antenna), a cassette tape player, and an auxiliary plug that is routed to the glove box so you can play your iPod. The sound is not great since it just plays one channel through a 4x10 speaker in the middle of the dash. (I didn't have any desire to make the sound system any good). The glove box is only a tray; the upper half of the box supplied by Vintage Air wouldn't fit for all the corrugated hoses running around back there.
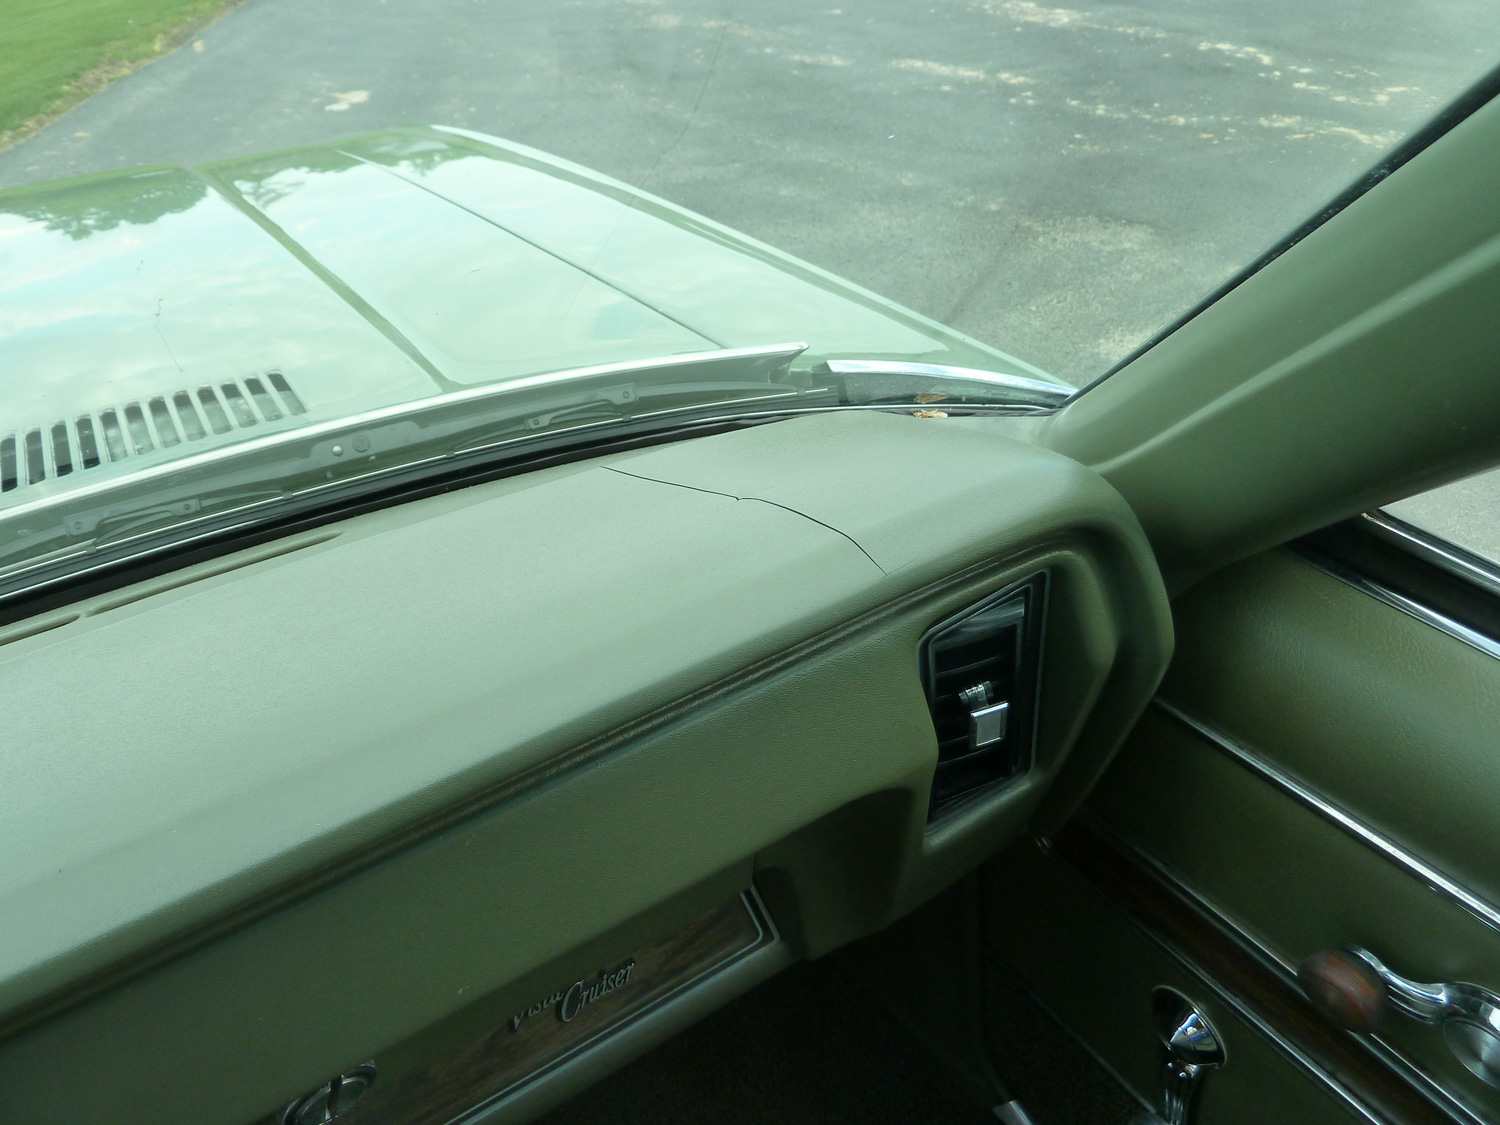
Regarding the dash pad, it does have one crack on the far right side. The pad did have a crack in the left side. When the windshield was out, I took the opportunity to repair that crack, retexture and paint the entire pad. It looked brand-new! However, about two weeks after I had the windshield reinstalled, the crack on the right side seemed to appear overnight! Ugh.
The Vista runs and drives really great, but it is a car from the 70's. When I bought the car, the suspension seemed so floaty that I thought there was something wrong. I bought brand new springs and shocks and discovered that that's the way they were supposed to ride back then! Just takes some getting used to. The steering feel is likewise almost nonexistent.
This is an honest car from an honest person. I'm a little sad to sell it after spending so much time restoring it, but now that the project is over, I'm thinking about the next project and the Vista is "just an old car" that's taking up my only area to do another car! I have all the receipts from my ownership to pass to you. I have over $19,000 invested in just parts and materials, and that's valuing my HUNDREDS of hours of labor at nothing. Steal this historic icon for the low, low price of $11,900 and it's like I've been your slave labor for the past ten years!
Ok, I've about run out of words to say about the car. Not really, it's just getting late and I'm really tired. Give me a call at 256-997-6971 on my cell phone and let's talk if you're interested in being the next chapter in this Vista Cruiser's life!
From here on out I'll let the photos do the talking. Give me a call at 256-997-6971 or email me at kurt@lammon.com. Thanks for your interest and in reading this far down. You must be interested if you rolled down here and are still reading!

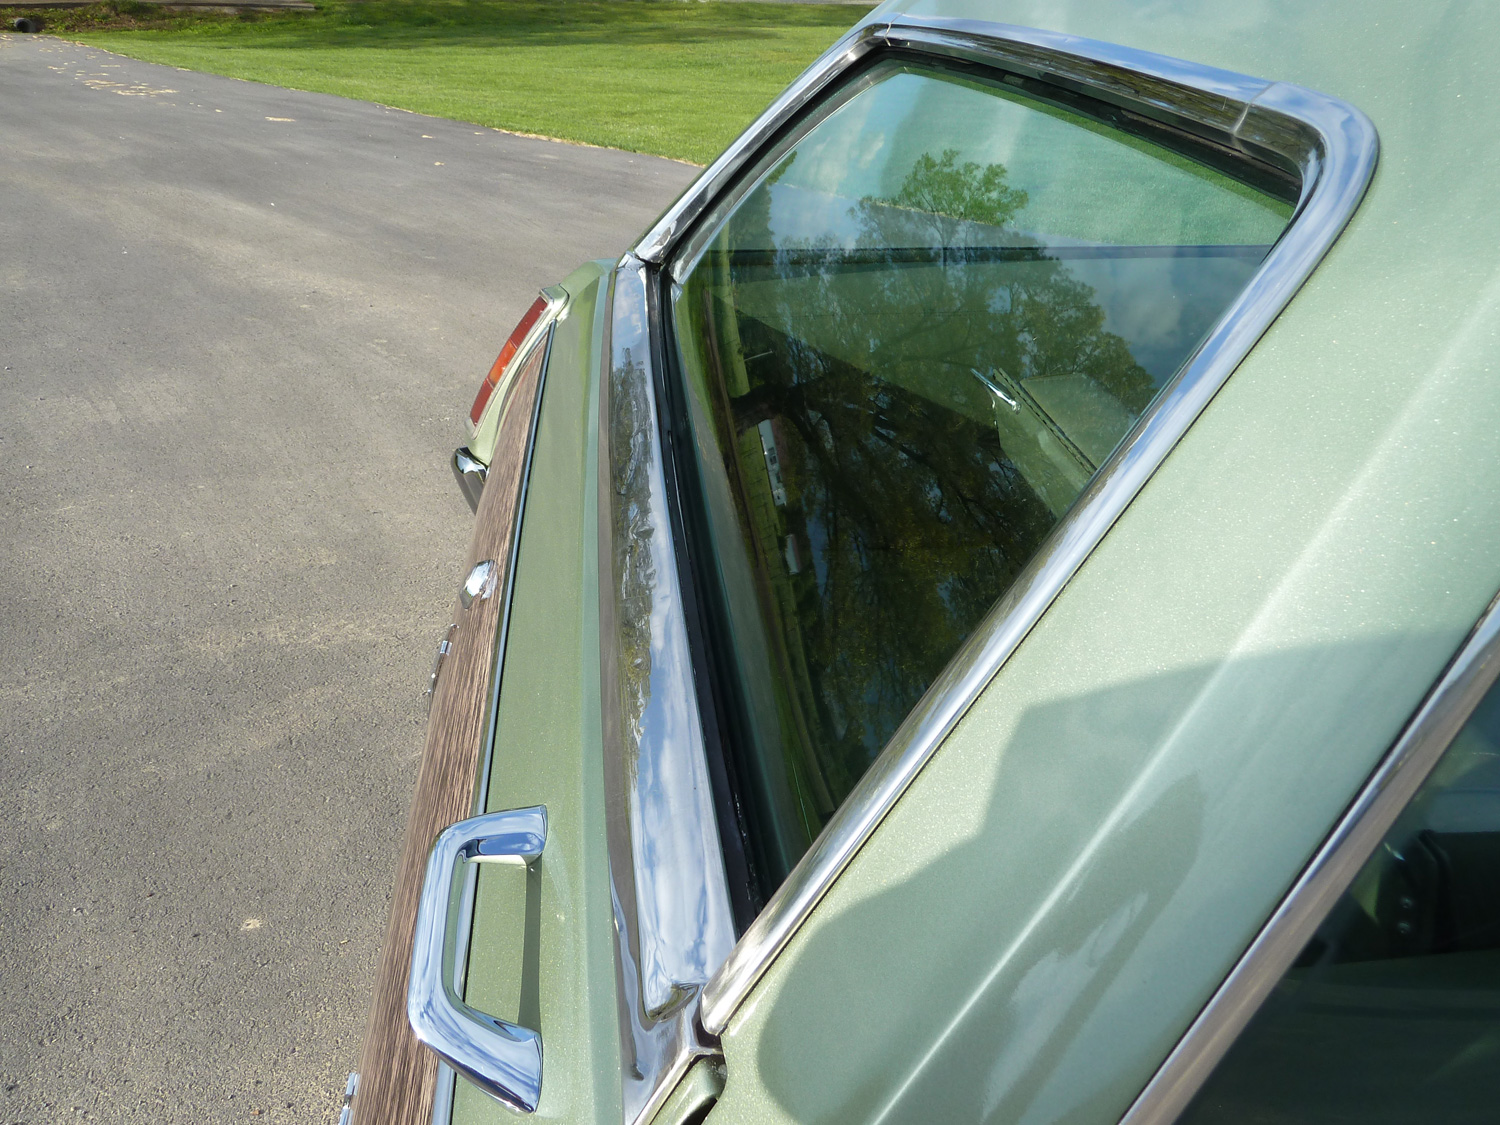
Below shows as well as I can that the bottom trim on the window has some wrinkles. This happened when I was pulling the trim off in the beginning; the clips were so rusty that nothing moved well and it caused some slight damage to the stainless as I was pulling it off.
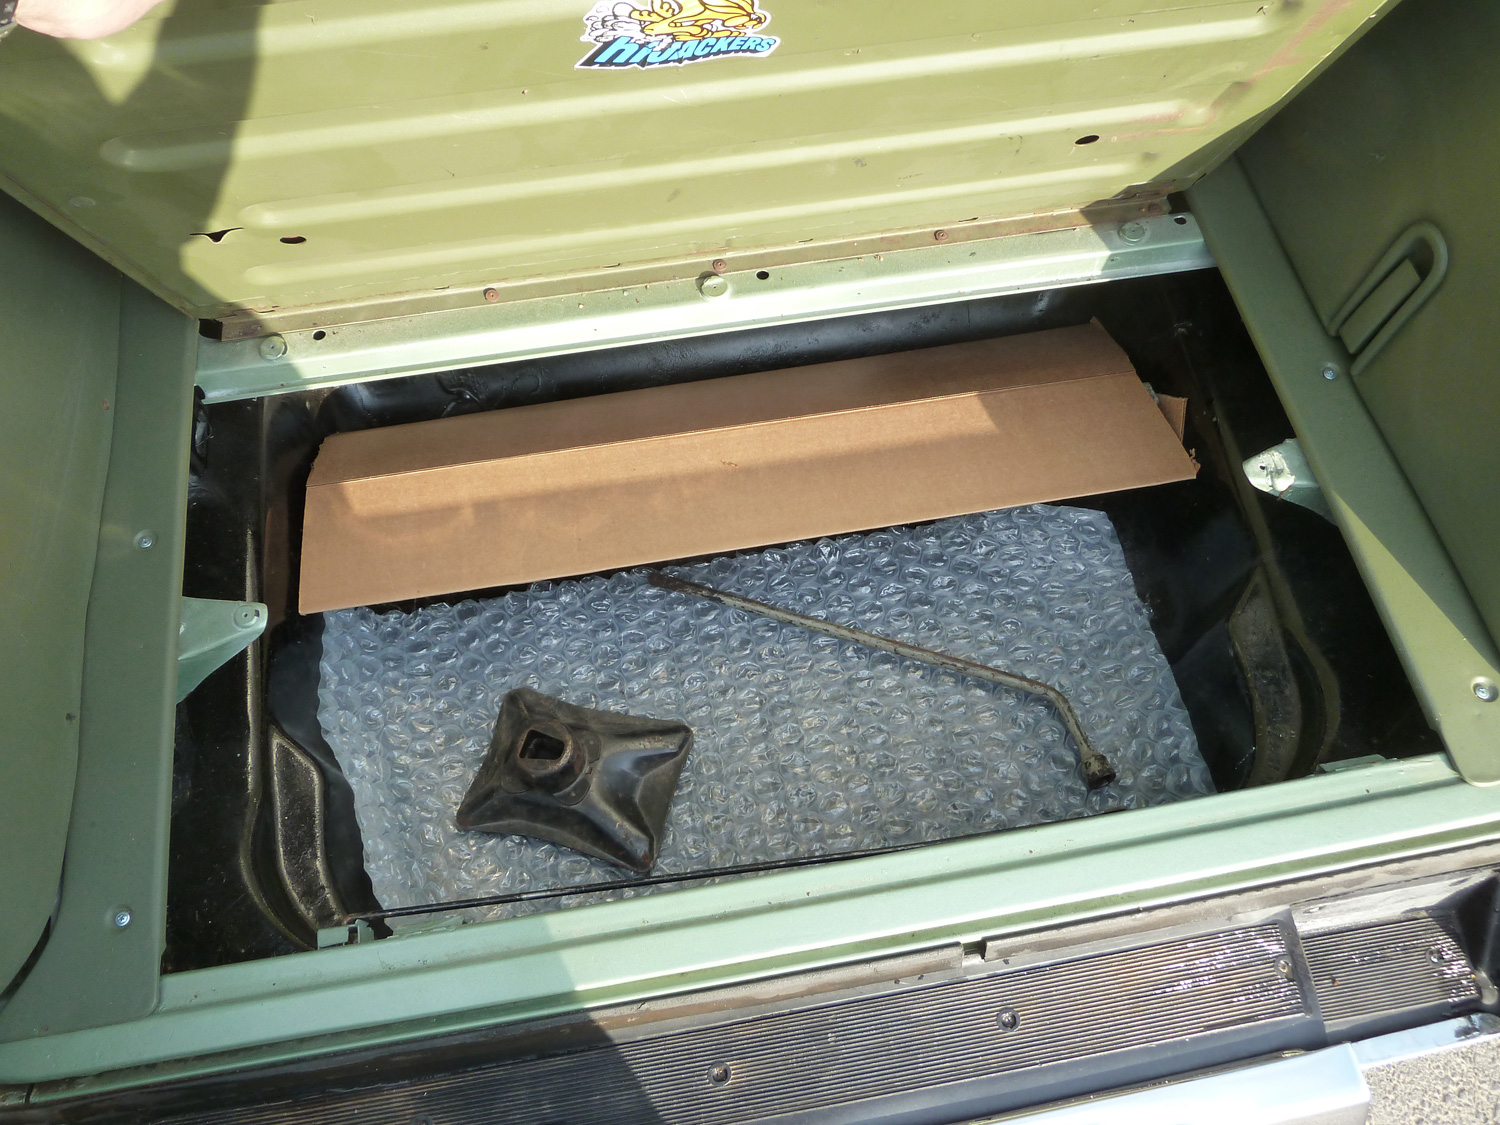
Rust Never Sleeps Part I - I welded new metal in the spare tire area in 2006, but it's already coming back.
Rust Never Sleeps Part II - There's a little bubble forming at the bottom of the tailgate below.
Rust Never Sleeps Part III - There's a little bubble forming on the C-pillar on the driver's side.

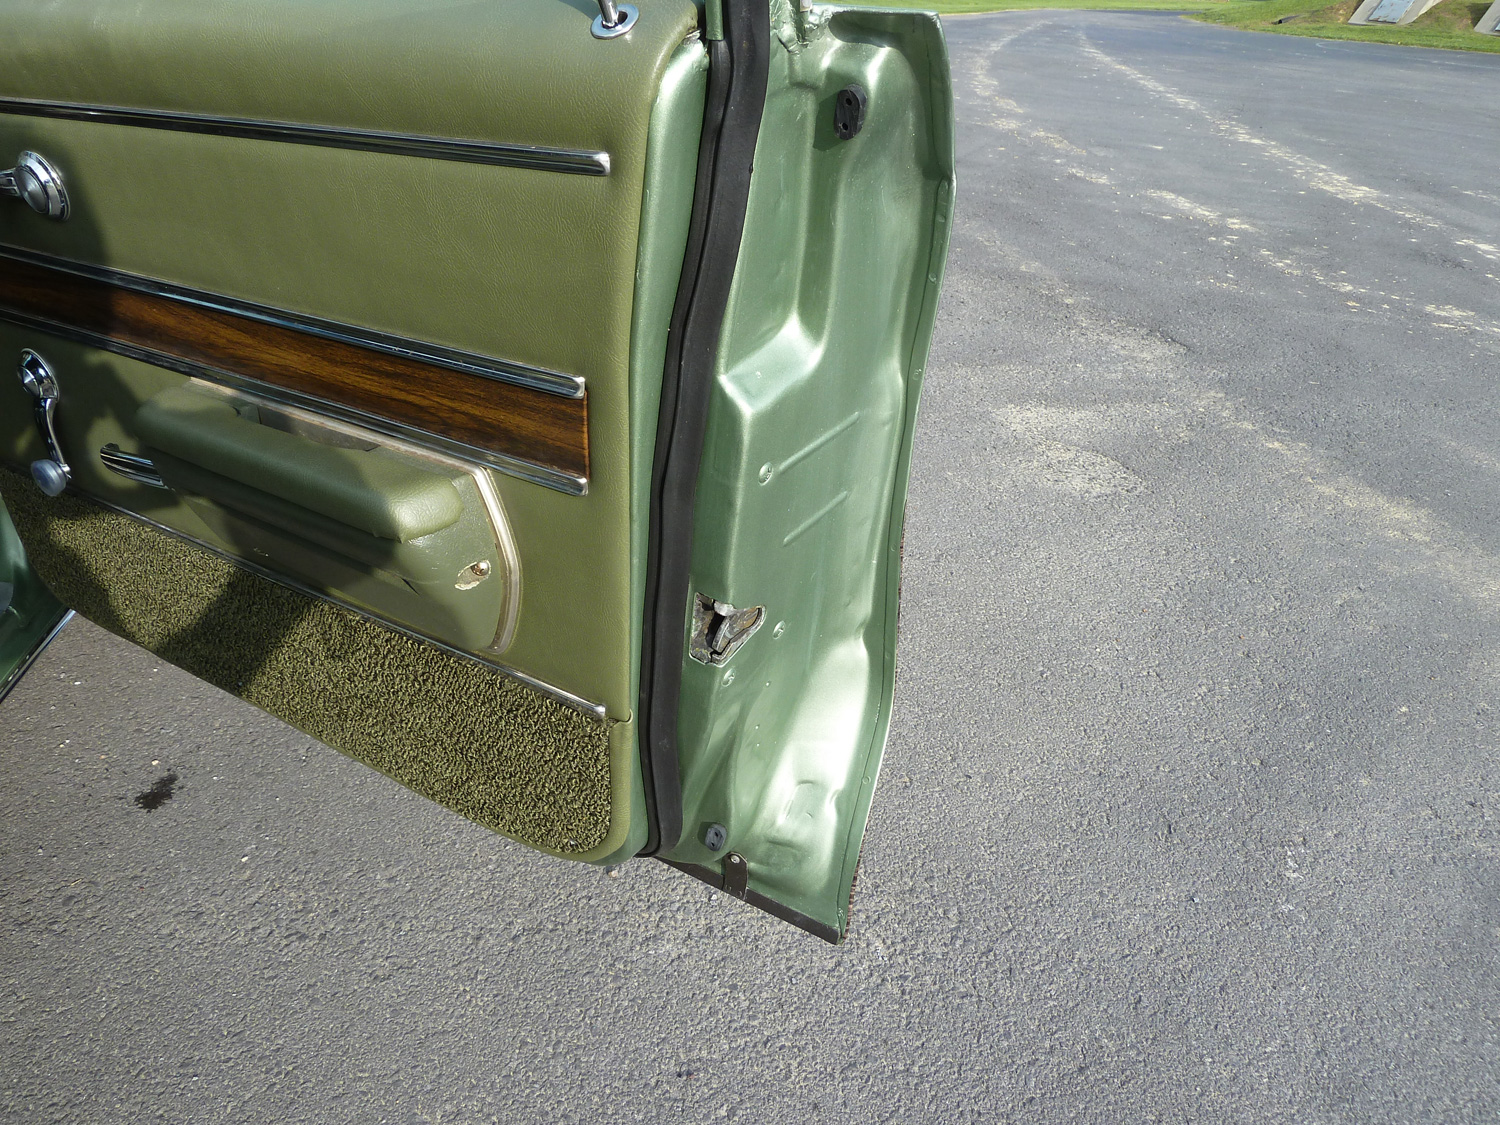
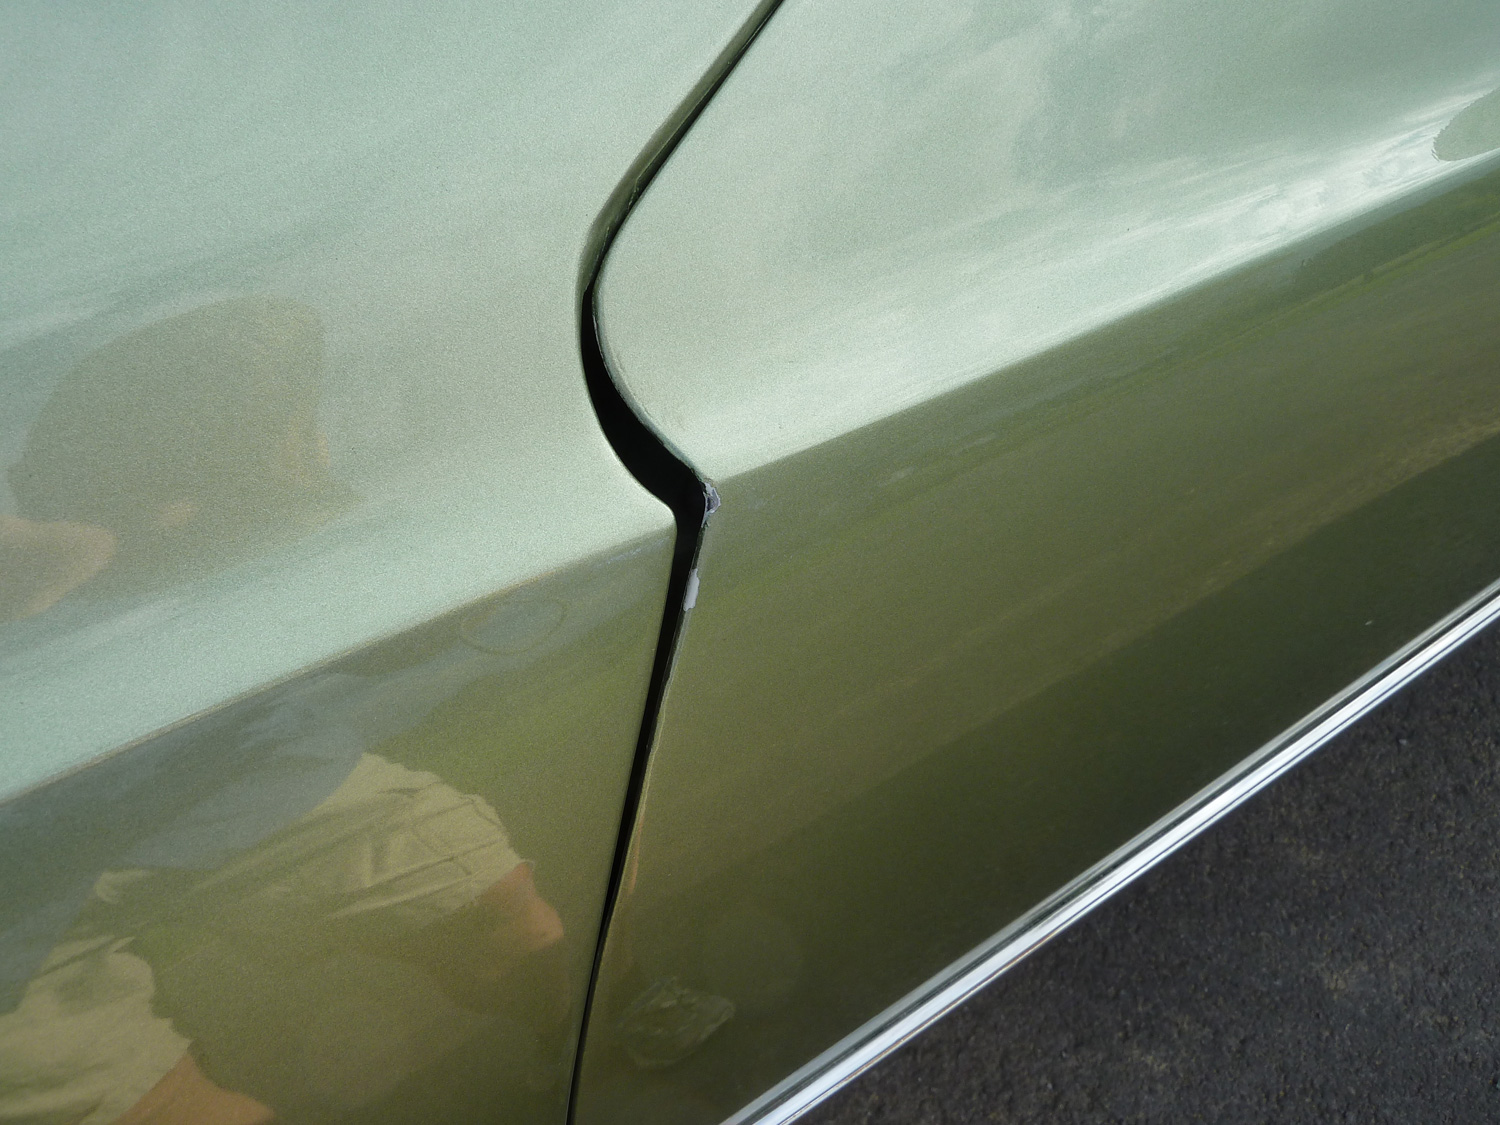
The below photo shows a little paint chip at the edge of the driver's door and fender where it got a little too close during fender installation and fitting.
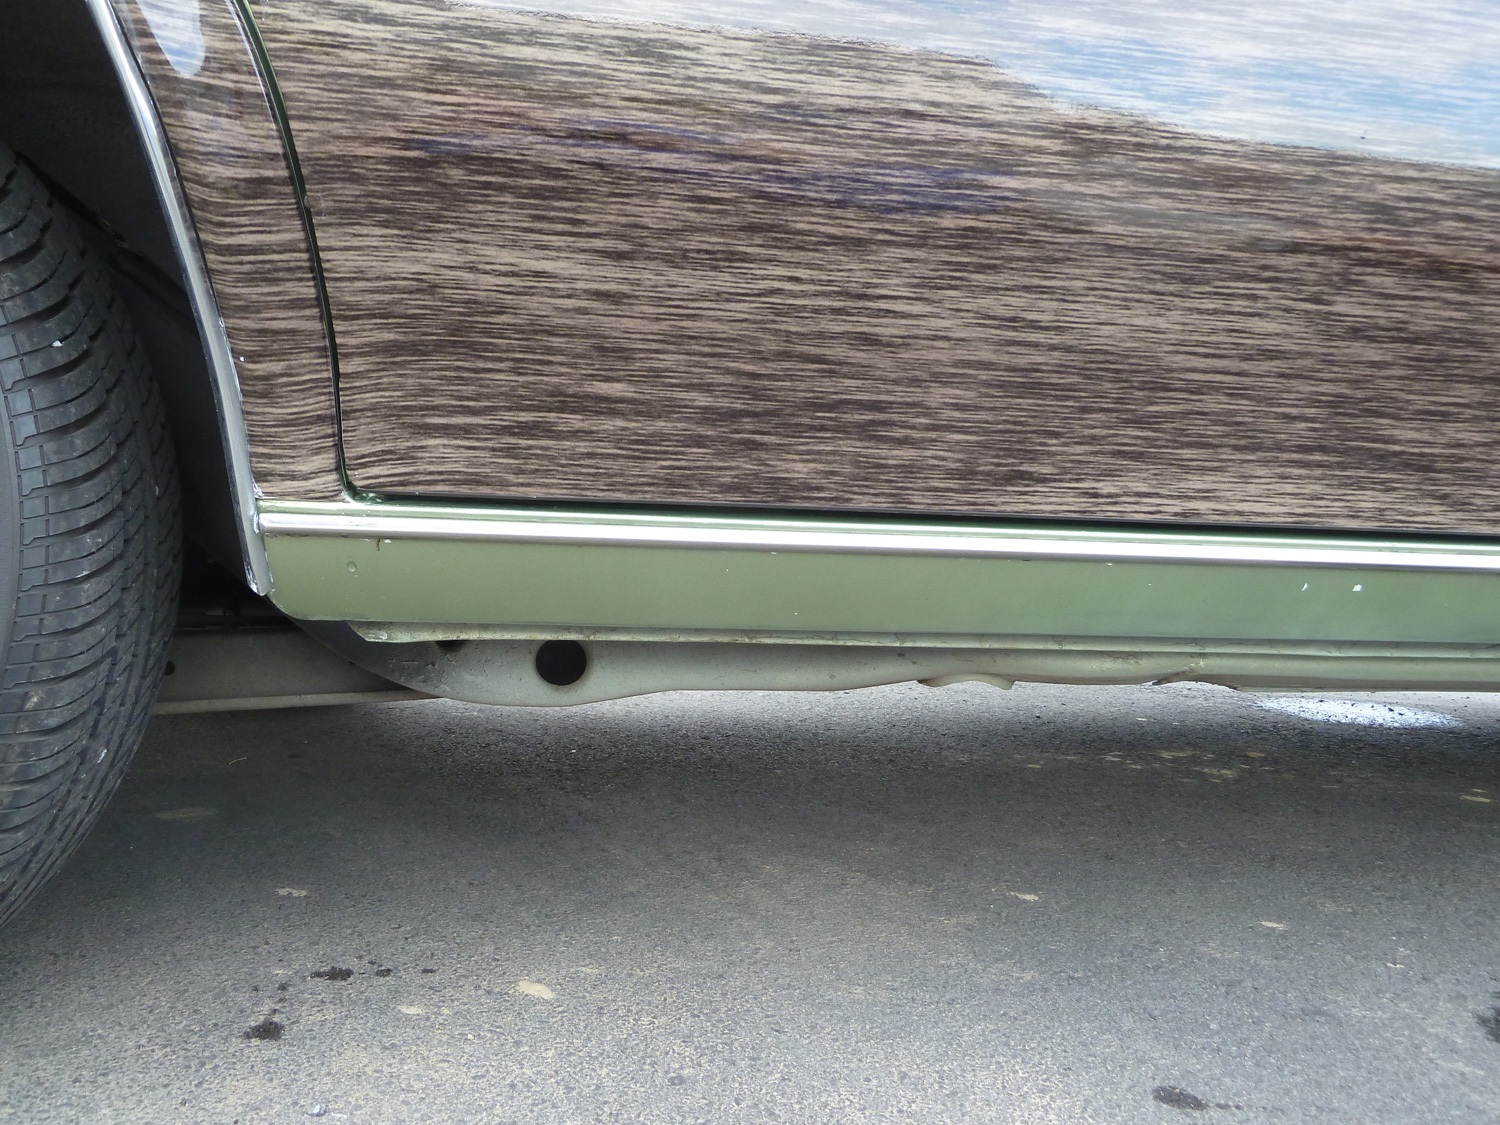
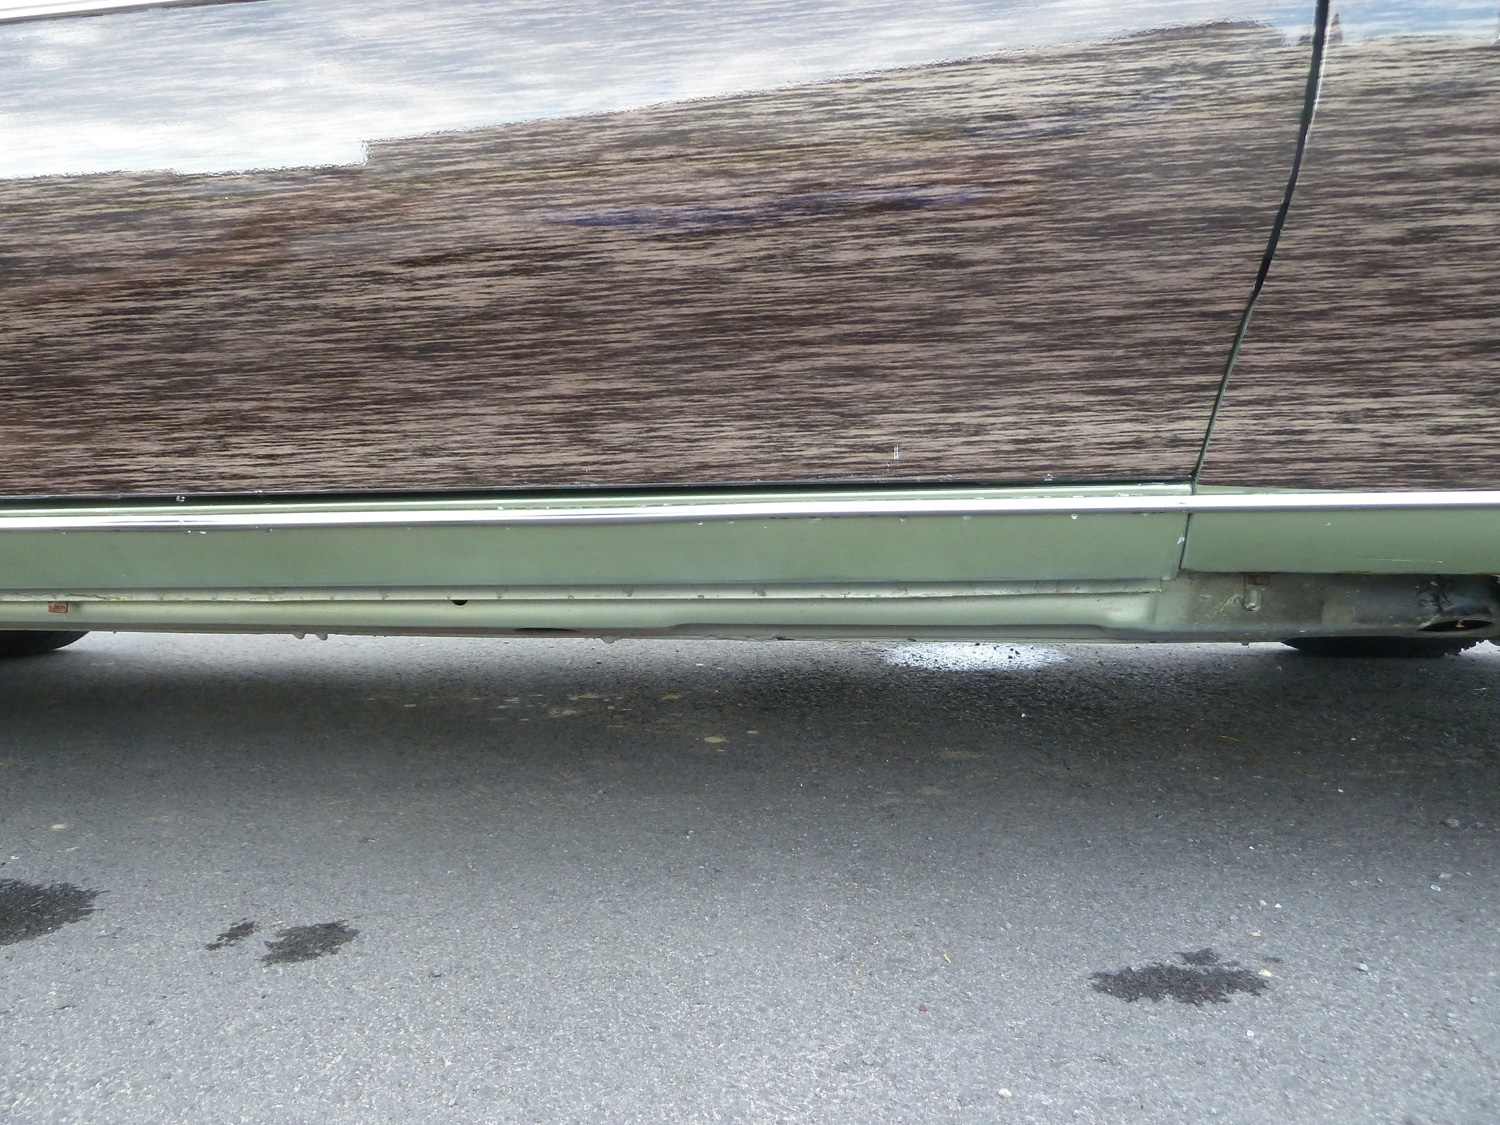
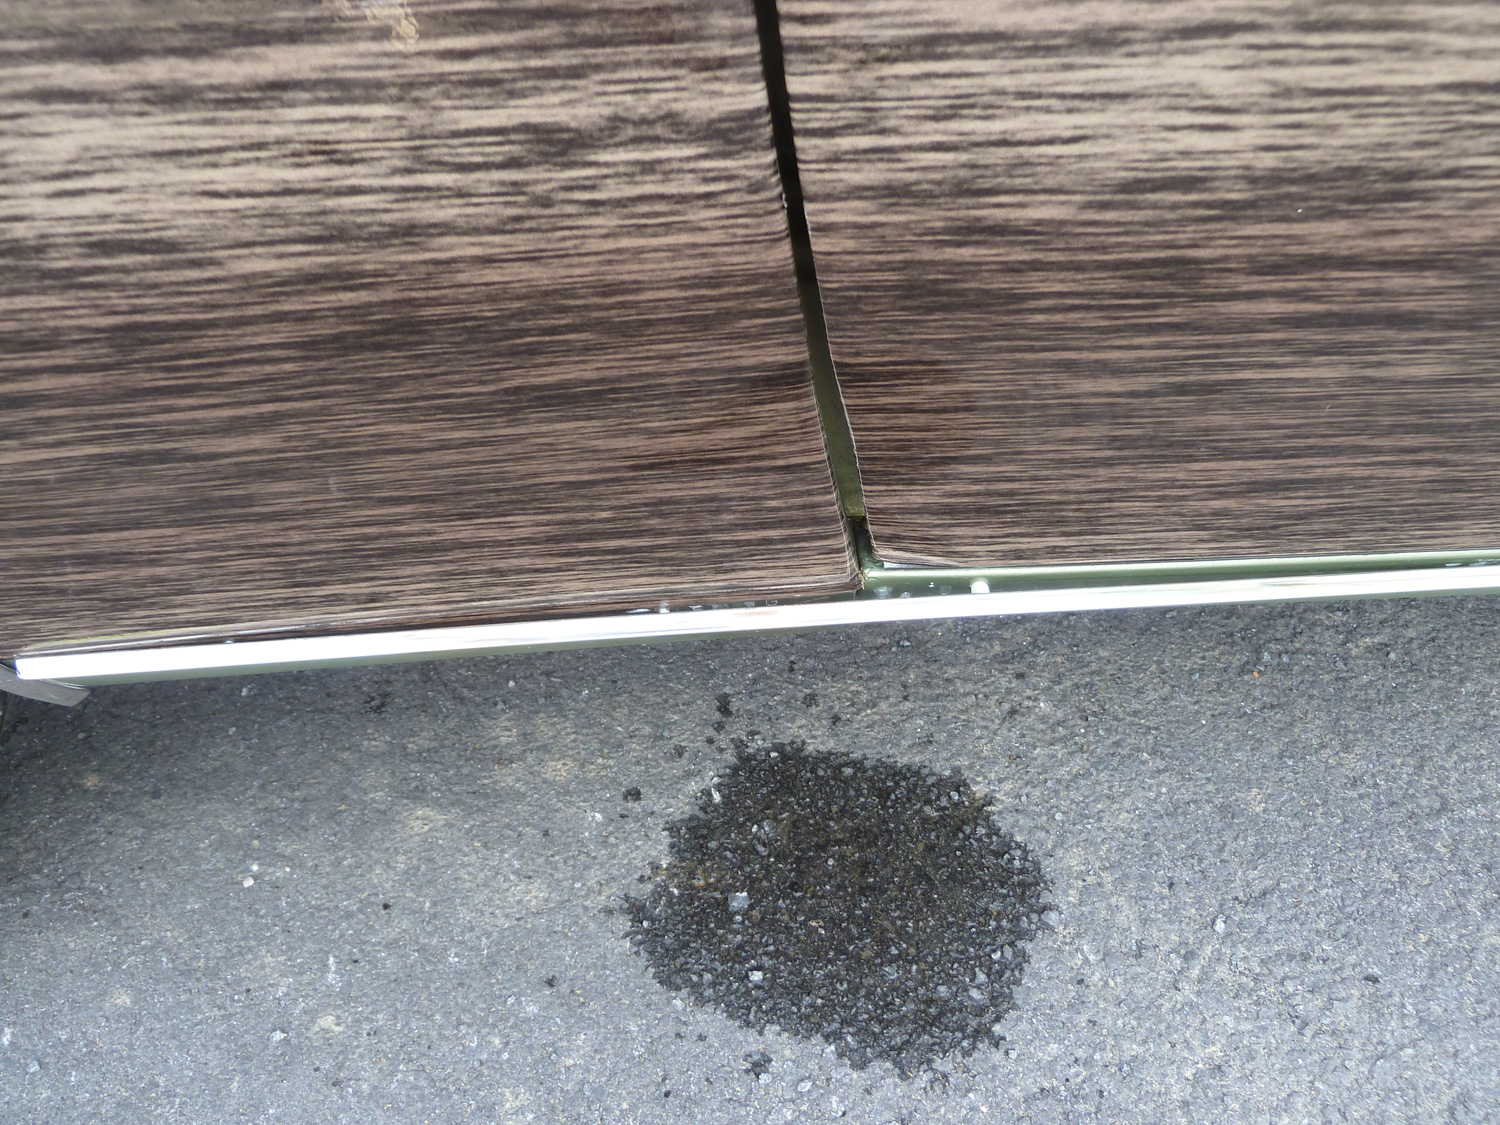
The below photo shows the slightly ill-fitting trim between the fender and rocker on the driver's side. I couldn't find the metal clips that the original car had, so I used some plastic clips that don't have the same holding power as the originals. On the passenger side, I actually have a small piece of electrical tape on the bottom of this trim piece to hold make sure it doesn't pop out.
Below is a photo of the passenger side C-pillar trim. I fixed it with PlastiFix, but the substrate is so brittle that it broke elsewhere while I was installing it. Unless you can find some reproductions, probably the best thing to do would be to piece these C-pillar trim pieces together with epoxy, use them to make a female mold, then reproduce from fiberglass and resin.
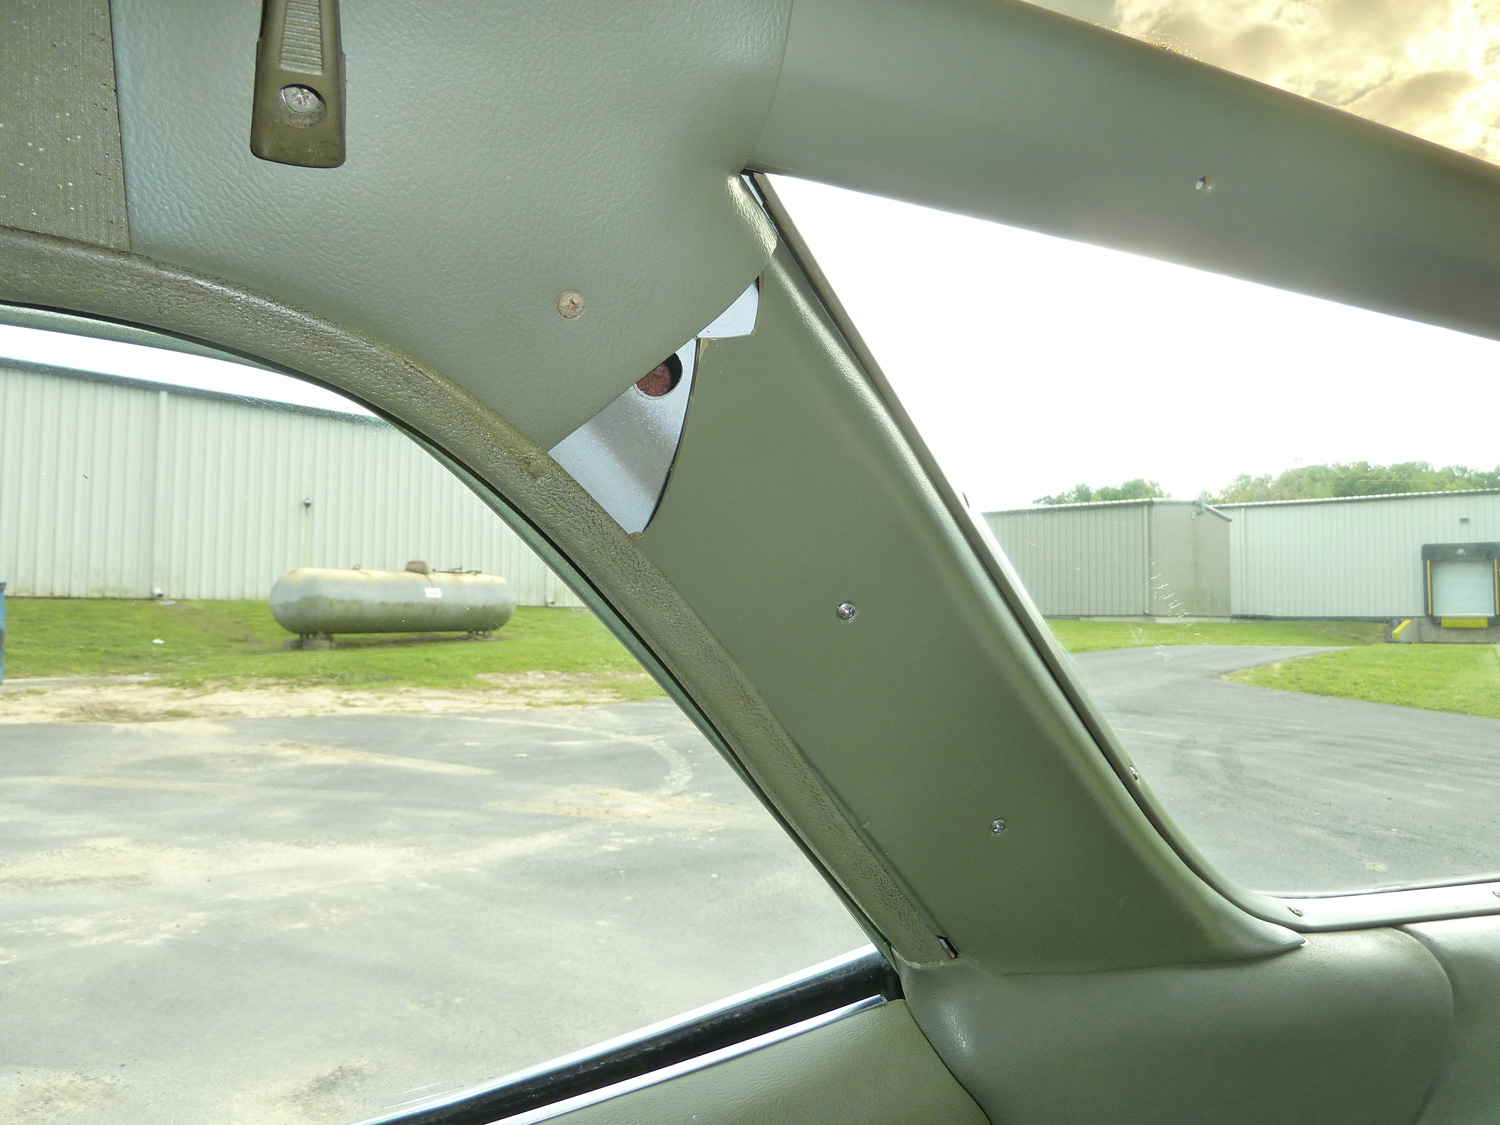
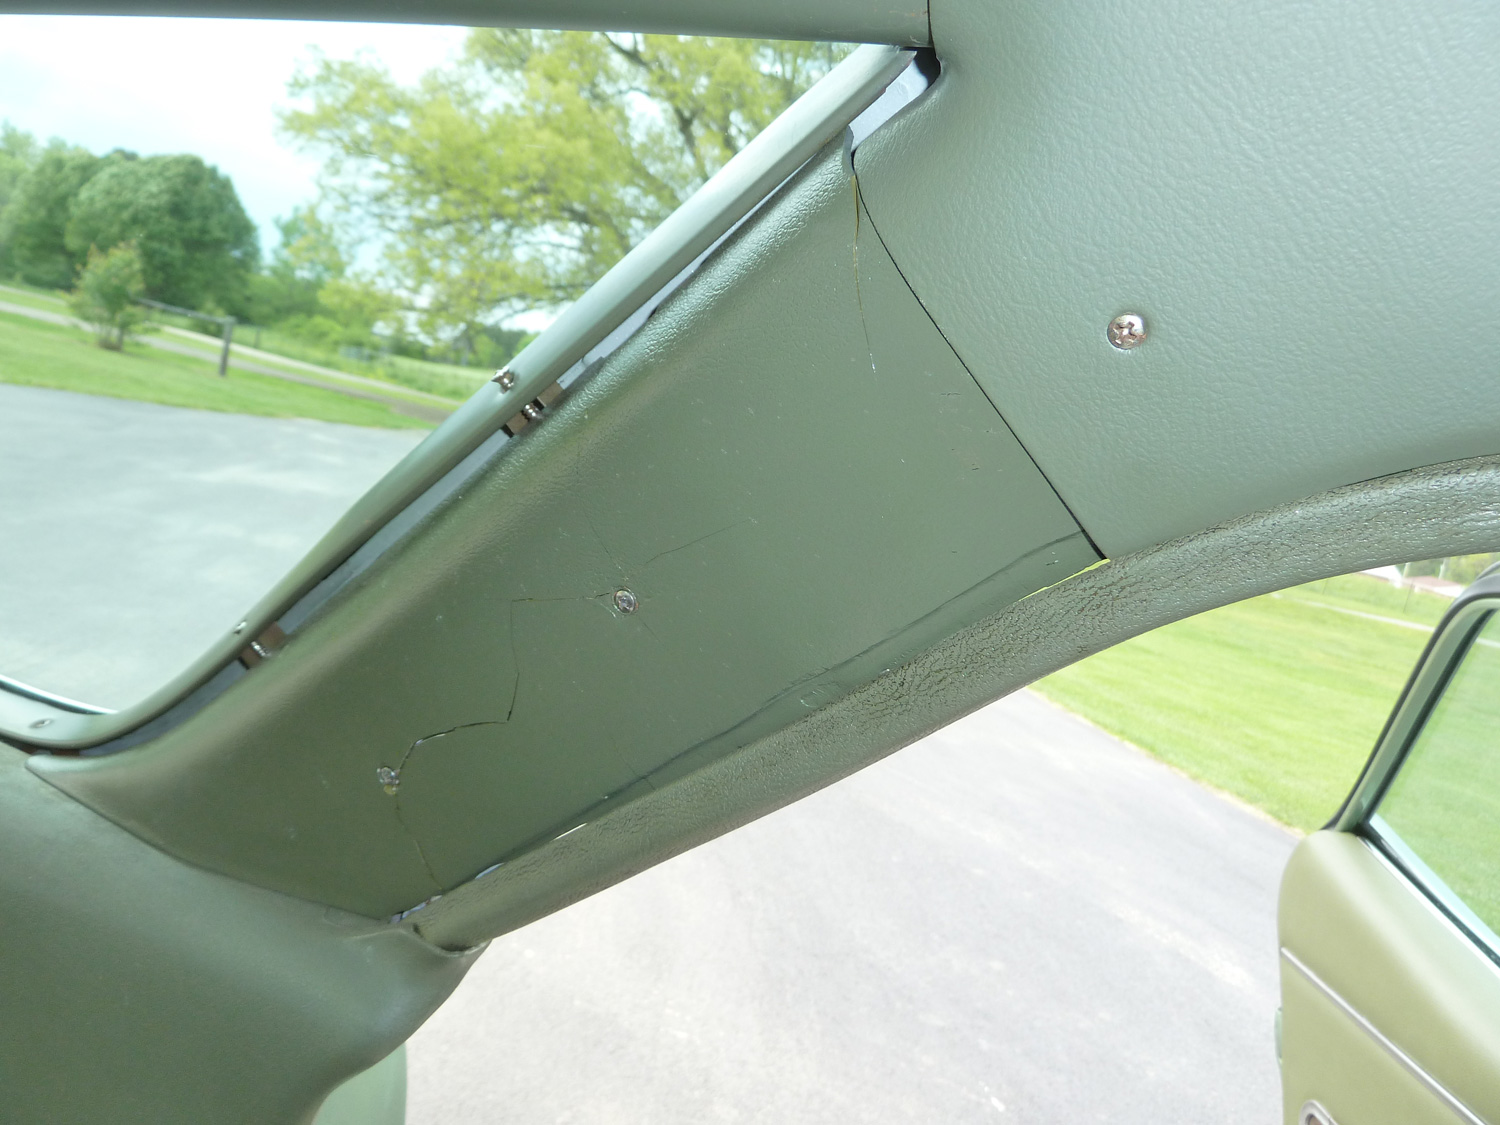
Below is a photo of the driver's side C-pillar trim. It's brittle, cracked, and ill fitting.
Below is a photo of the crack in the dash on the right side. I had just finished fixing another crack on the left side and this happened just after I reinstalled the windshield. Ugh.
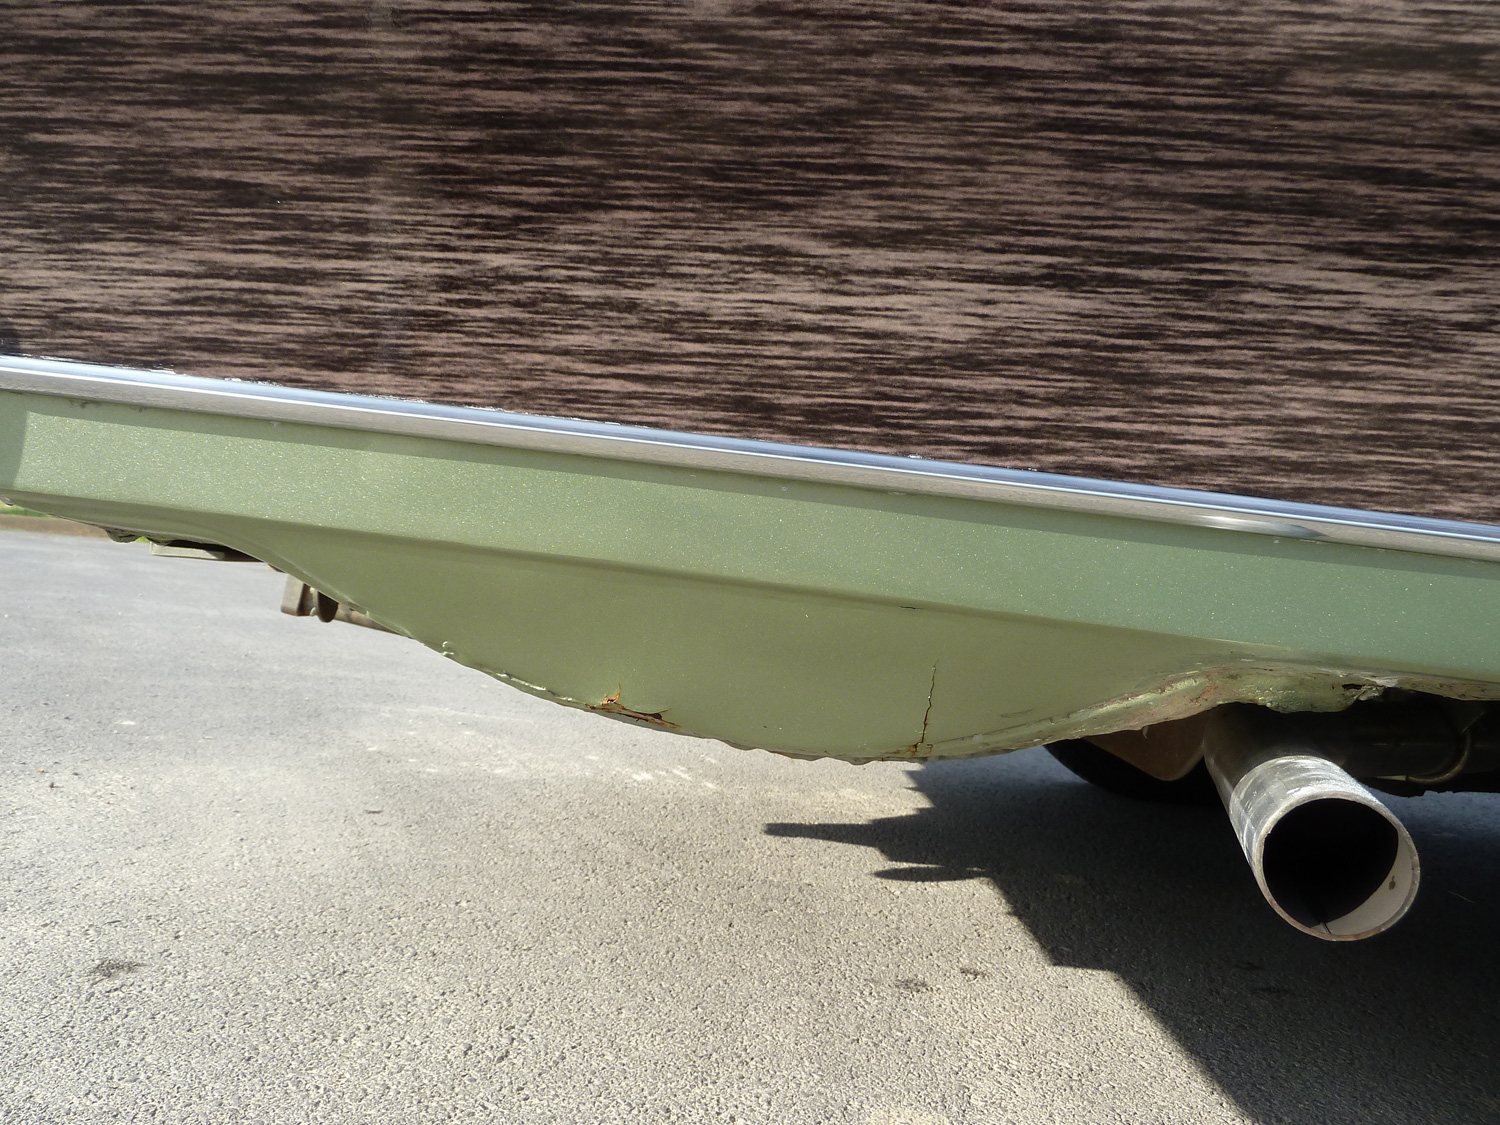
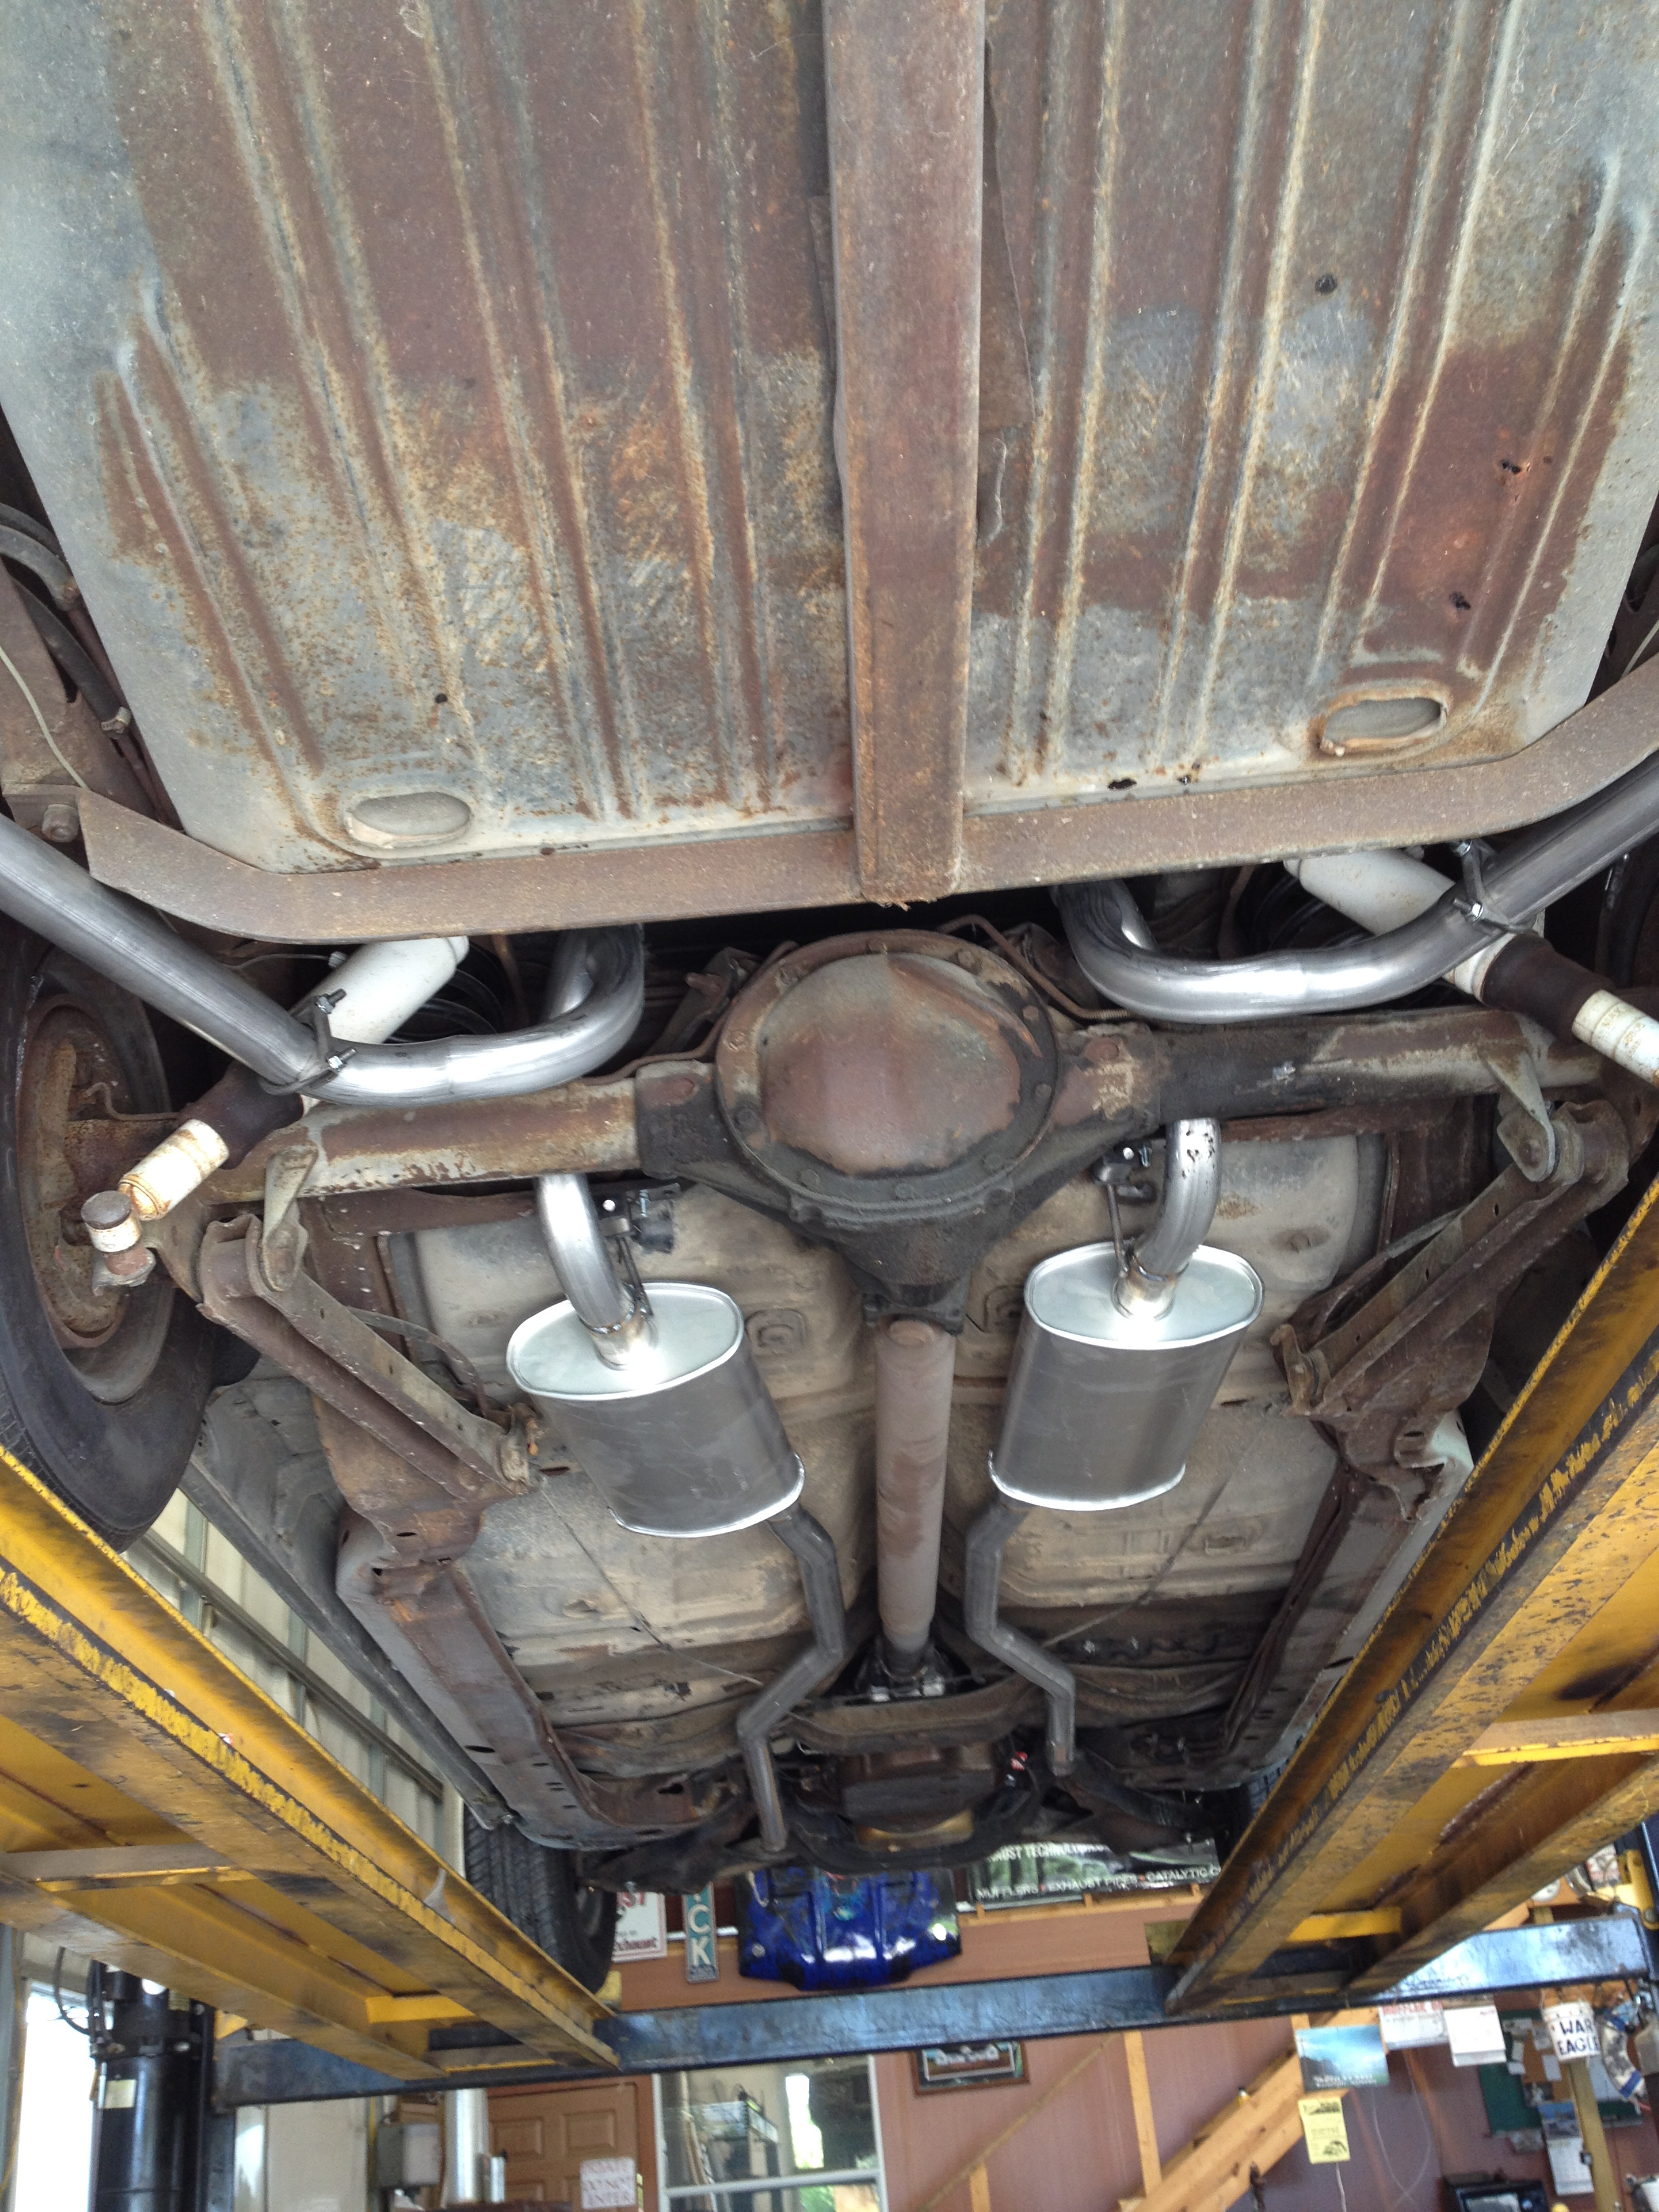
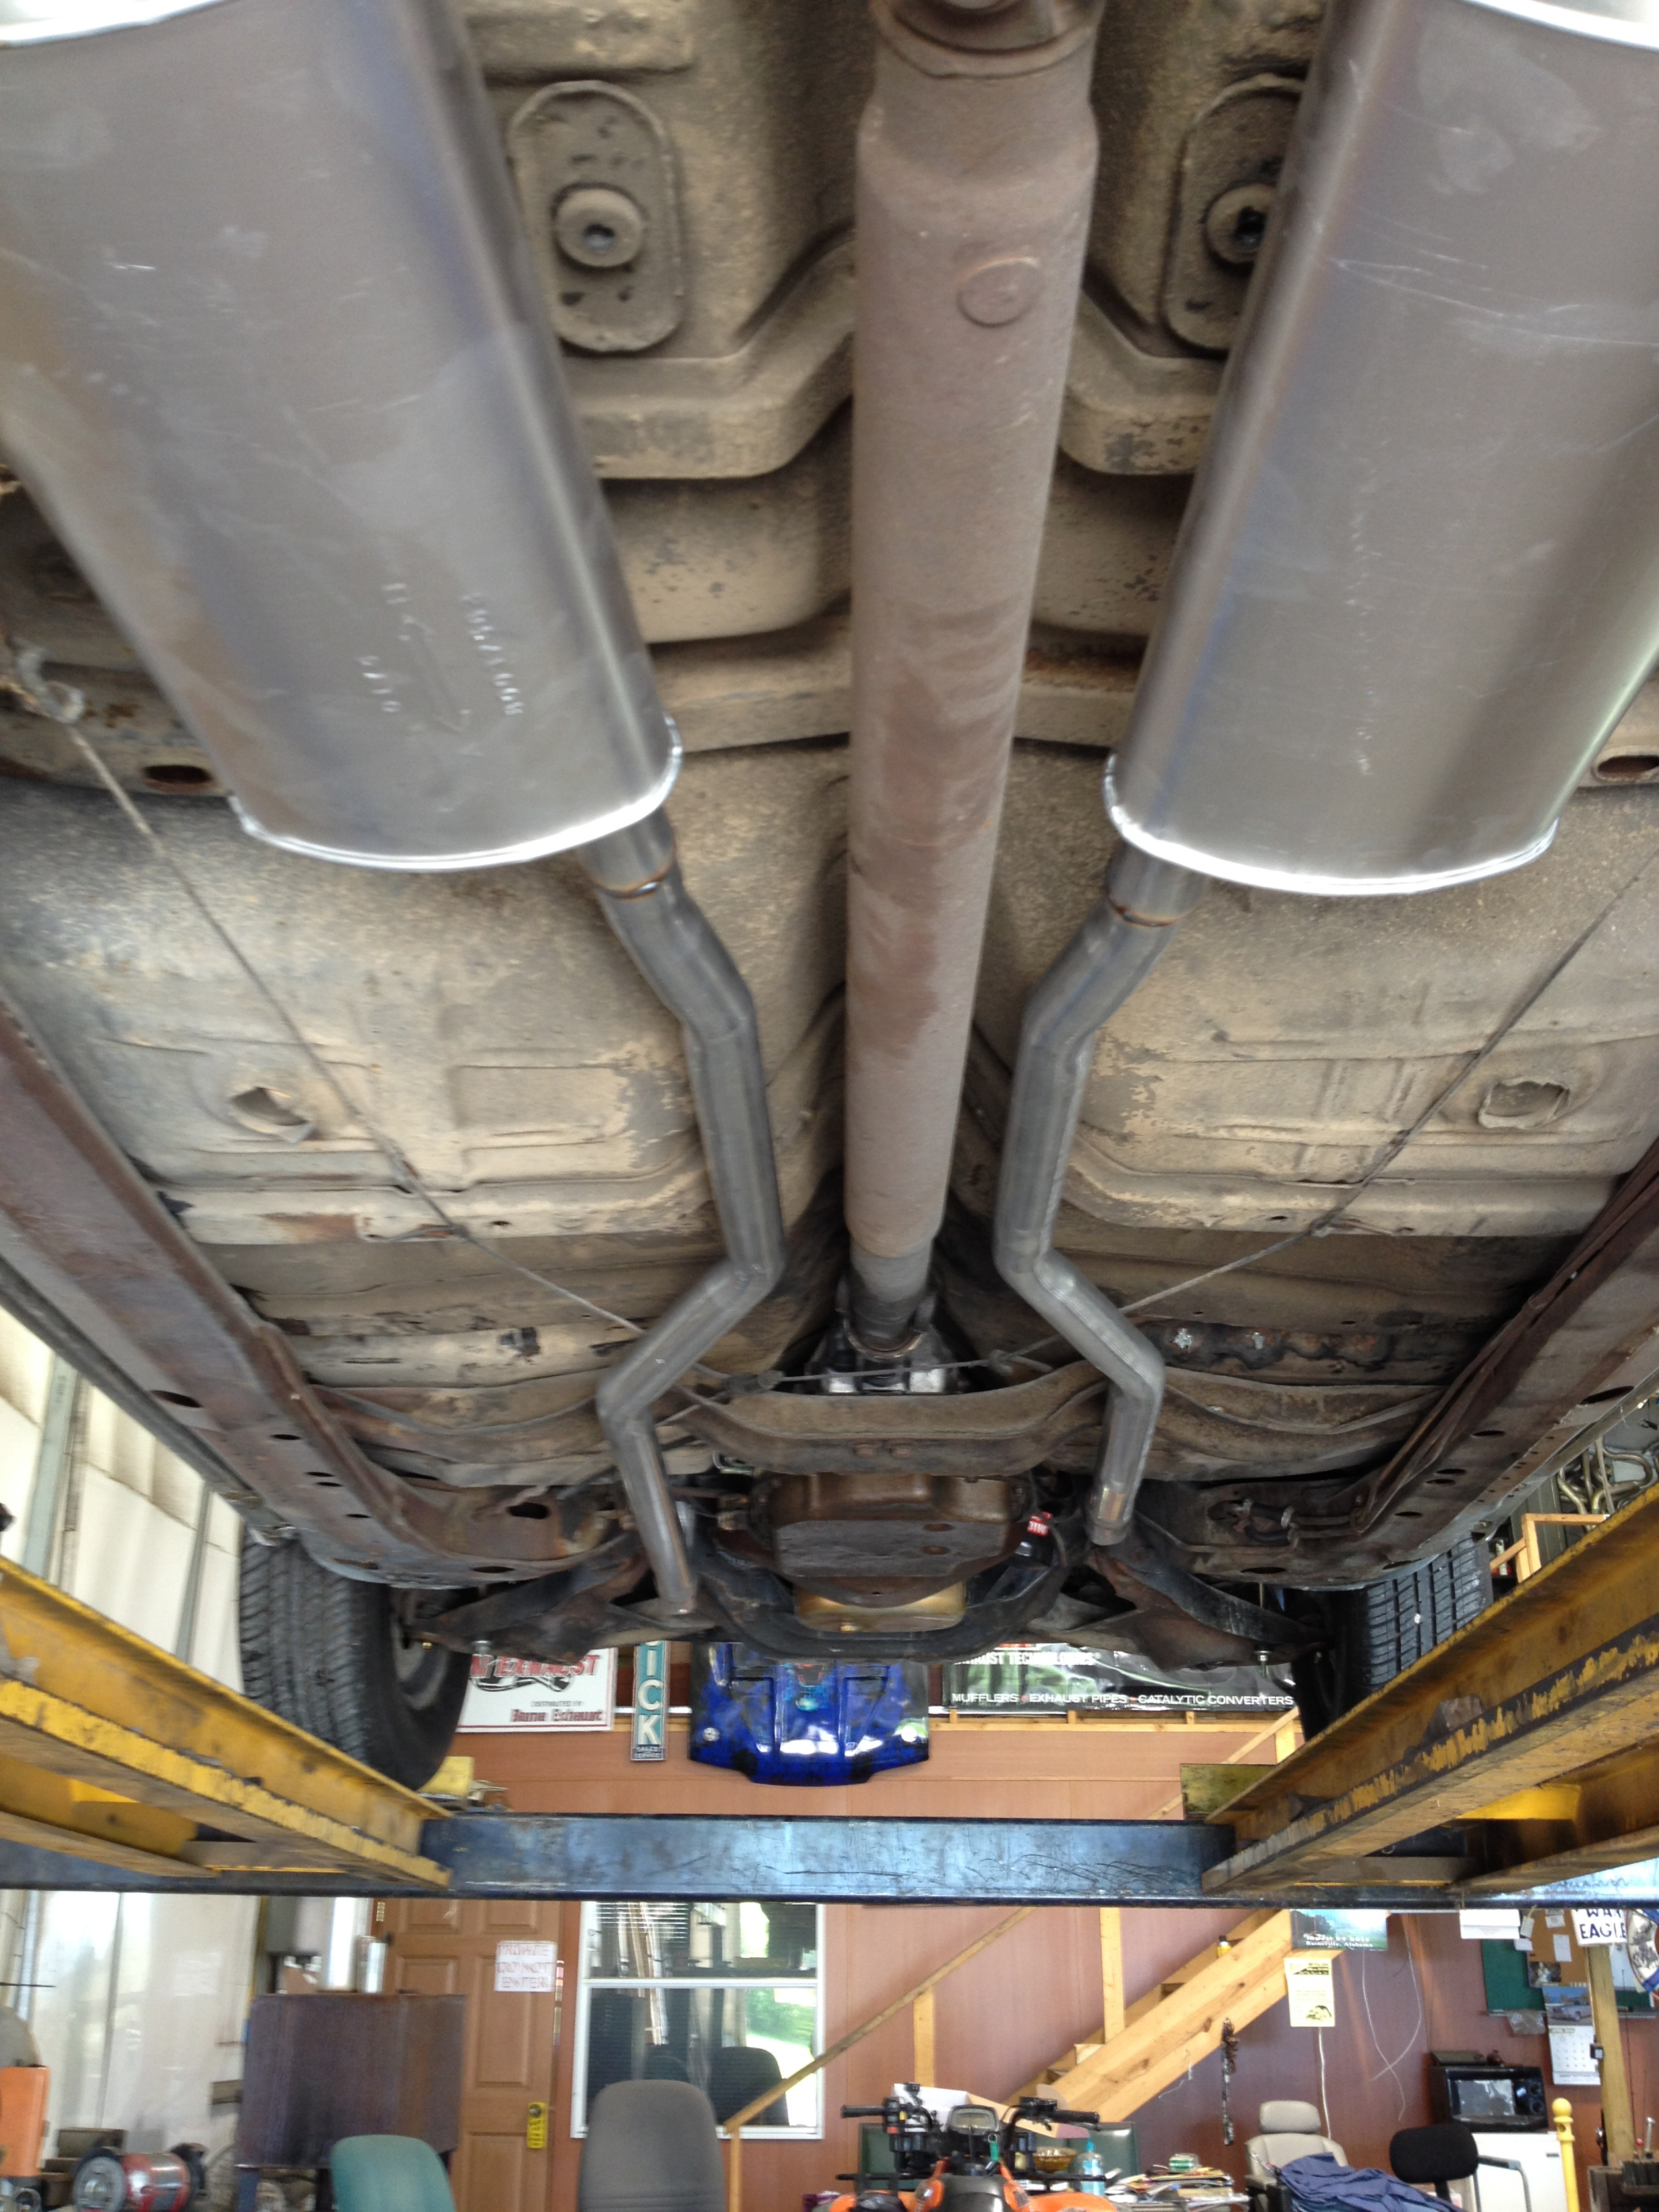
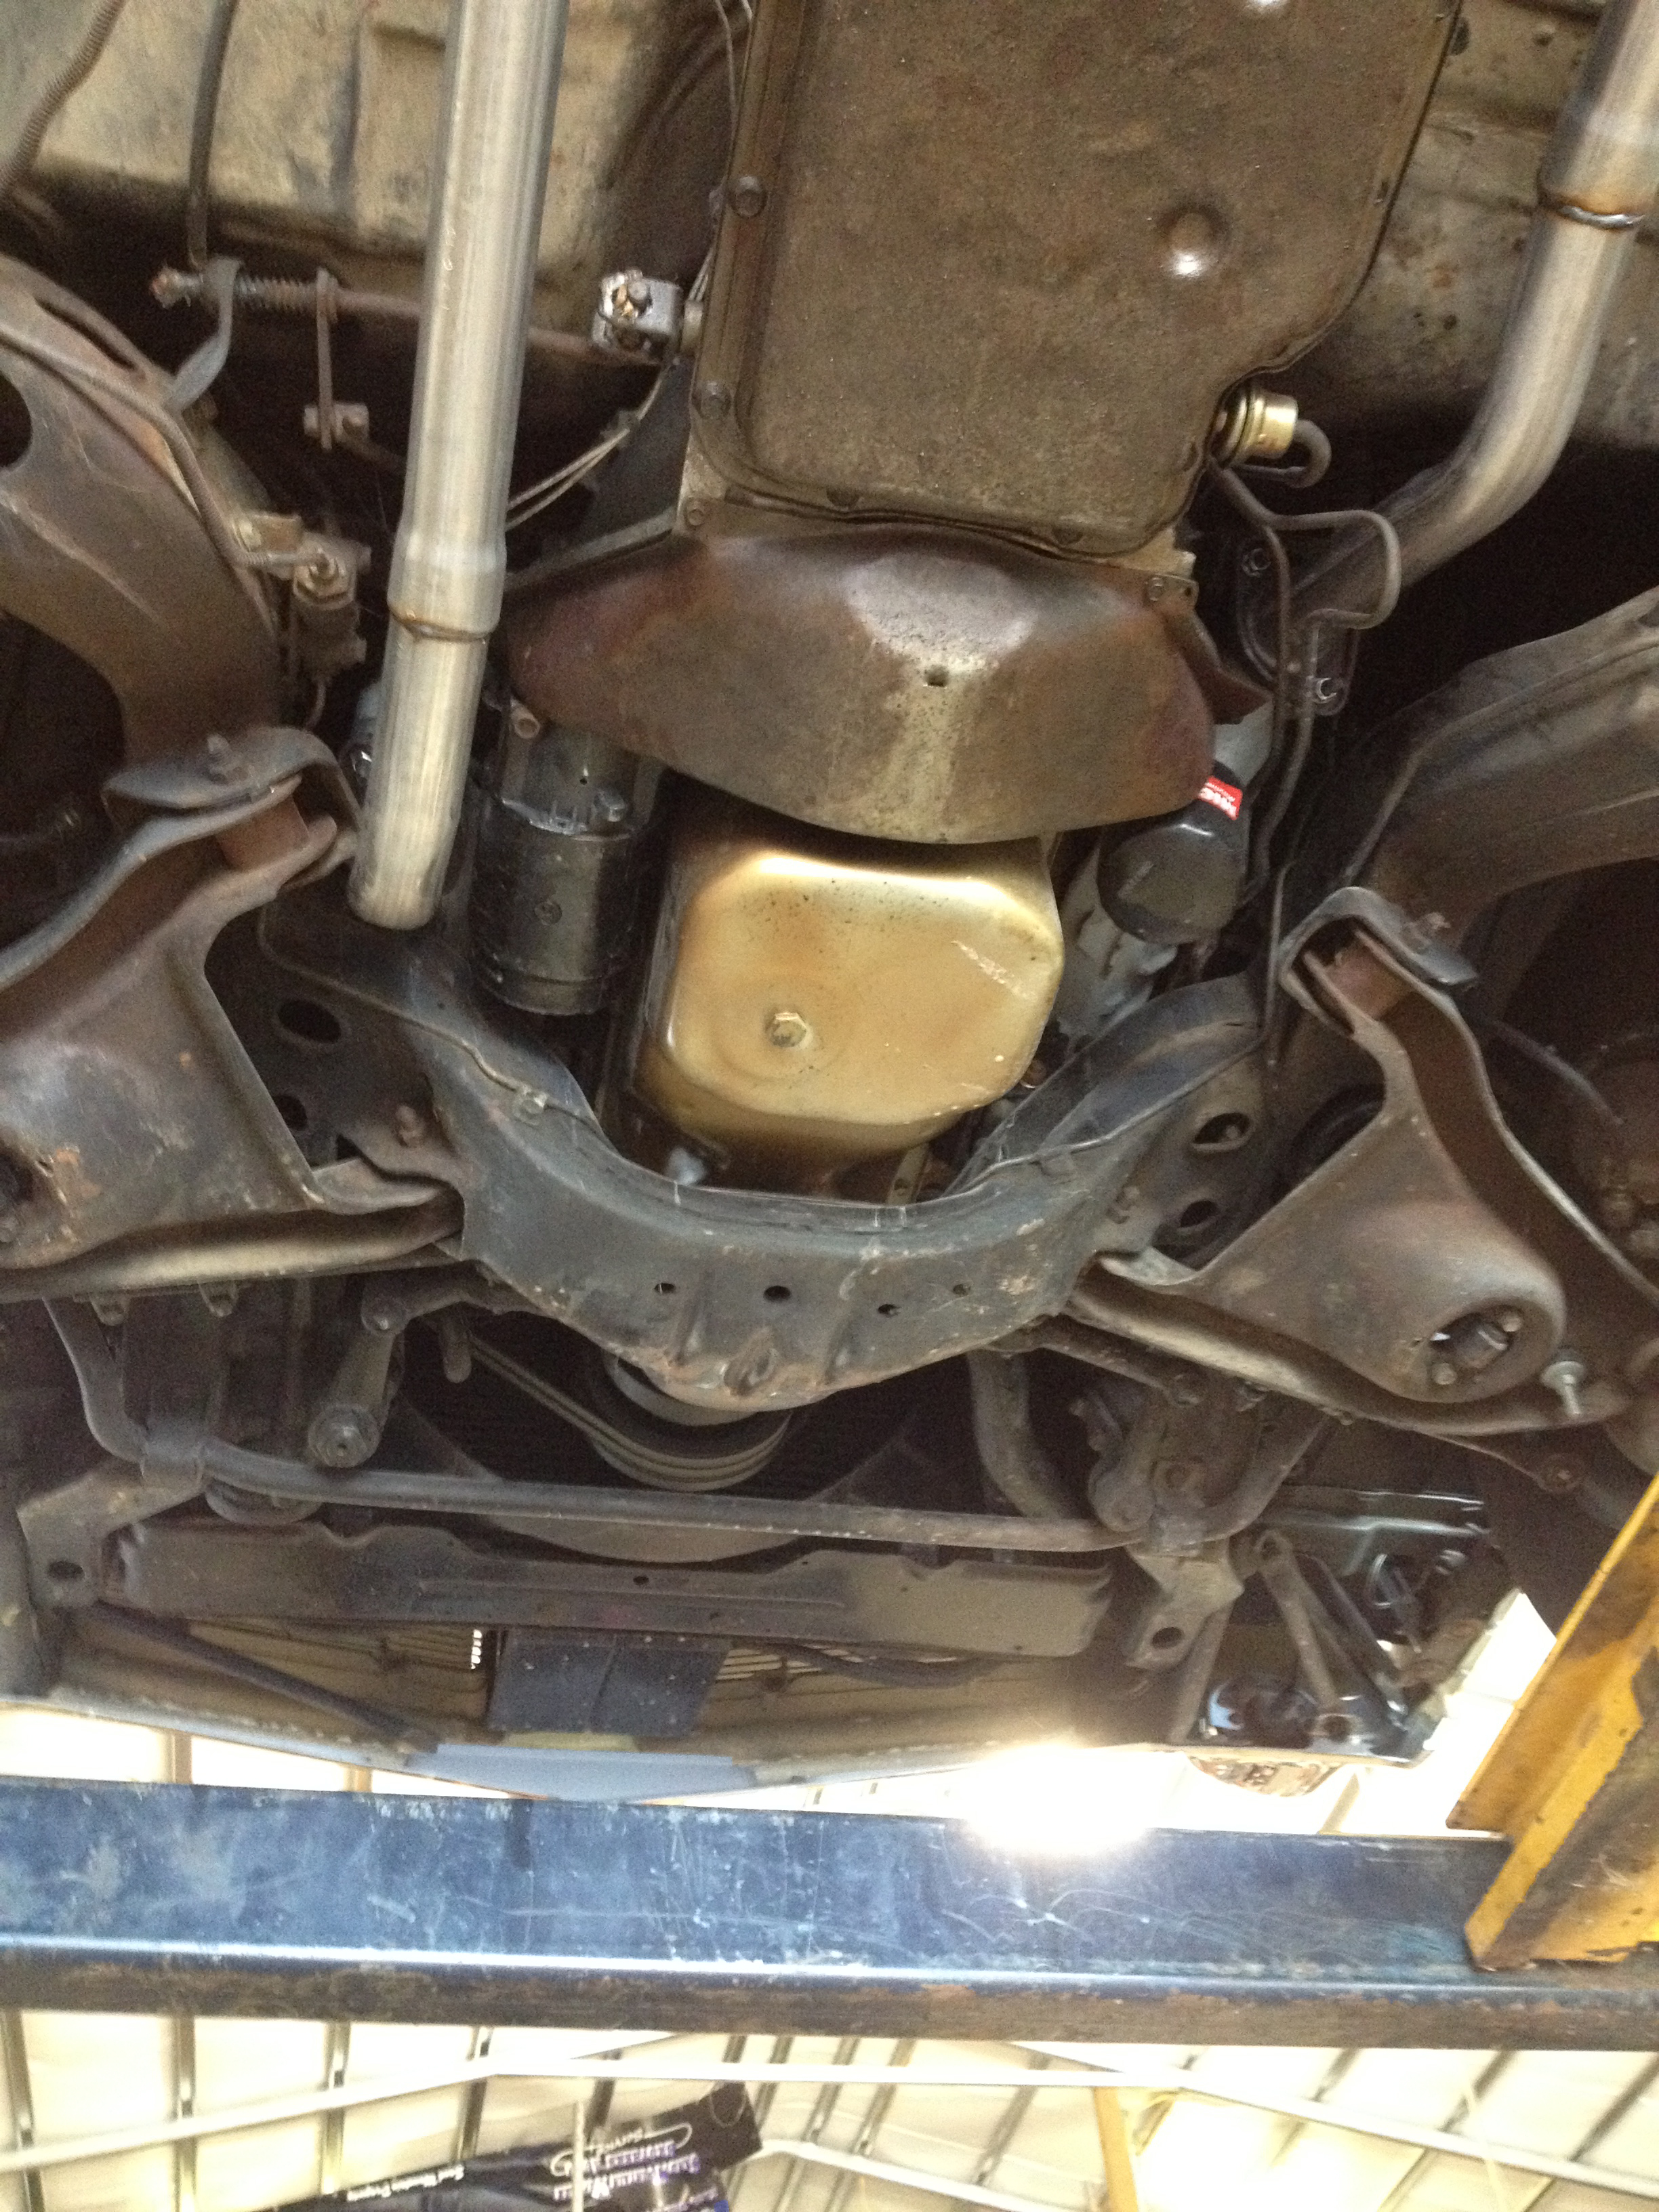
Here are some undercarraige shots I took after I got the new exhaust system installed in early 2014. You can see the frame and underbody are solid.
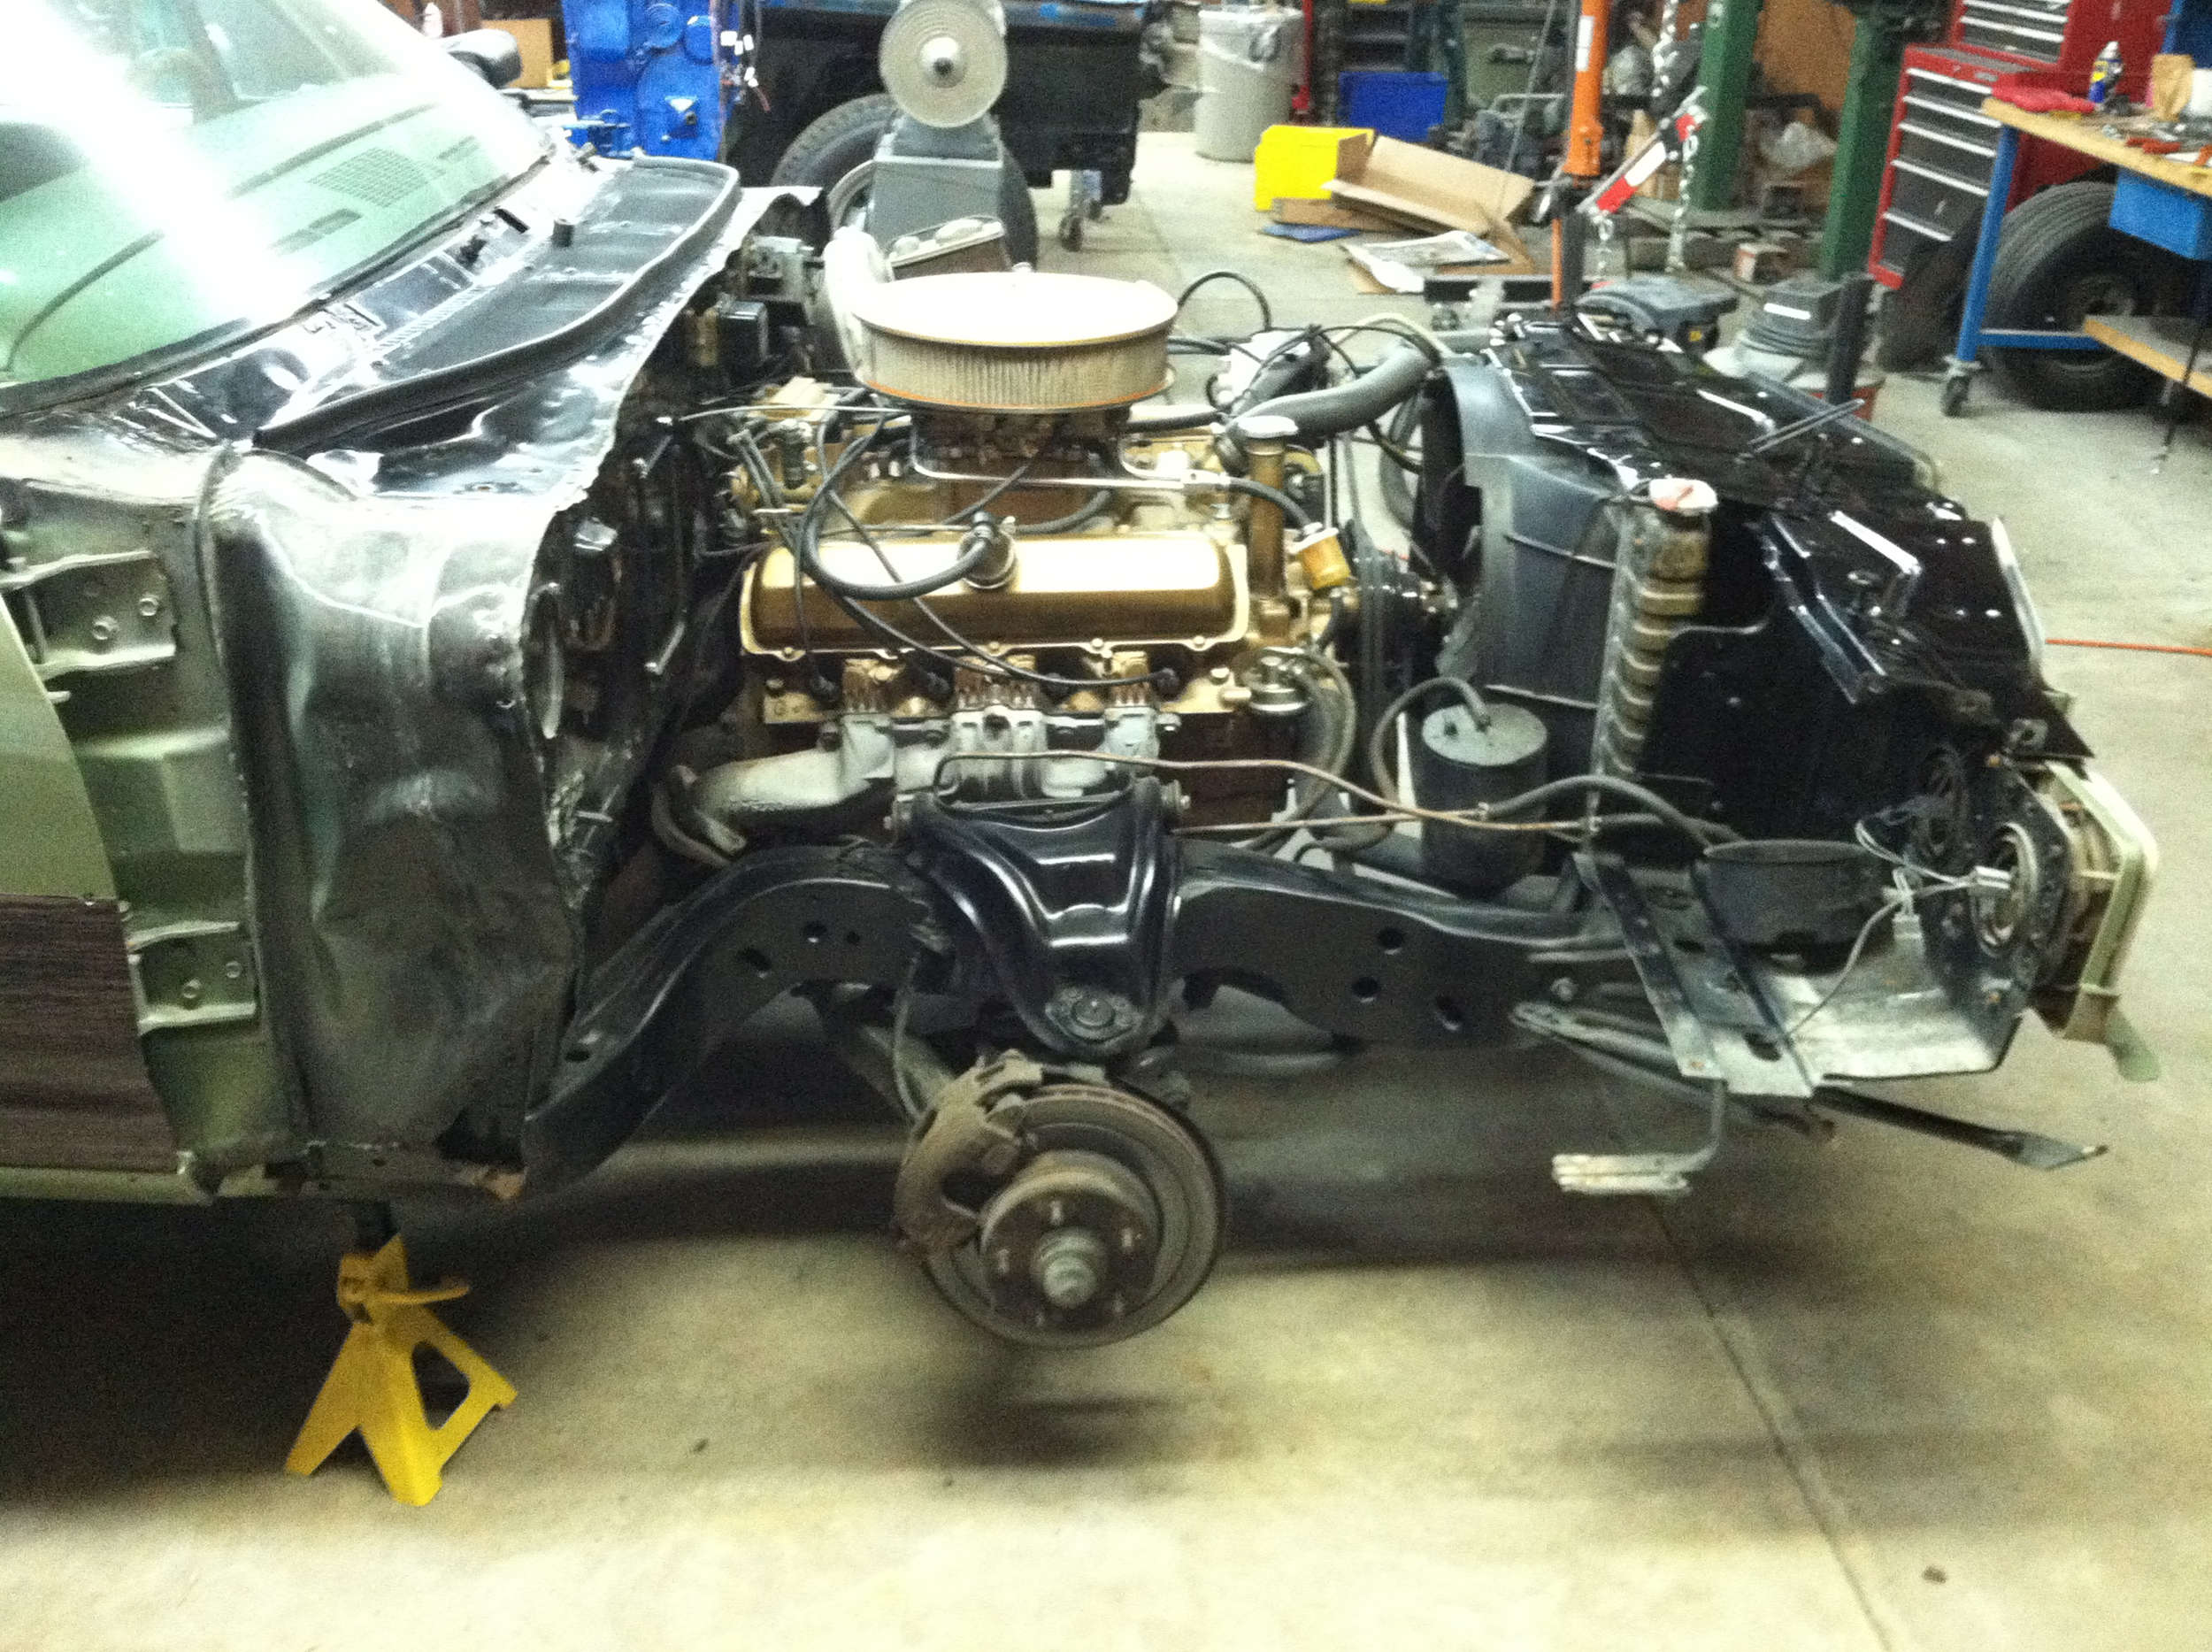
Now for a few photos during the construction of the Vista. Here you can see how I painted the firewall, frame rails, and control arms with all the sheetmetal off the front end.
This photo shows the Vista after laying down the two-part epoxy primer on all the bodywork. Note that all the windows and trim have been removed to get everything covered with epoxy.

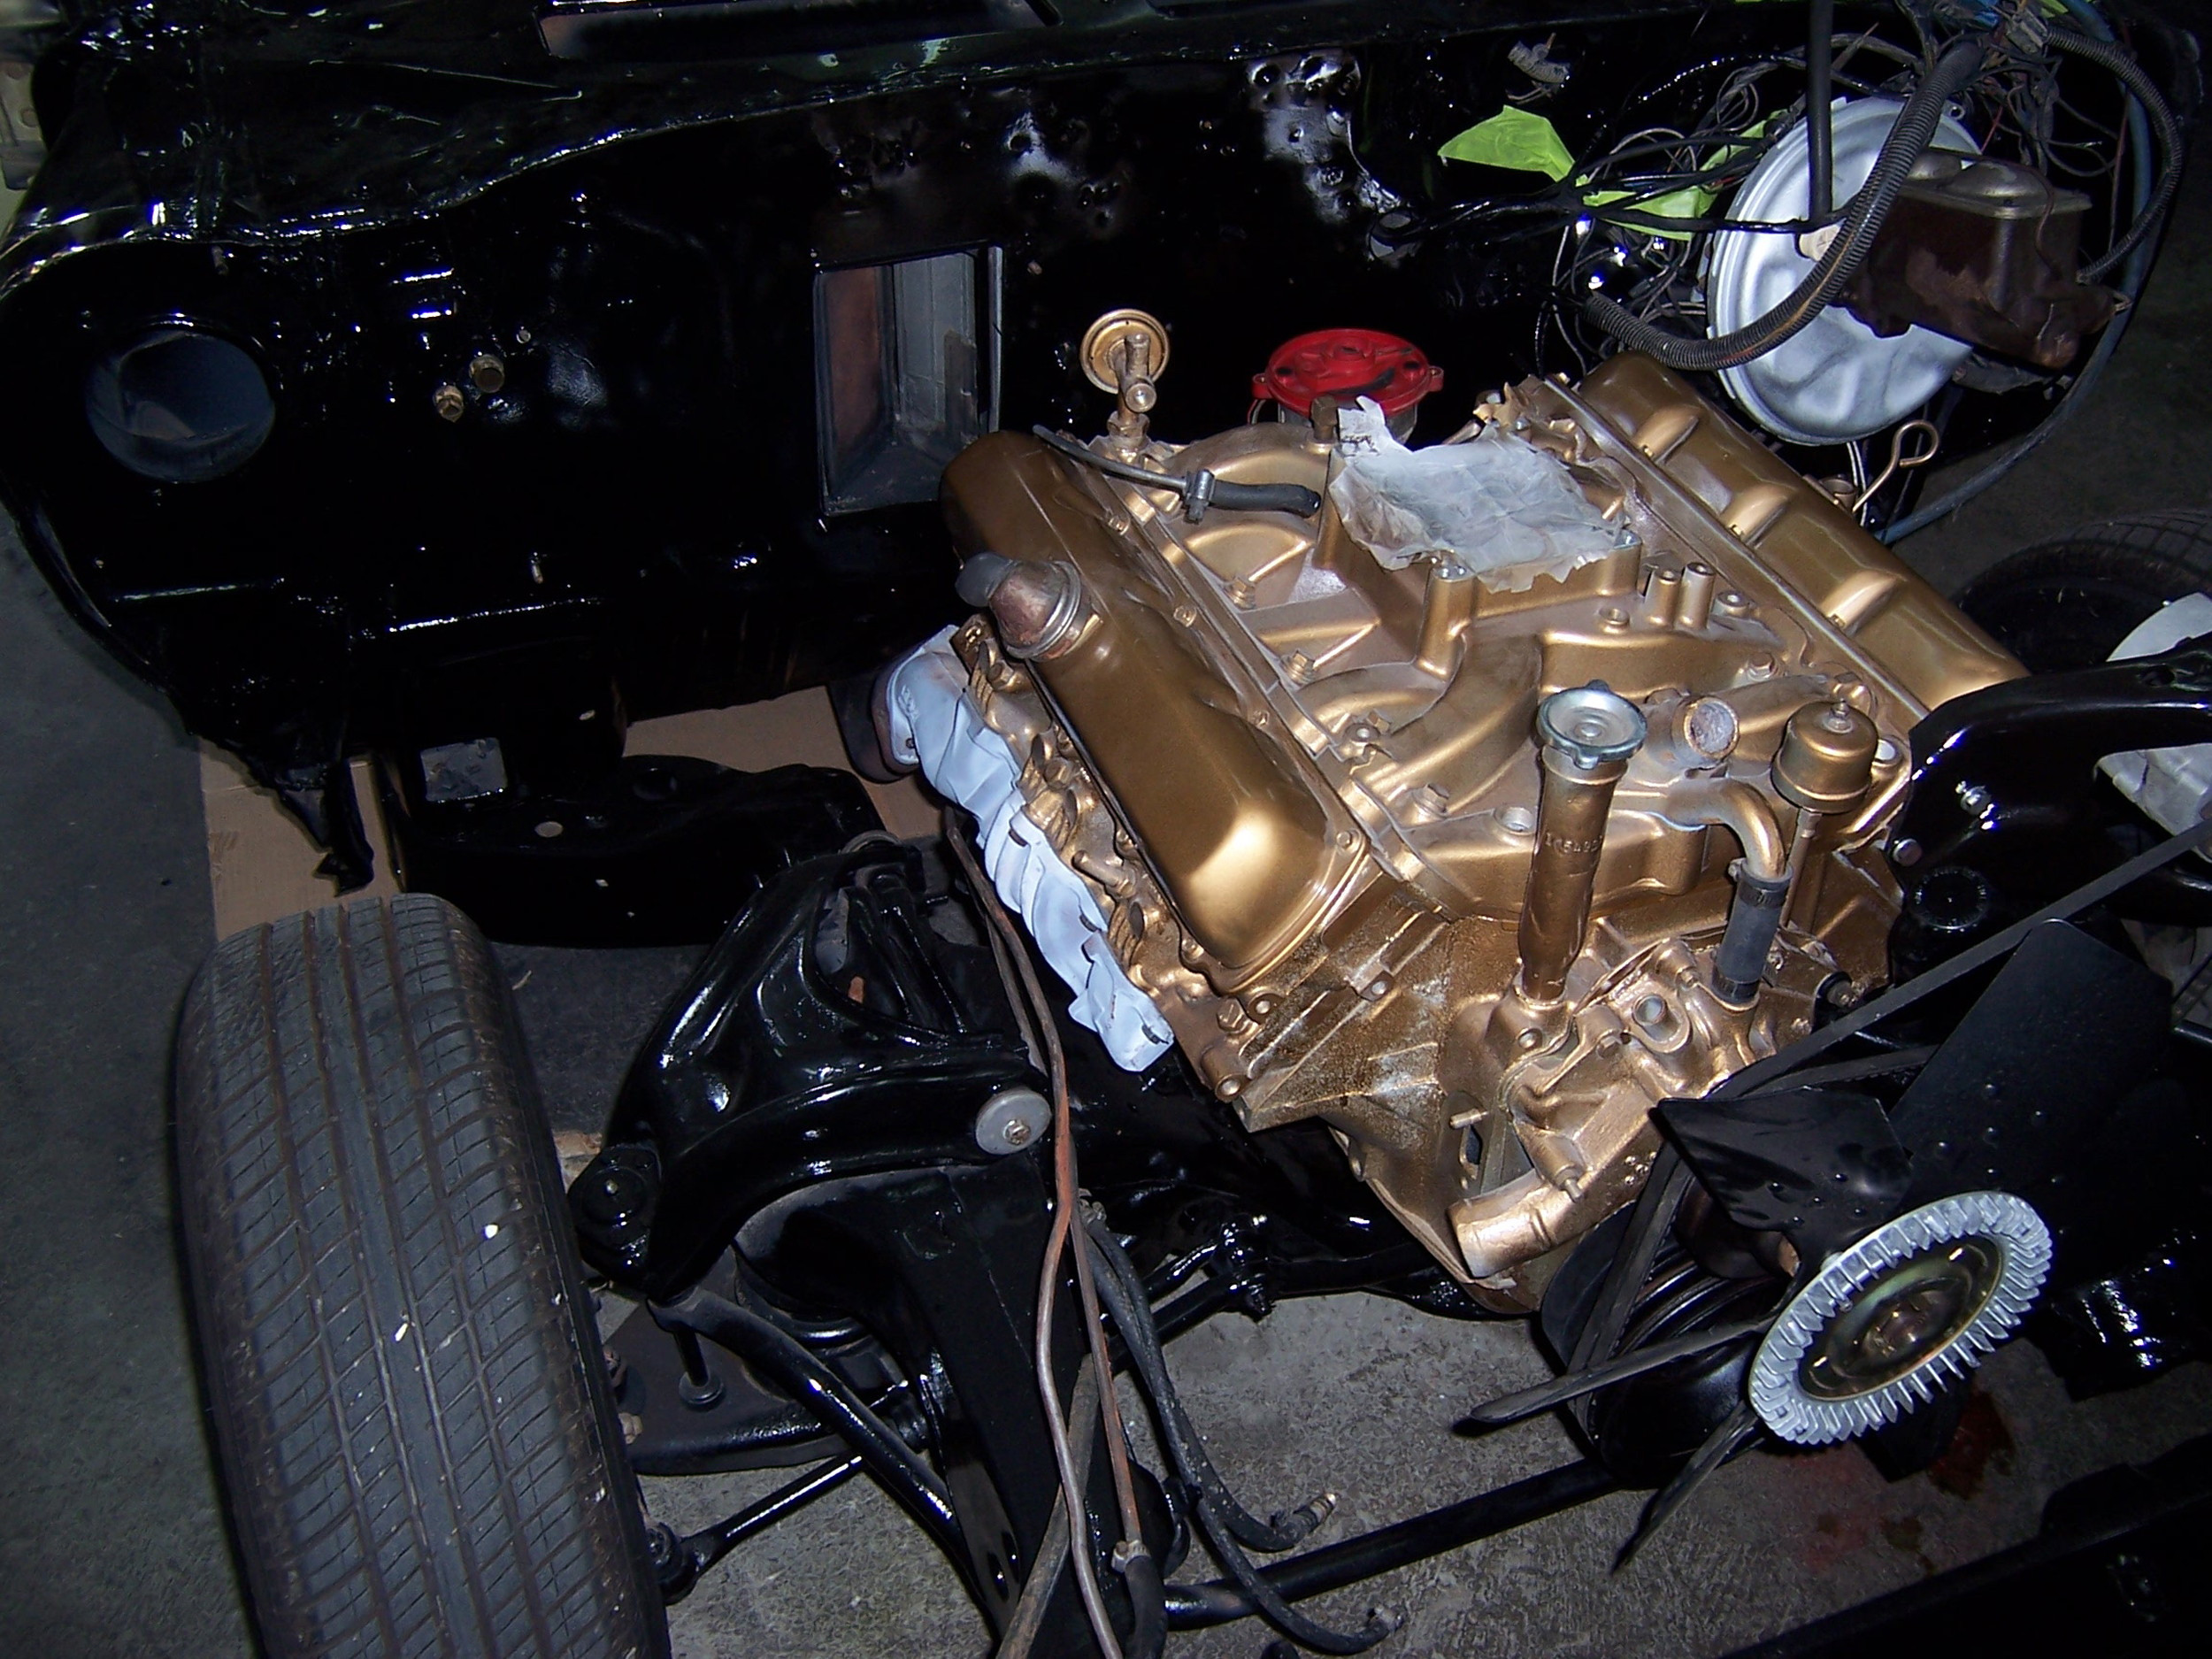
Another shot of the firewall and engine with the sheetmetal off.
And that's all the photos! I hope you enjoyed seeing clearly all of the good and bad things about this Vista Cruiser. If you're interested in seeing it in person and buying it, Call me at 256-997-6971 or email to kurt@lammon.com. I'm asking $11,900, but I will consider reasonable offers. I have a clear Tennessee title in my hands in exchange for cashier's check.